
How to Draw a Christmas Tree
Three triangles make this Christmas tree. The bottom one is big and wide, and the next two get smaller as they stack up, each overlapping the one below so the tree narrows toward the top. Rounding off the bottom corners keeps every triangle soft and friendly instead of spiky.
Pot, star and decorations
Step three adds a short trunk and a flower pot with a rim, and most of the trunk hides behind the rim. The star goes on top in step four. In step five two garlands swoop across the tiers like smiles, each running from one side of a tier to the other. Step six hangs the ornaments.
Two columns of boxes
The six step boxes sit in two columns of three, with the new lines in orange and the earlier ones in black. Page 2 sets a small finished tree beside the steps in words, with one large box for a freehand try. The sheet carries a 6 to 8 age tag. Nearly every part is a triangle, a box, a circle or a star, so younger children can manage it with an adult drawing next to them. Watch the animation of about 14 seconds once, then draw along with it the second time, or trace the dashed gray outline first. Scaled-down boxes make the orange lines harder to follow, which is why the A4 and US Letter PDFs are meant to print at 100 percent.
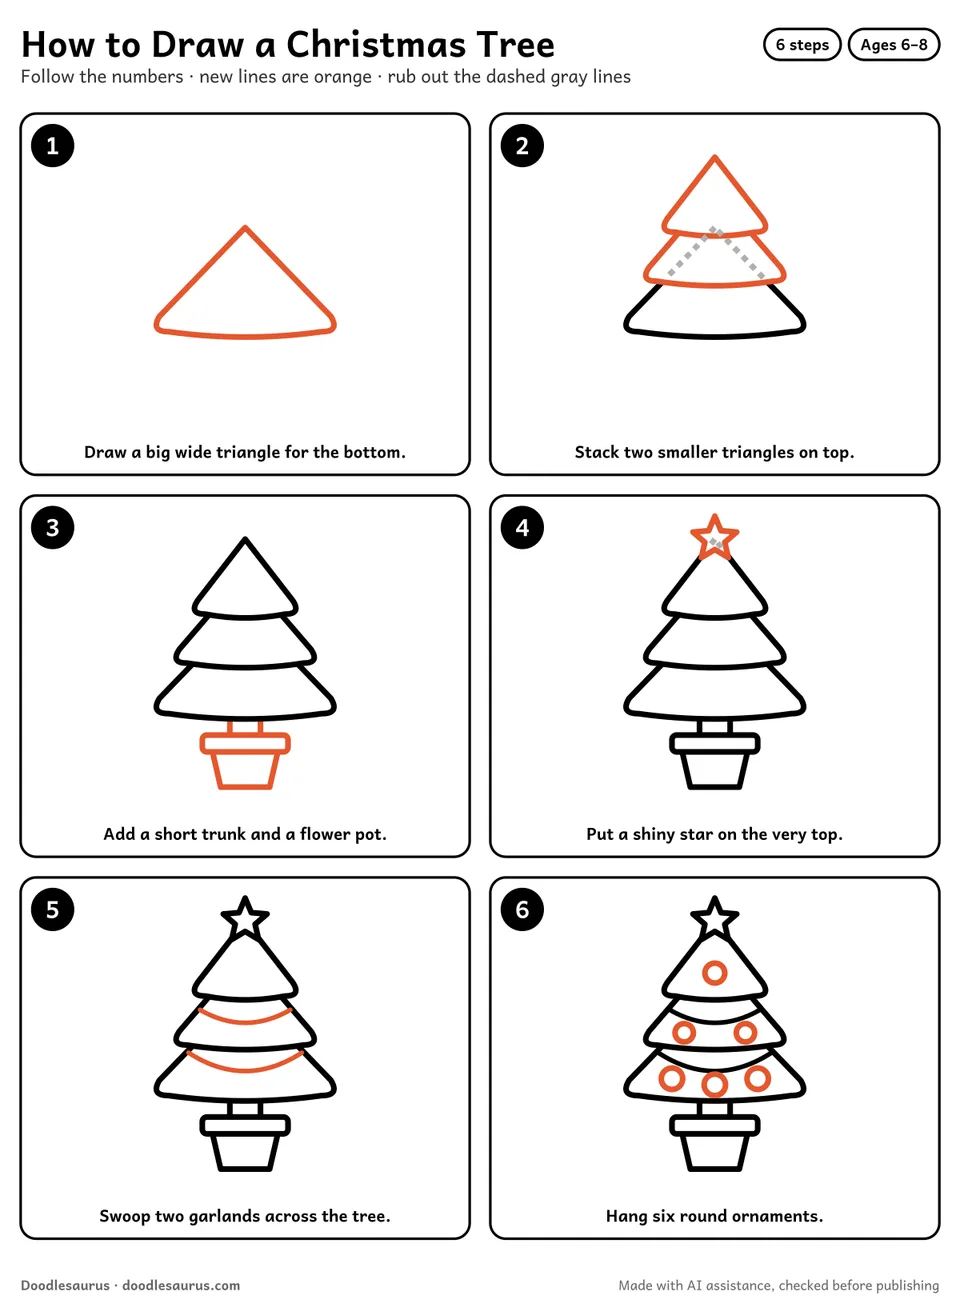
Draw a christmas tree in 6 steps
New lines in each step are orange. Where a new part covers an earlier line, that bit turns dashed gray: rub it out.
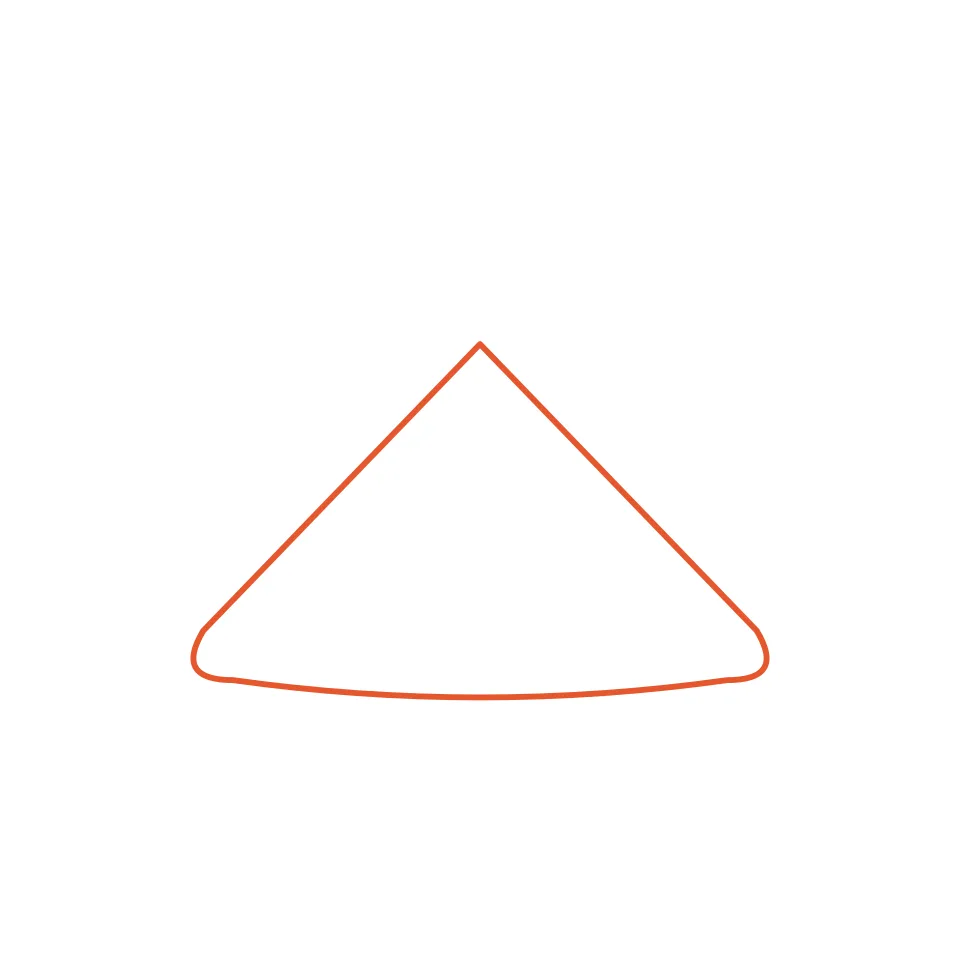
Draw a big wide triangle for the bottom.
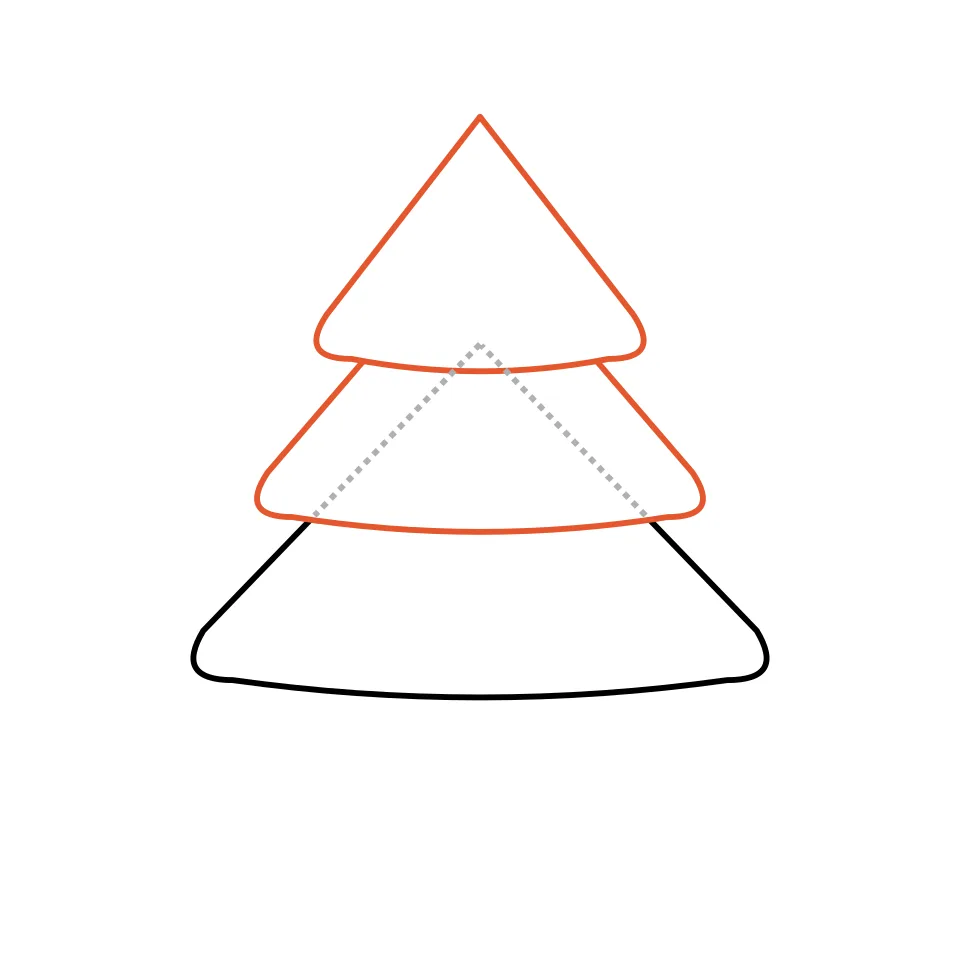
Stack two smaller triangles on top.
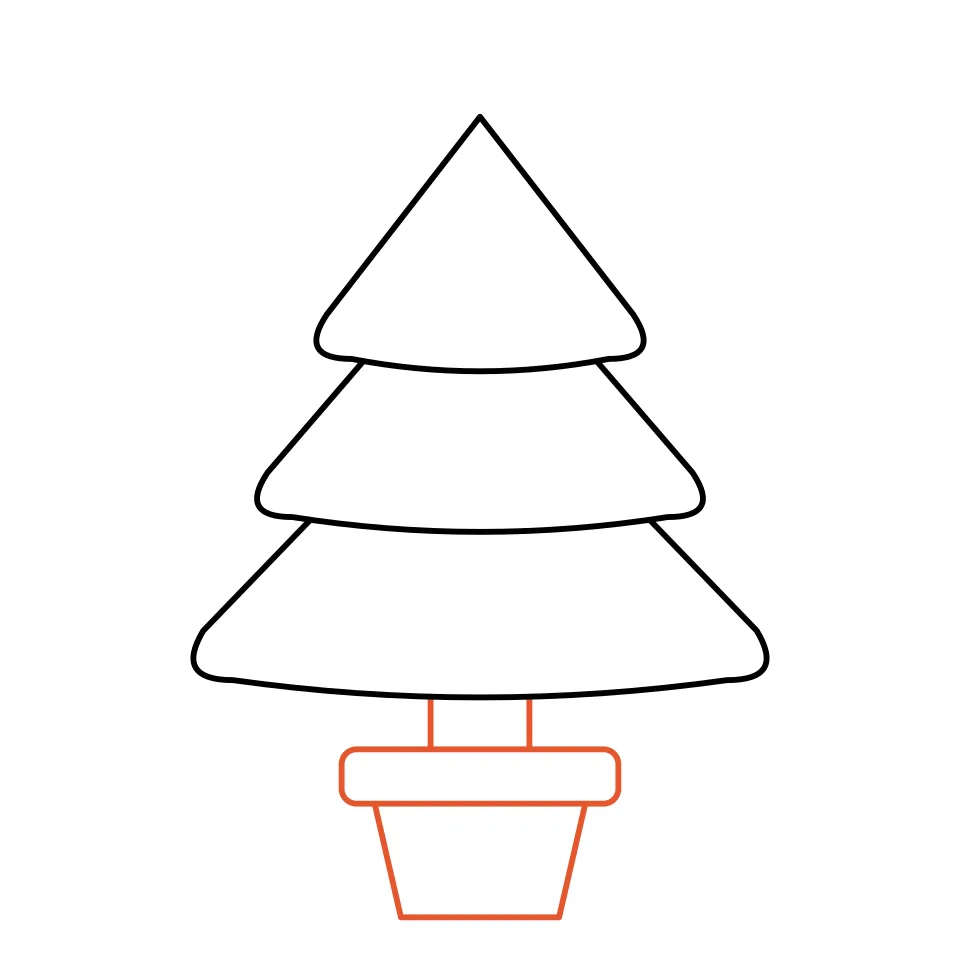
Add a short trunk and a flower pot.
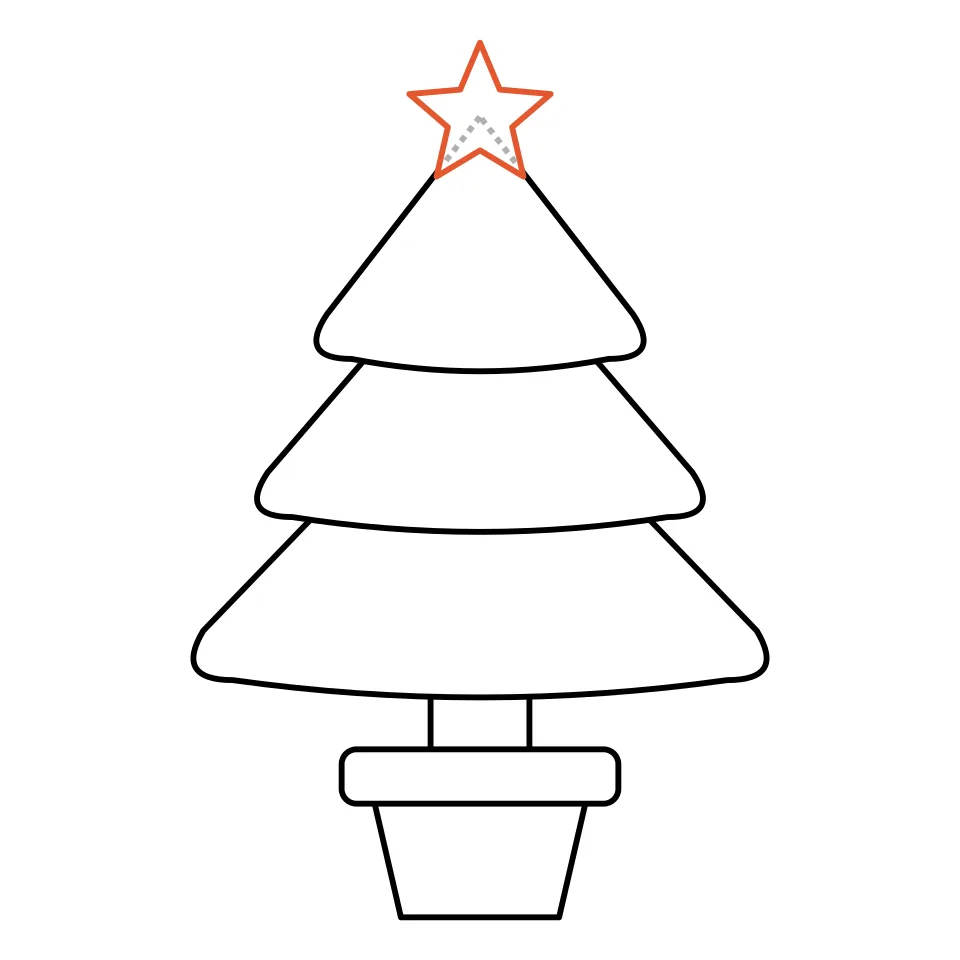
Put a shiny star on the very top.
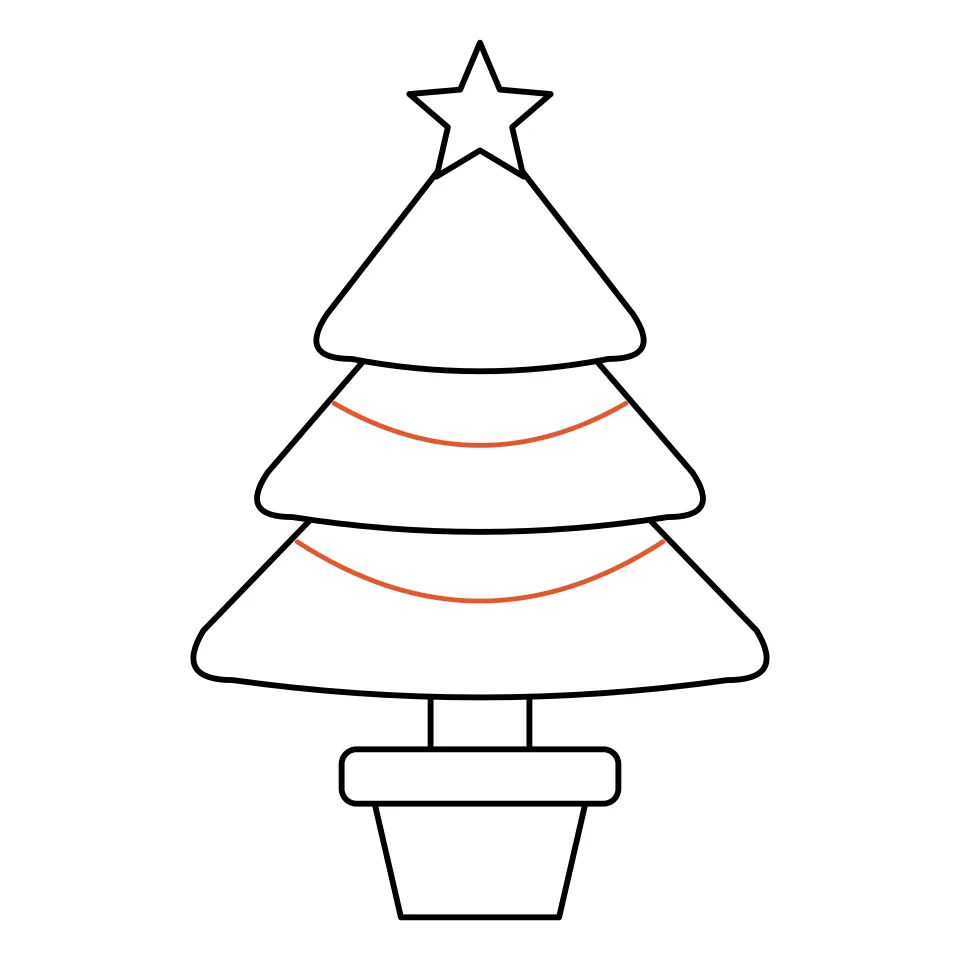
Swoop two garlands across the tree.
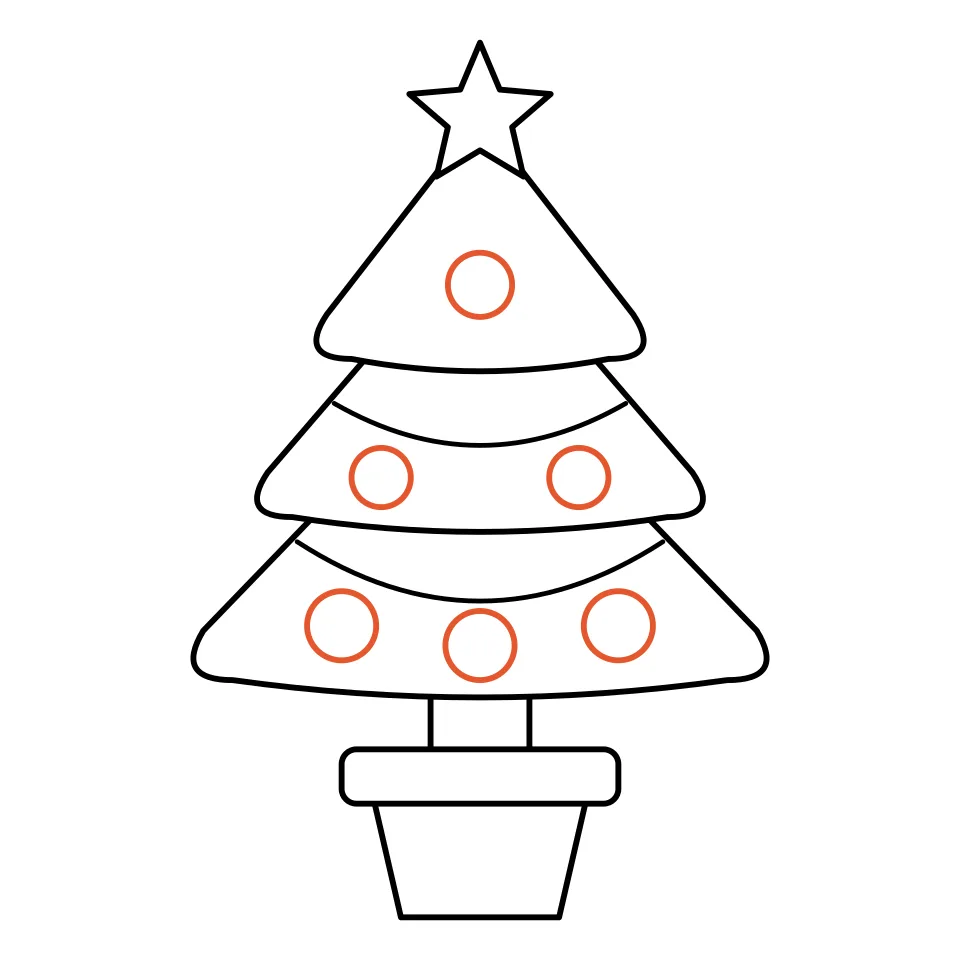
Hang six round ornaments.
Tips to make your christmas tree drawing easy
- Round off the two bottom corners of each triangle so the tree looks soft and friendly.
- Let each new triangle overlap the one below it, so the tree narrows as it goes up.
- Keep the trunk short, since most of it hides behind the pot rim.
- Draw each garland like a smile that runs from one side of a tier to the other.
- Space the ornaments in rows of one, two and three so the tree looks balanced.
- Watch the short animation once, then draw along with it the second time.
Christmas Tree outline to print and trace
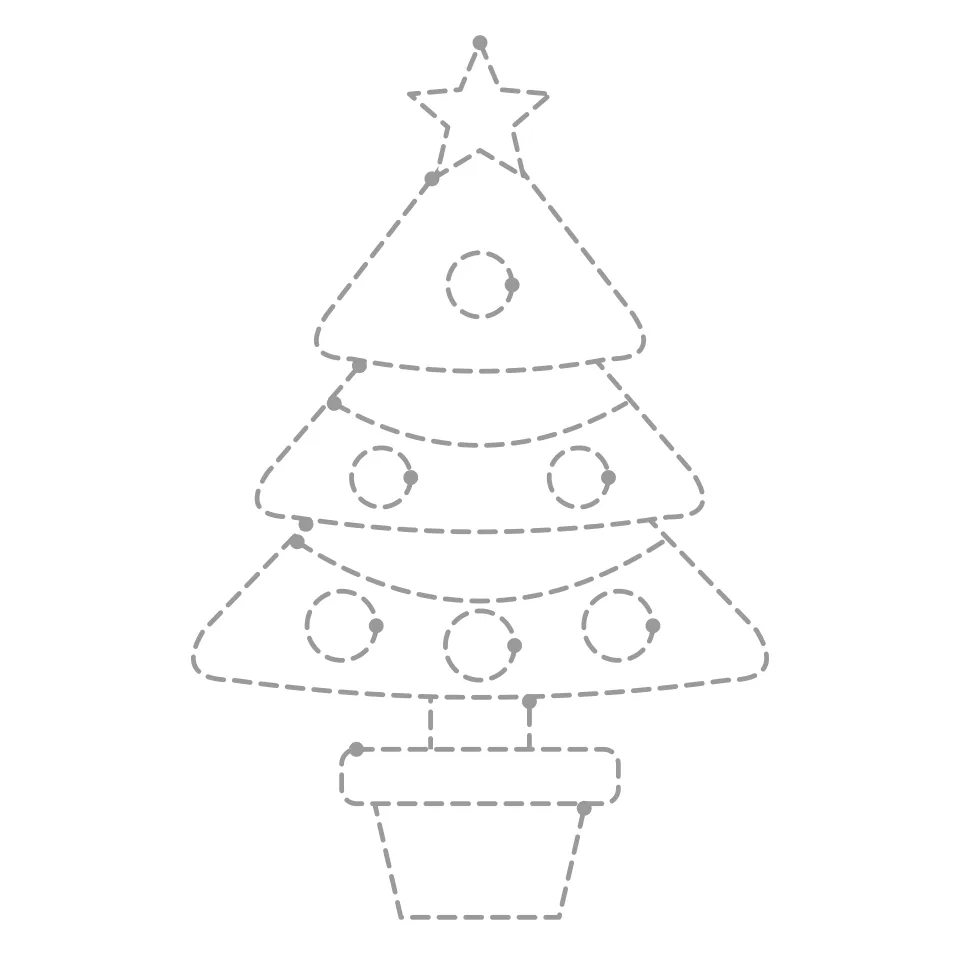
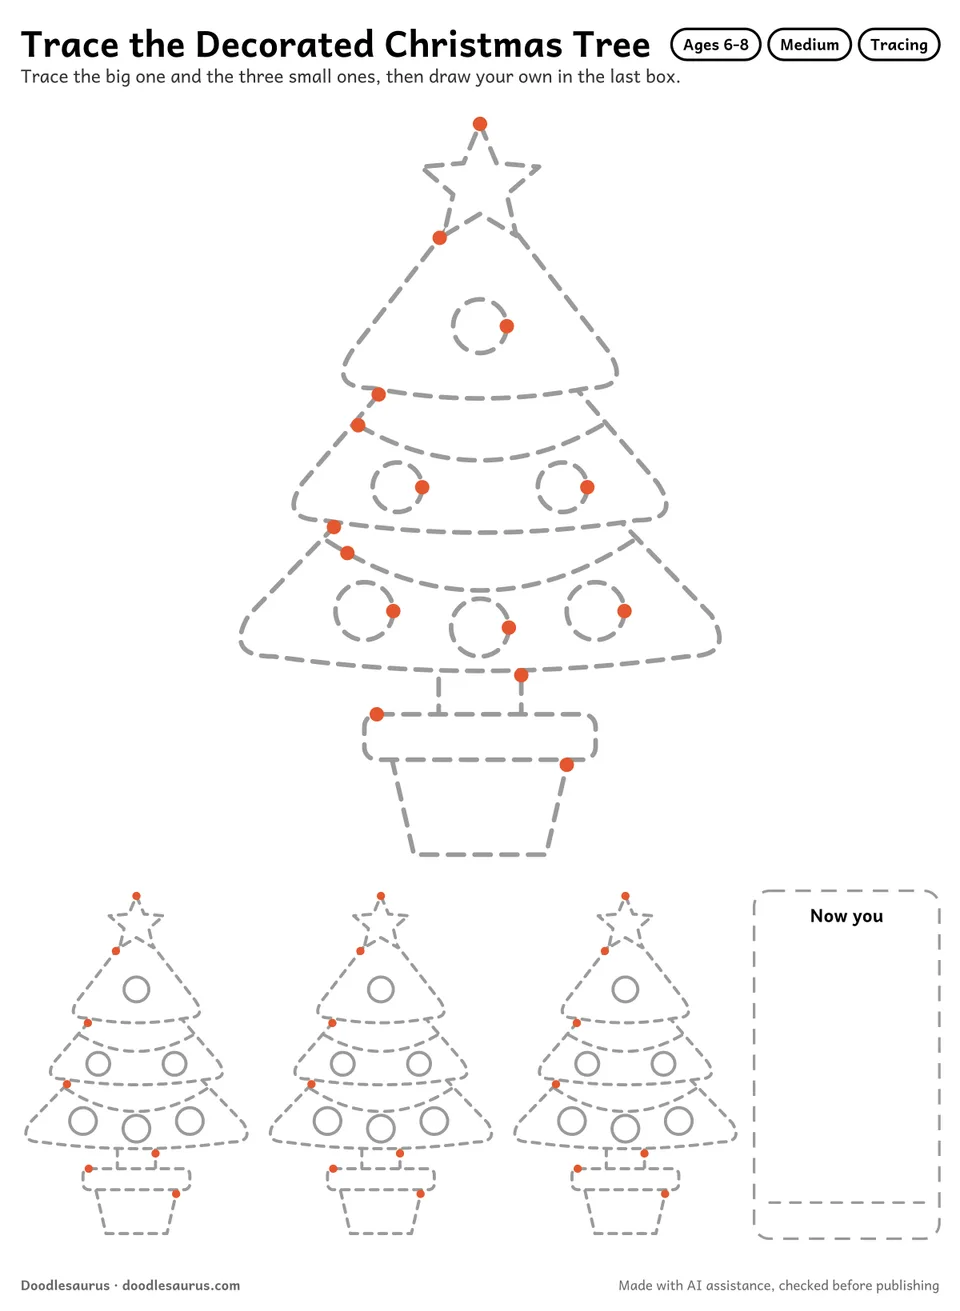
Print the finished outline on its own: trace over it with a pencil to learn the shapes, or use the dashed tracing sheet for younger kids who are still building pencil control. Both fit A4 and US Letter.
Color your christmas tree
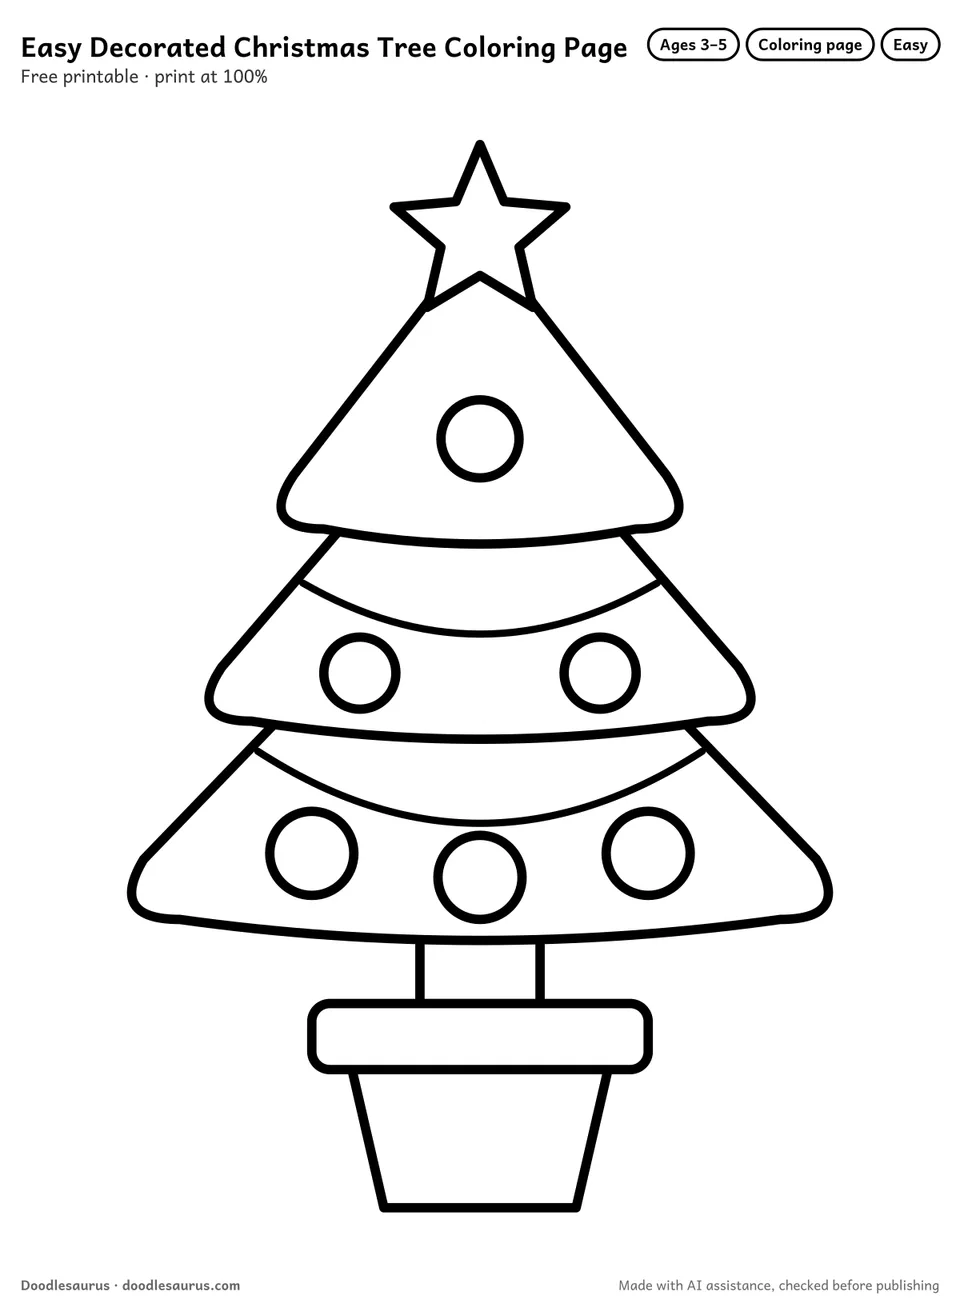
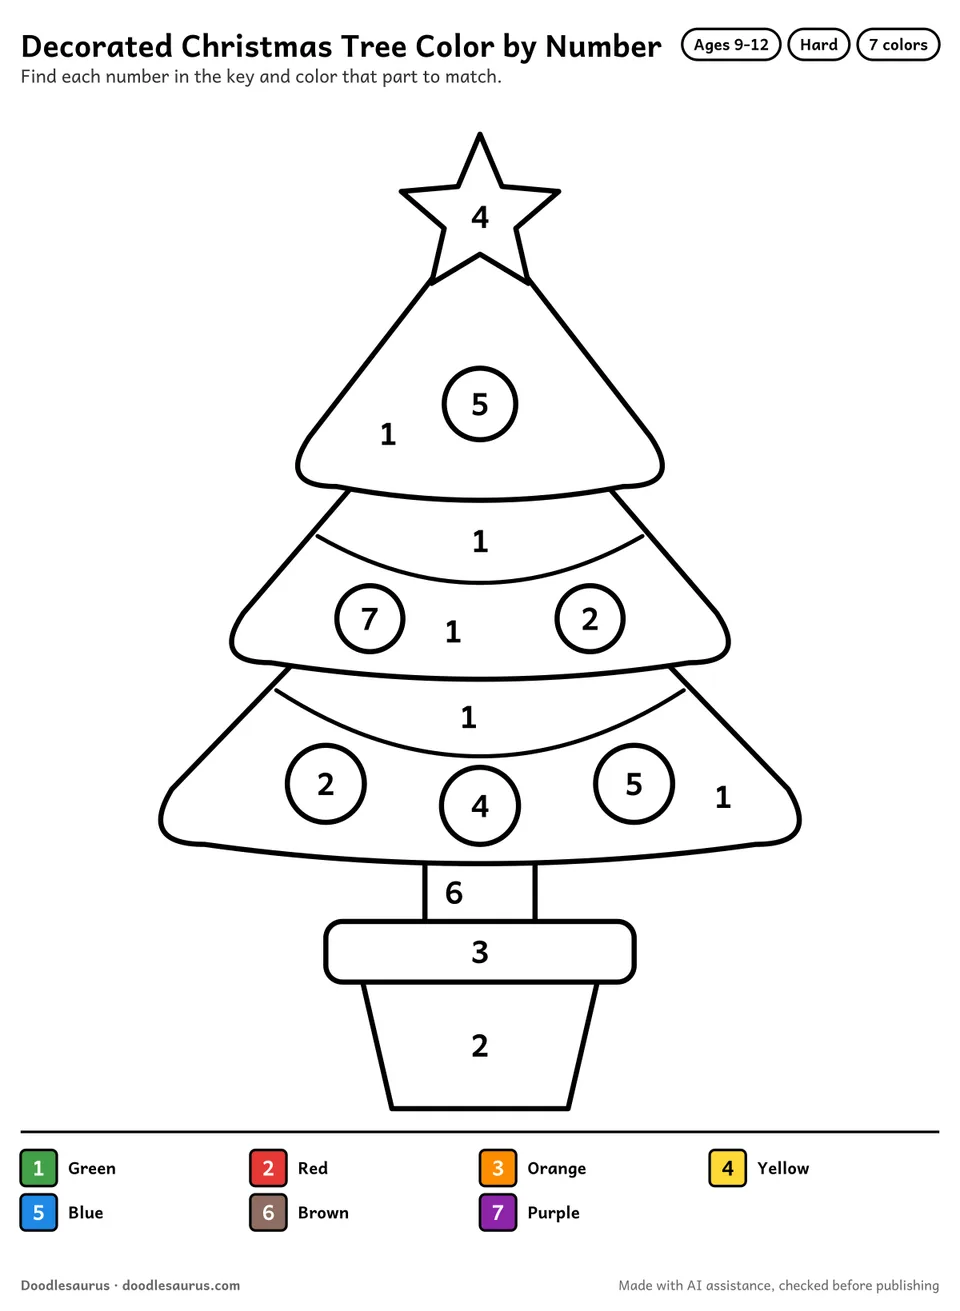
Finished drawing? Print one of our 2 christmas tree coloring pages to color the same character in 2 difficulty levels, or color your own drawing with the step sheet beside you.
More christmas tree activities
Frequently asked questions
Should the three triangles be the same size?
No. They shrink as they climb: the bottom one is the widest, and each of the two above it overlaps the one beneath.
Why does the trunk look so short?
A short trunk is enough, because most of it hides behind the pot rim. Step three adds the trunk and the flower pot together.
How are the ornaments arranged?
The six round ornaments hang in rows of one, two and three, which keeps the tree balanced. They are the last step, added after the two garlands.
Is there something to trace first?
Yes. This page also shows a dashed gray outline of the finished tree for tracing, and an animation of about 14 seconds that draws it line by line.
About this printable
- Made with AI assistance (vector drawing authored by a language model) and checked by automated tests and an AI reviewer.
- Checked by automated tests and an AI reviewer on 22 Oct 2026.
- Free for personal and single-classroom use. See the license. Read the license · How these are made · Report a problem.
- Vector PDF, 2 pages, 186×254 mm art box — prints edge-safe on A4 and US Letter.
New printables, twice a month
Our newsletter starts soon, with new sheets twice a month and a free 10-page starter pack for every new reader.