
How to Draw a Stegosaurus
This stegosaurus has one line for its whole body, hump and tail included: it starts low at the front, swings up into a tall hump and slides down into a long pointed tail. Once that line is in, the dinosaur already has its shape. Step two adds a small oval head that overlaps the front of the body, so there is no gap at the neck. Step three adds a round eye and a smile.
Legs, plates and spikes
Step four draws four chunky legs. Draw the two near legs first, then let the far legs peek out just behind them. Step five lines the back with six pointy plates, small at the ends and tallest in the middle. Step six finishes with four sharp spikes on the tail. Each is a tall, thin triangle. New lines are orange and earlier ones black.
Practice and ages
Free drawing happens on page two, since steps take up all six boxes of the US Letter or A4 step sheet. It has a small finished stegosaurus, the six steps in a numbered list and a big box labeled Draw yours here. The animation of about 17 seconds can be paused on the step a child is working on, and a dashed outline is there for tracing. The sheet is aimed at ages 6 to 8. With an adult drawing alongside, the big, simple shapes suit a younger child too. Those thin spikes get harder to copy when the page is scaled down, so the A4 or Letter PDF should print at 100 percent.
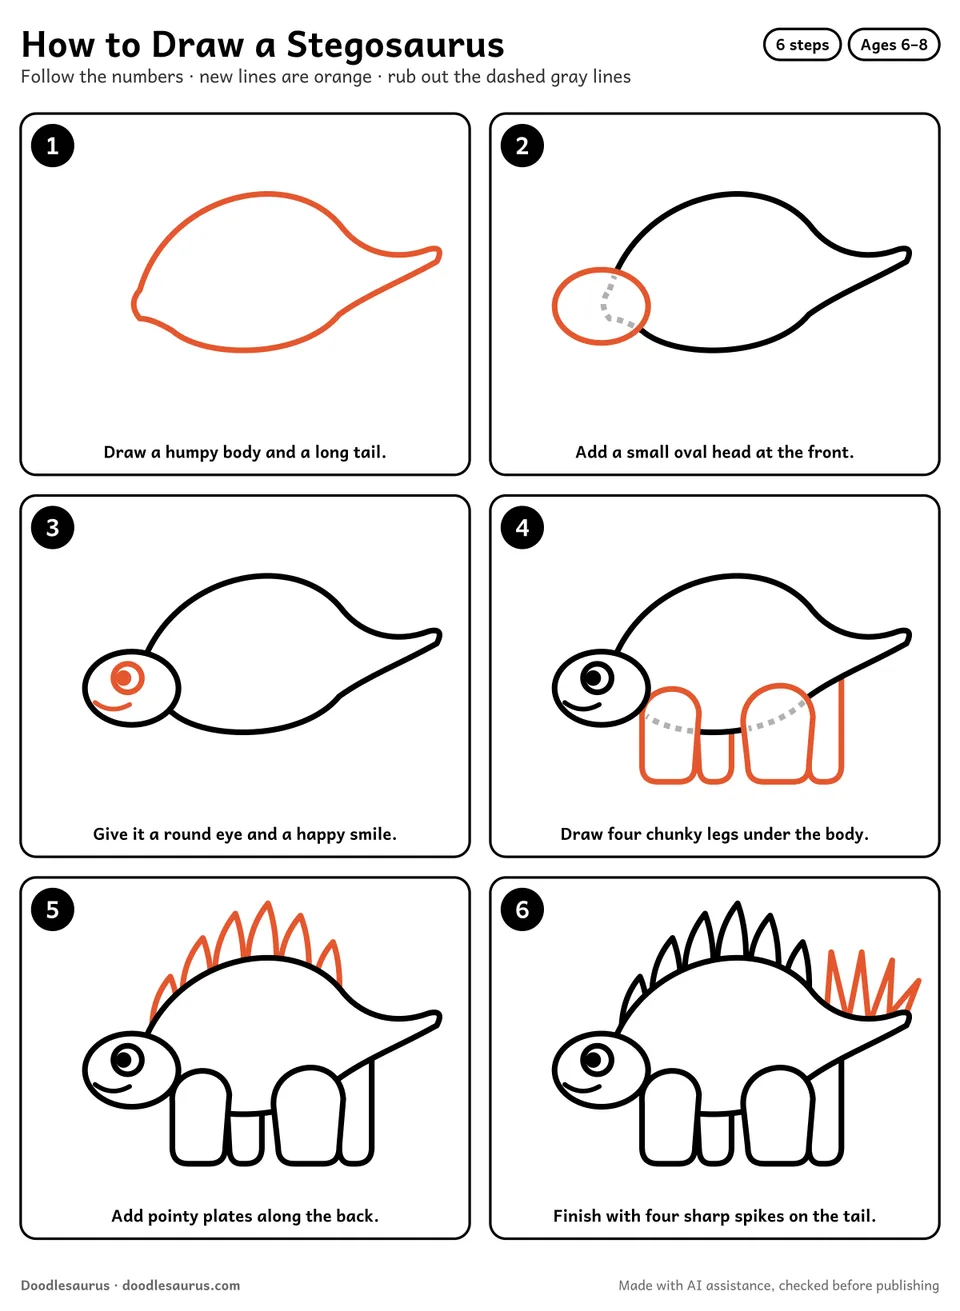
Draw a stegosaurus in 6 steps
New lines in each step are orange. Where a new part covers an earlier line, that bit turns dashed gray: rub it out.
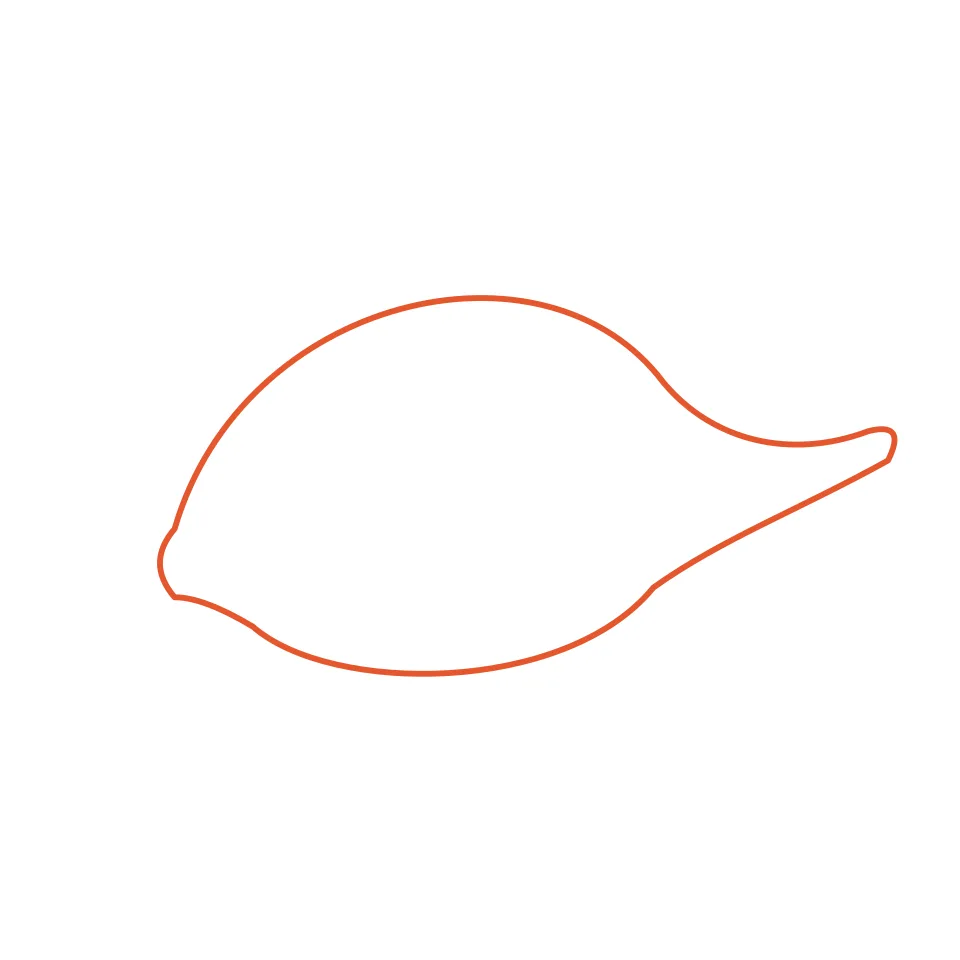
Draw a humpy body and a long tail.
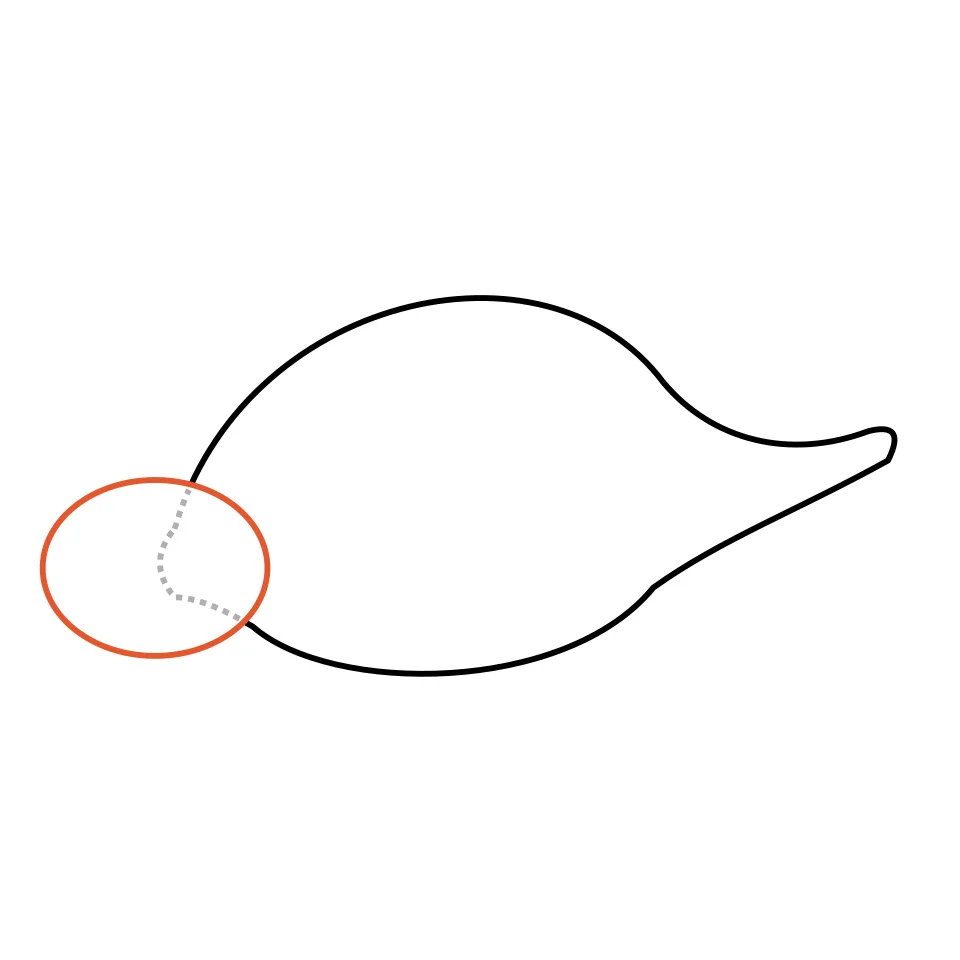
Add a small oval head at the front.
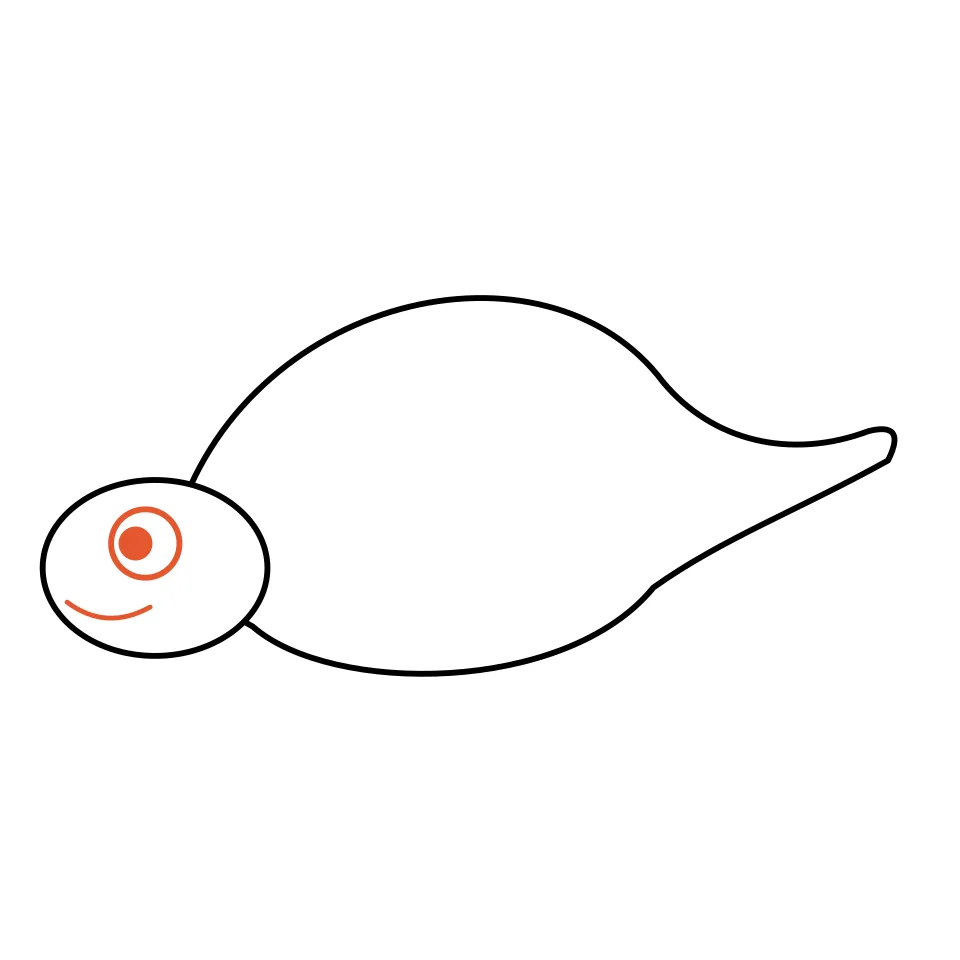
Give it a round eye and a happy smile.
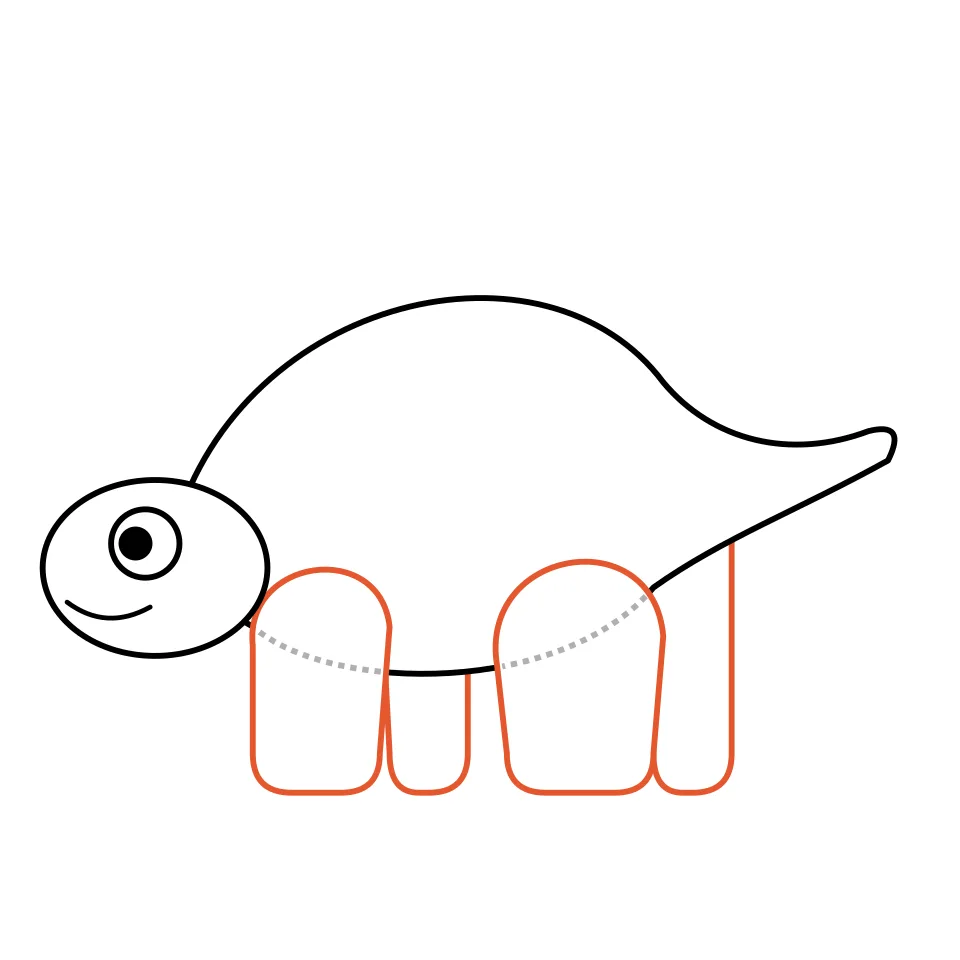
Draw four chunky legs under the body.
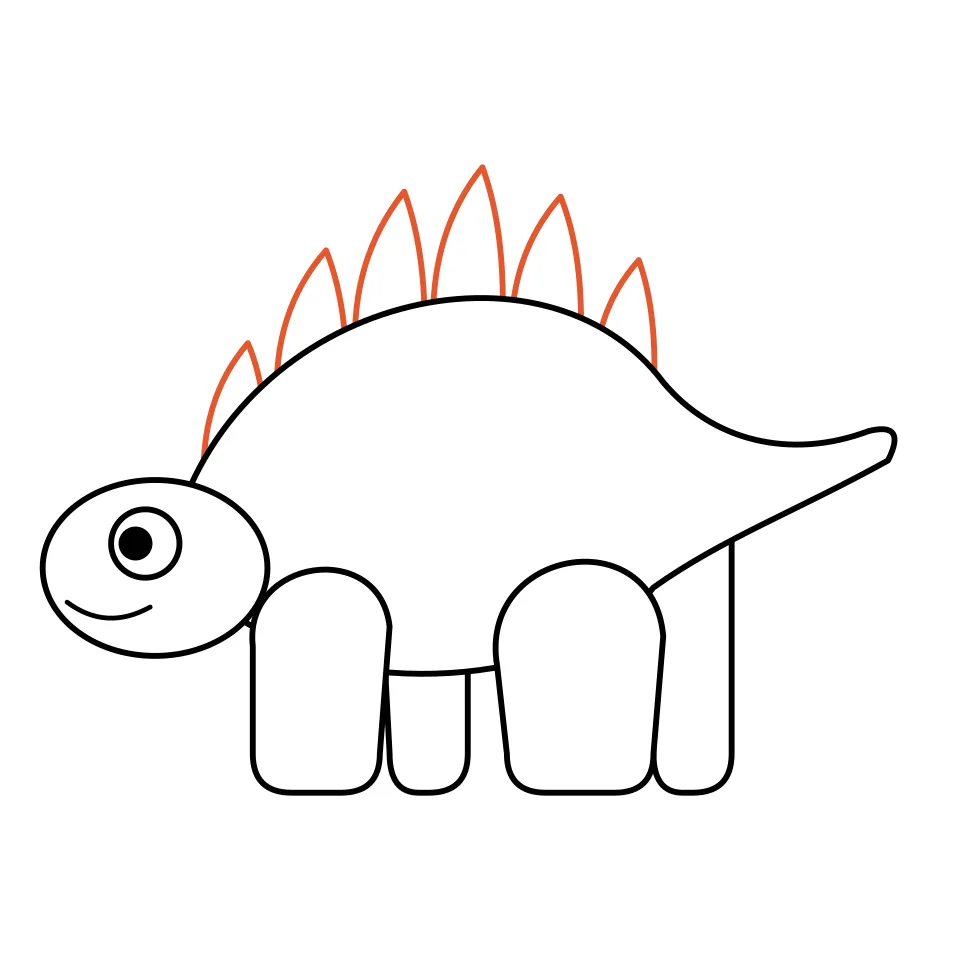
Add pointy plates along the back.
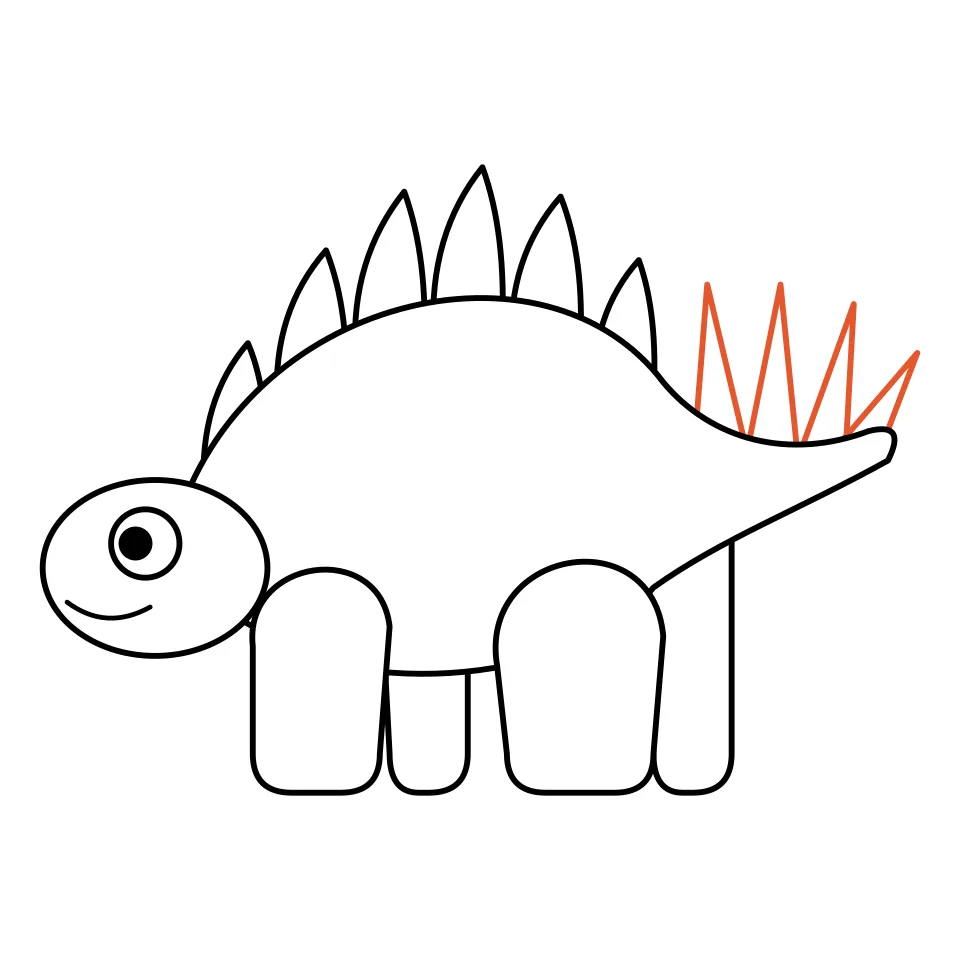
Finish with four sharp spikes on the tail.
Tips to make your stegosaurus drawing easy
- Start the body low at the front, swing up into a tall hump and let the line slide down to a pointed tail.
- Let the oval head overlap the front of the body so there is no gap at the neck.
- Draw the two near legs first, then add the far legs peeking out behind them.
- Keep the end plates small and make the middle plates the tallest.
- Draw each tail spike as a tall, thin triangle.
- Play the animation once, then pause it on the step your child is drawing.
Stegosaurus outline to print and trace
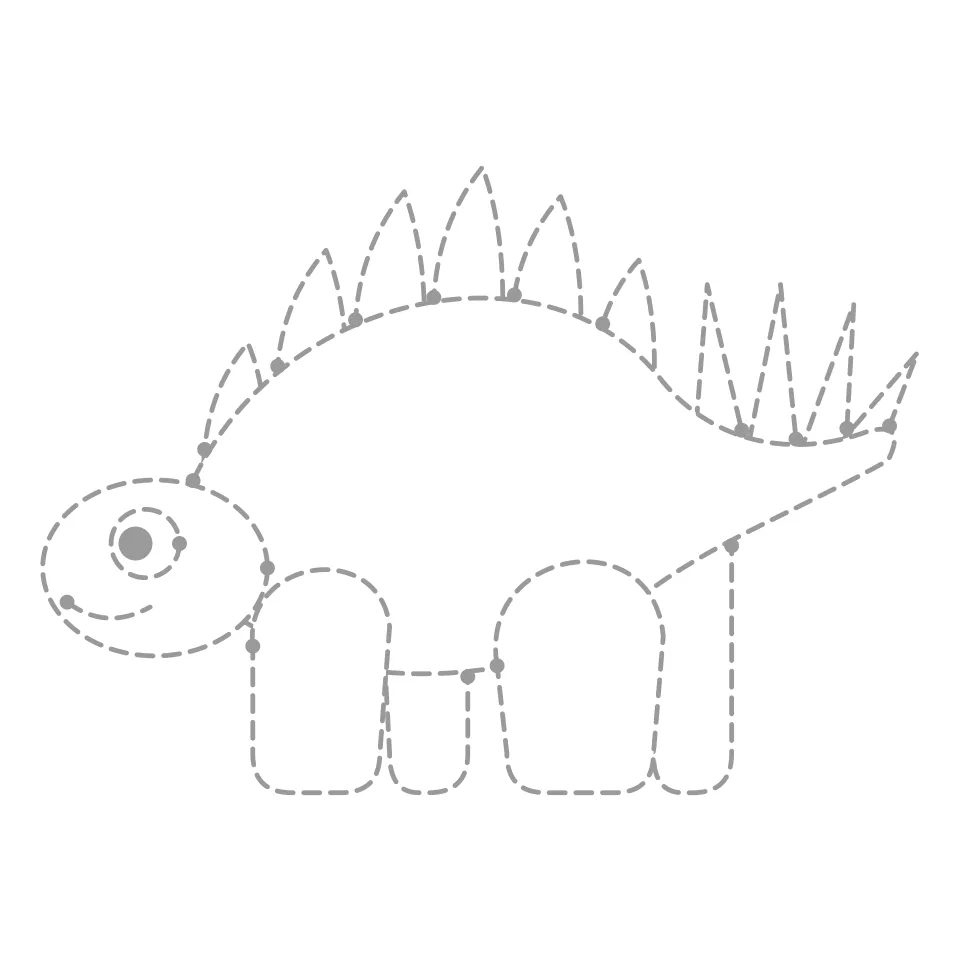
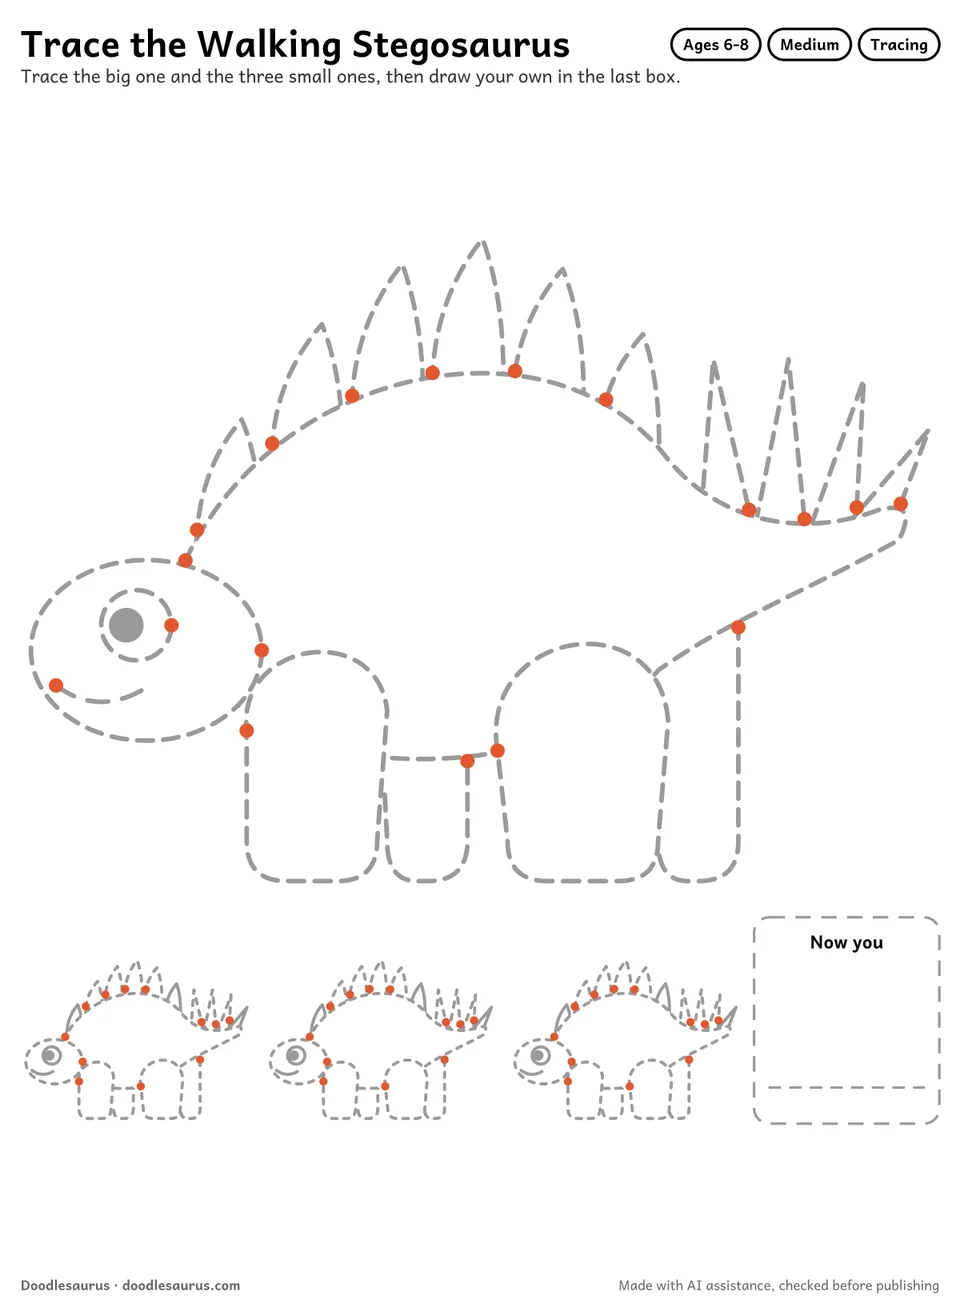
Print the finished outline on its own: trace over it with a pencil to learn the shapes, or use the dashed tracing sheet for younger kids who are still building pencil control. Both fit A4 and US Letter.
Color your stegosaurus
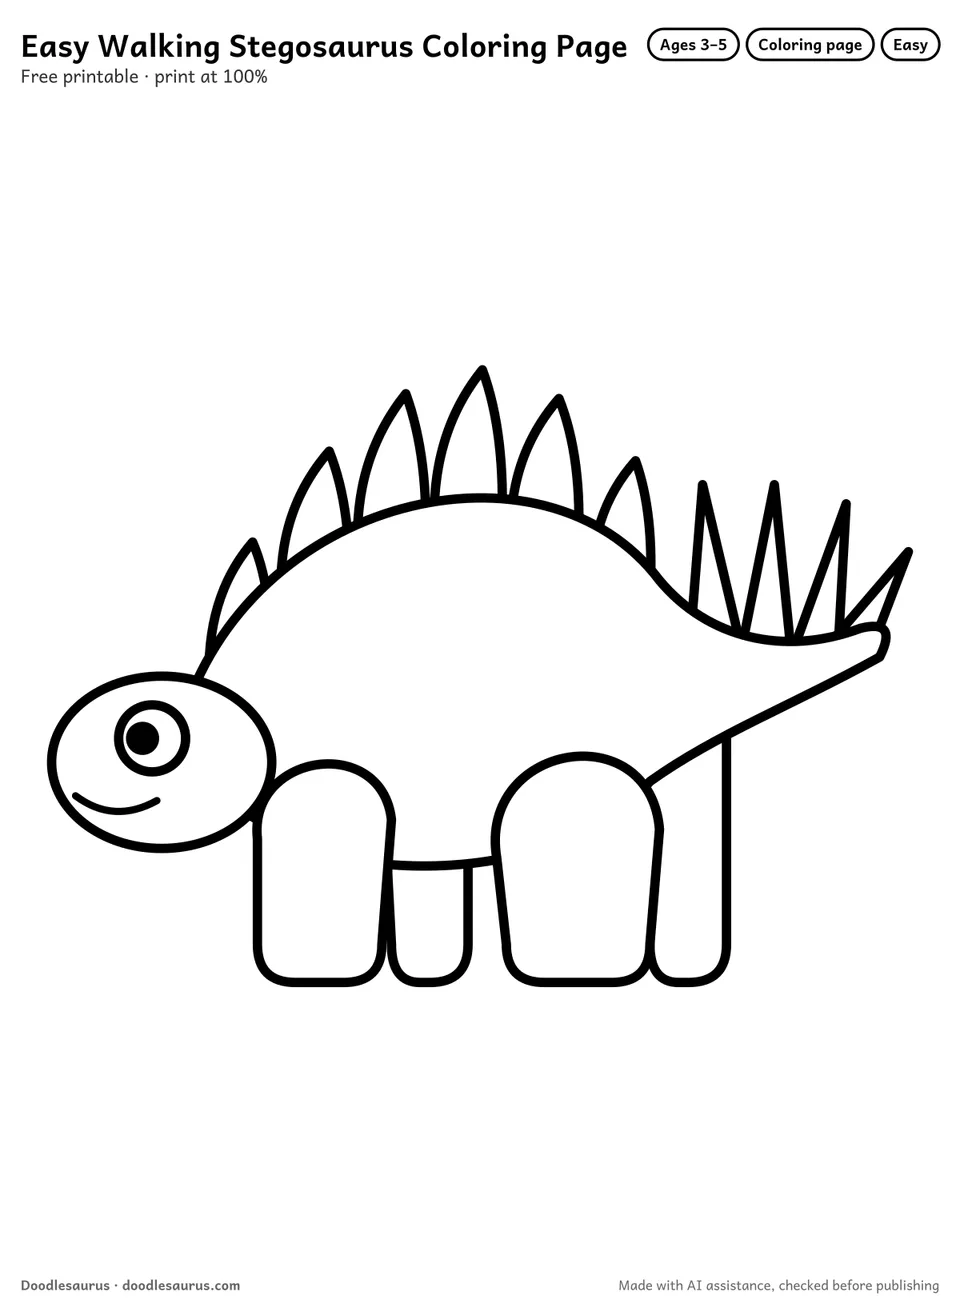
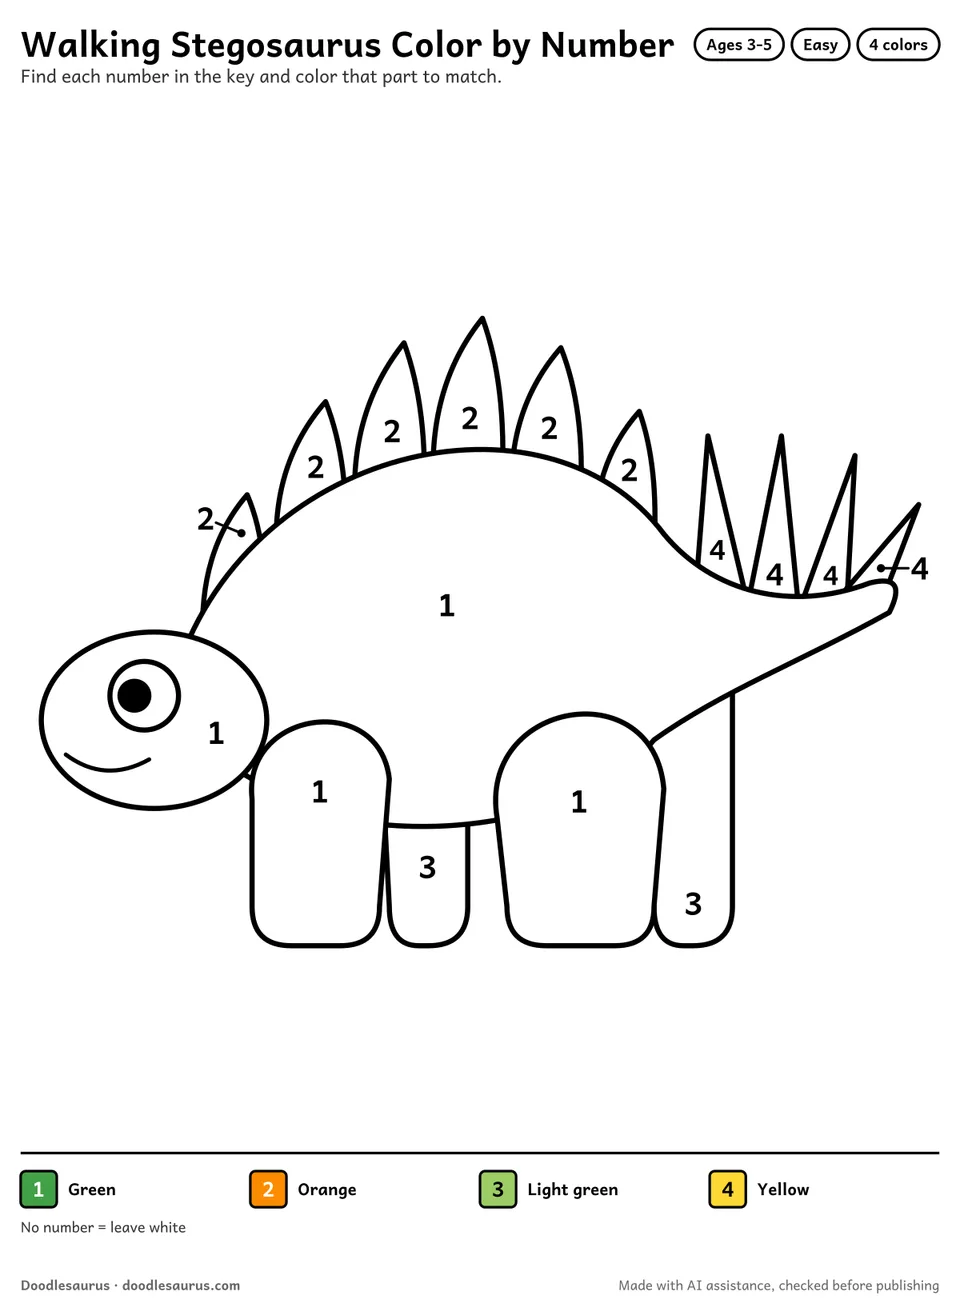
Finished drawing? Print one of our 2 stegosaurus coloring pages to color the same character in 2 difficulty levels, or color your own drawing with the step sheet beside you.
More stegosaurus activities
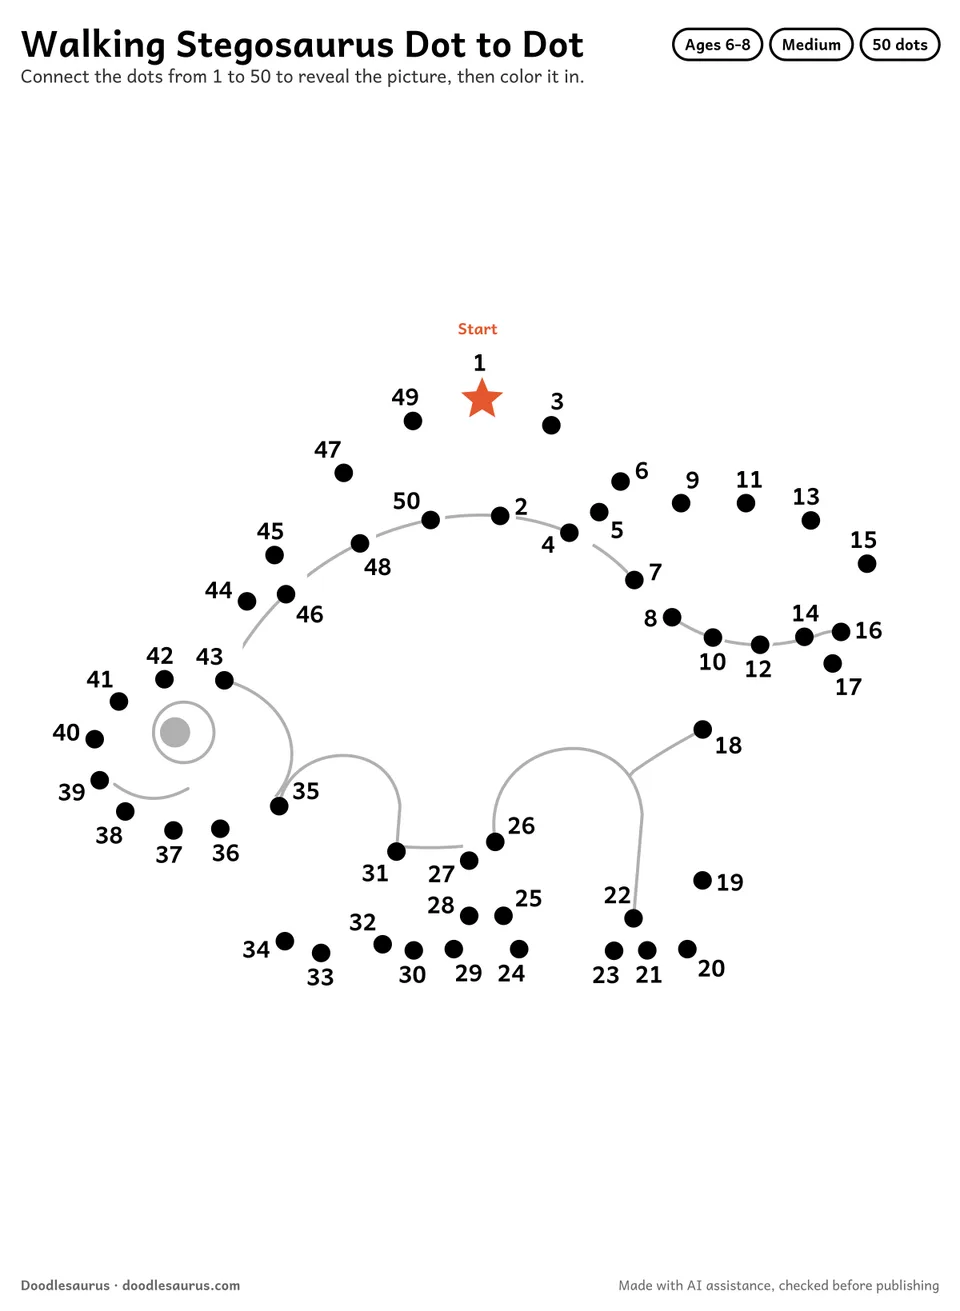
Frequently asked questions
How many steps are in the stegosaurus drawing?
Six. Draw the humpy body and tail, add the oval head, give it an eye and a smile, draw four legs, add plates along the back and finish with four tail spikes.
Why are there only six boxes on the first page?
This sheet uses a 2 by 3 grid with one box for each step, so the last box already shows the complete dinosaur. The practice page provides the free drawing space.
Which plates are the tallest?
The ones in the middle of the back. Step five adds six pointy plates, small at each end and tallest in the middle.
Is there a guided warm-up?
Yes. This page shows an animation of about 17 seconds that draws the stegosaurus in order, plus a dashed gray outline to trace first.
About this printable
- Made with AI assistance (vector drawing authored by a language model) and checked by automated tests and an AI reviewer.
- Checked by automated tests and an AI reviewer on 22 Oct 2026.
- Free for personal and single-classroom use. See the license. Read the license · How these are made · Report a problem.
- Vector PDF, 2 pages, 186×254 mm art box — prints edge-safe on A4 and US Letter.
New printables, twice a month
Our newsletter starts soon, with new sheets twice a month and a free 10-page starter pack for every new reader.