
How to Draw a Tree
This oak grows from the top down. The treetop comes first in box 1, a big cloud of small round bumps that go all the way around, and it is the shape to spend time on. Box 2 hangs a thick trunk under it, a little wider at the bottom than at the top, and box 3 adds two round root bumps that curve out from the trunk and end flat on the ground.
Hole, bark and acorns
A round hole and a little knot go on the trunk in box 4. Once the steps are done, an animal peeking out of that hole is an easy extra. Box 5 brings two bark lines and three small leafy curls in the treetop; three are enough. In box 6 two acorns land on the ground, one on each side, each an oval with a cap and a tiny stem. The boxes sit in two columns, and the newest lines in each are orange.
A first drawing lesson
Nearly every shape is a bump, an oval or a short stroke, which fits the 3 to 5 age range marked on the sheet. A small finished oak and the six steps sit above a large box labeled Draw yours here on page two, where a child can copy the oak or invent a tree of their own with the same steps. The website also shows an animation of the oak being drawn and a dashed outline for tracing. The acorns are small, and they stay clear when the A4 or Letter file prints at 100 percent.
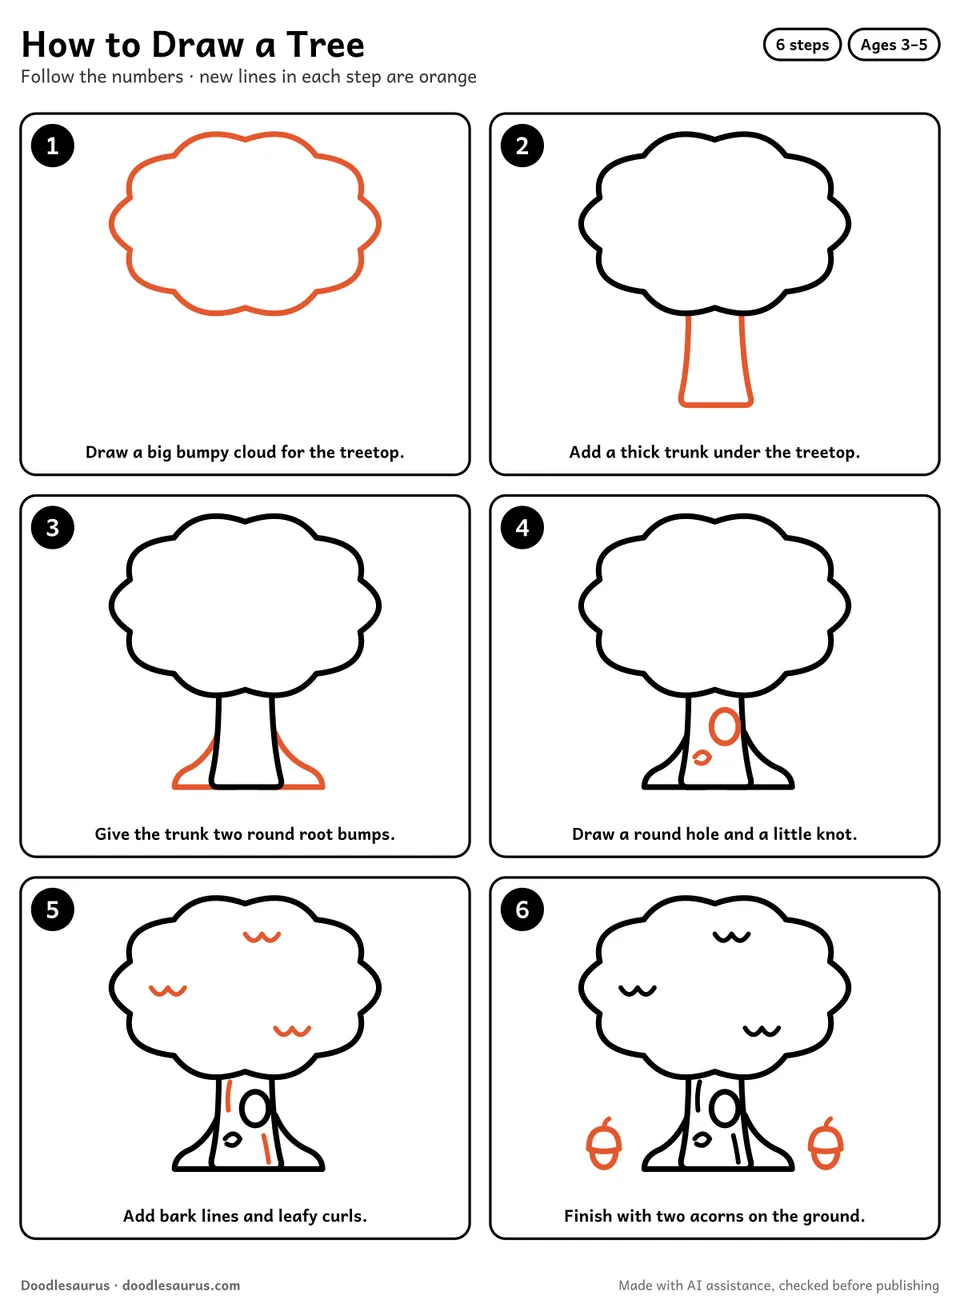
Draw a tree in 6 steps

Draw a big bumpy cloud for the treetop.
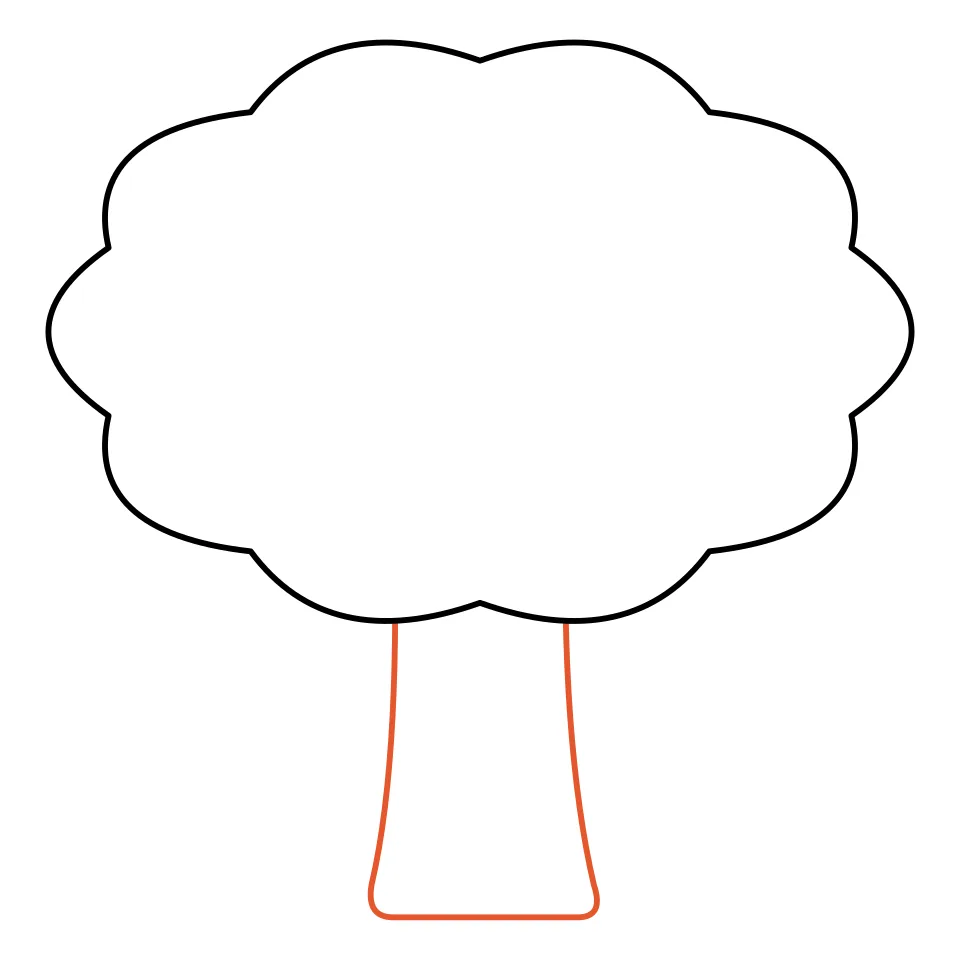
Add a thick trunk under the treetop.
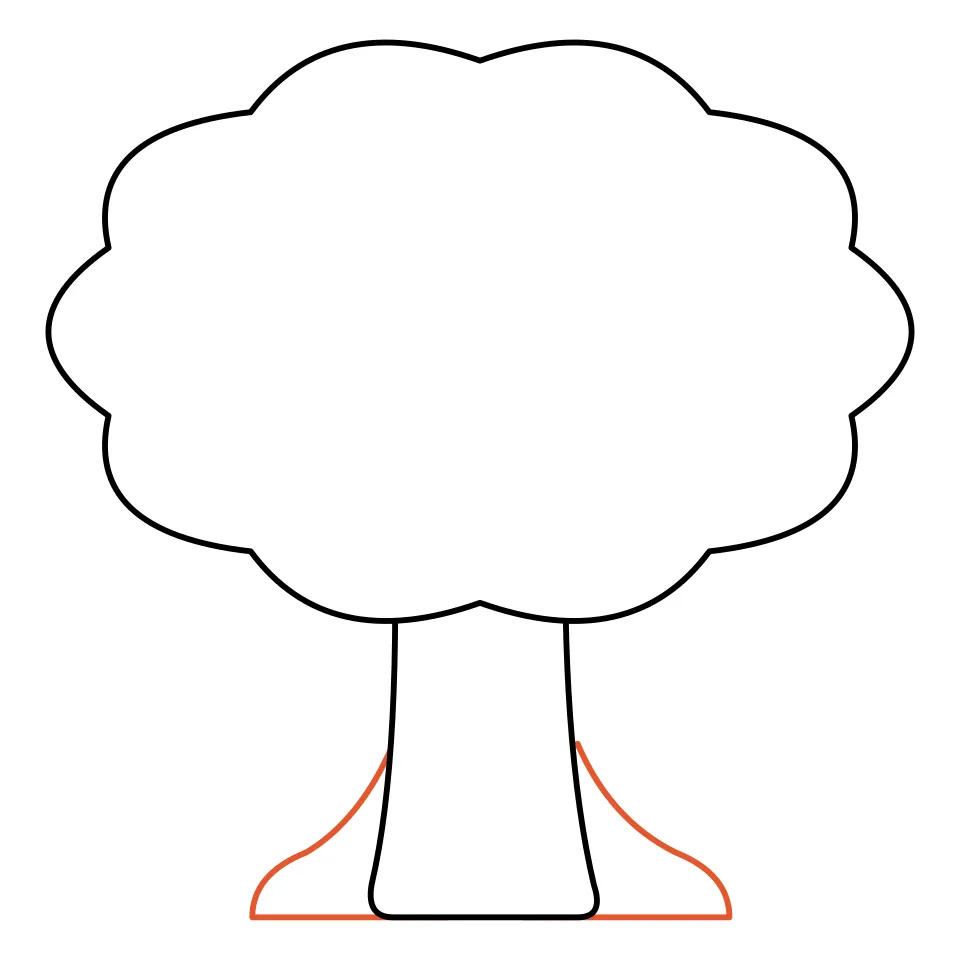
Give the trunk two round root bumps.
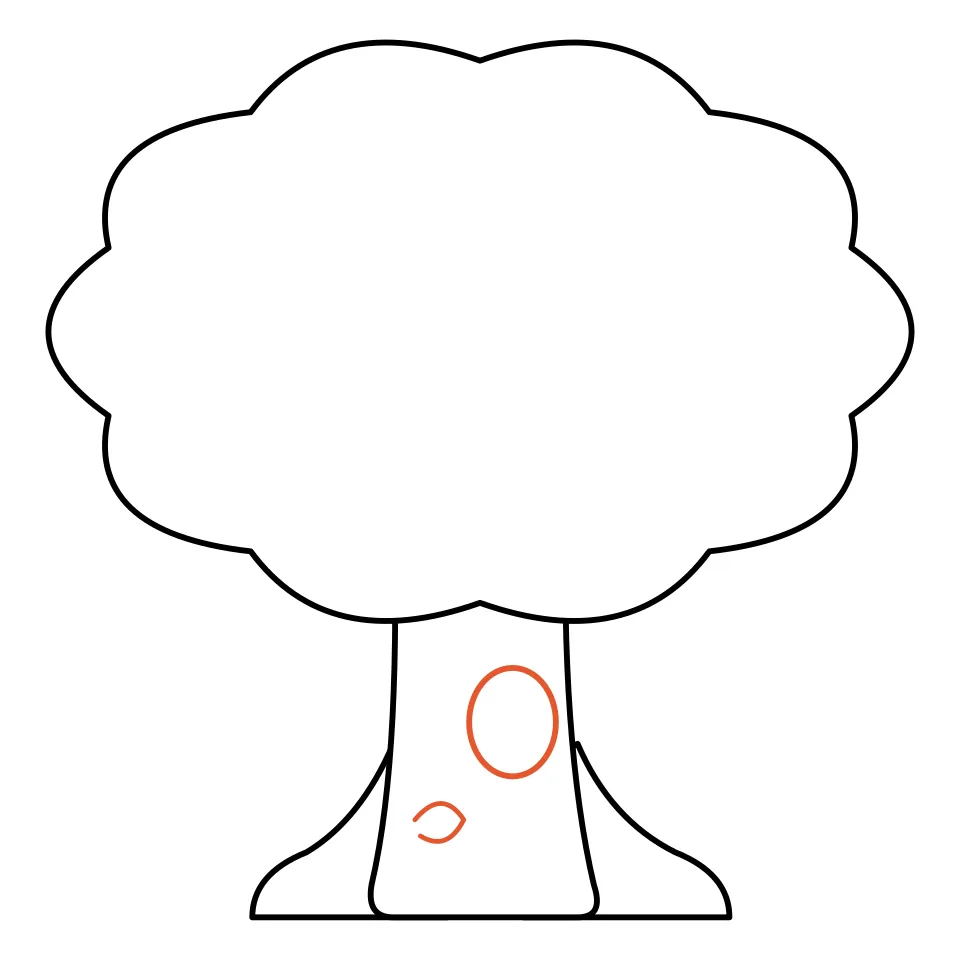
Draw a round hole and a little knot.
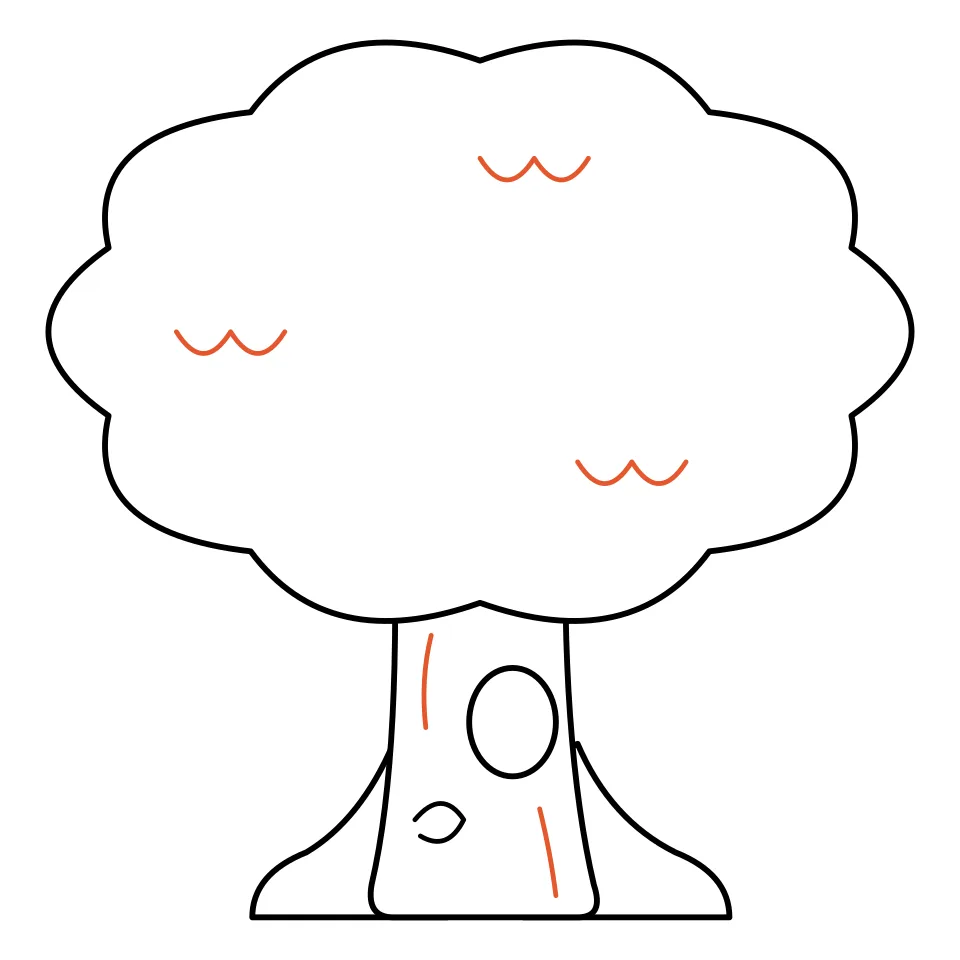
Add bark lines and leafy curls.
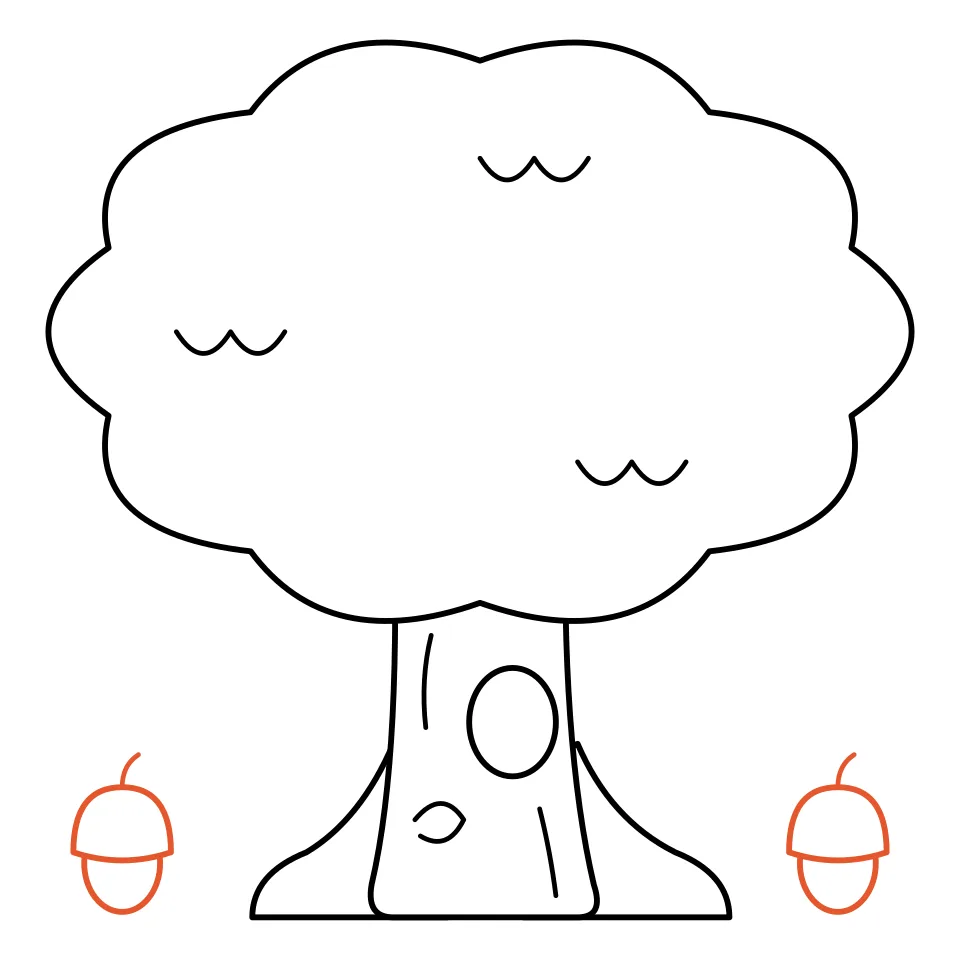
Finish with two acorns on the ground.
Tips to make your tree drawing easy
- Draw the treetop with small round bumps all the way around, like the edge of a cloud.
- Make the trunk a little wider at the bottom than at the top.
- Let the roots curve out from the trunk and end flat on the ground.
- Keep the leafy curls small; three are enough.
- Draw each acorn as an oval with a cap on top and a tiny stem.
Tree outline to print and trace
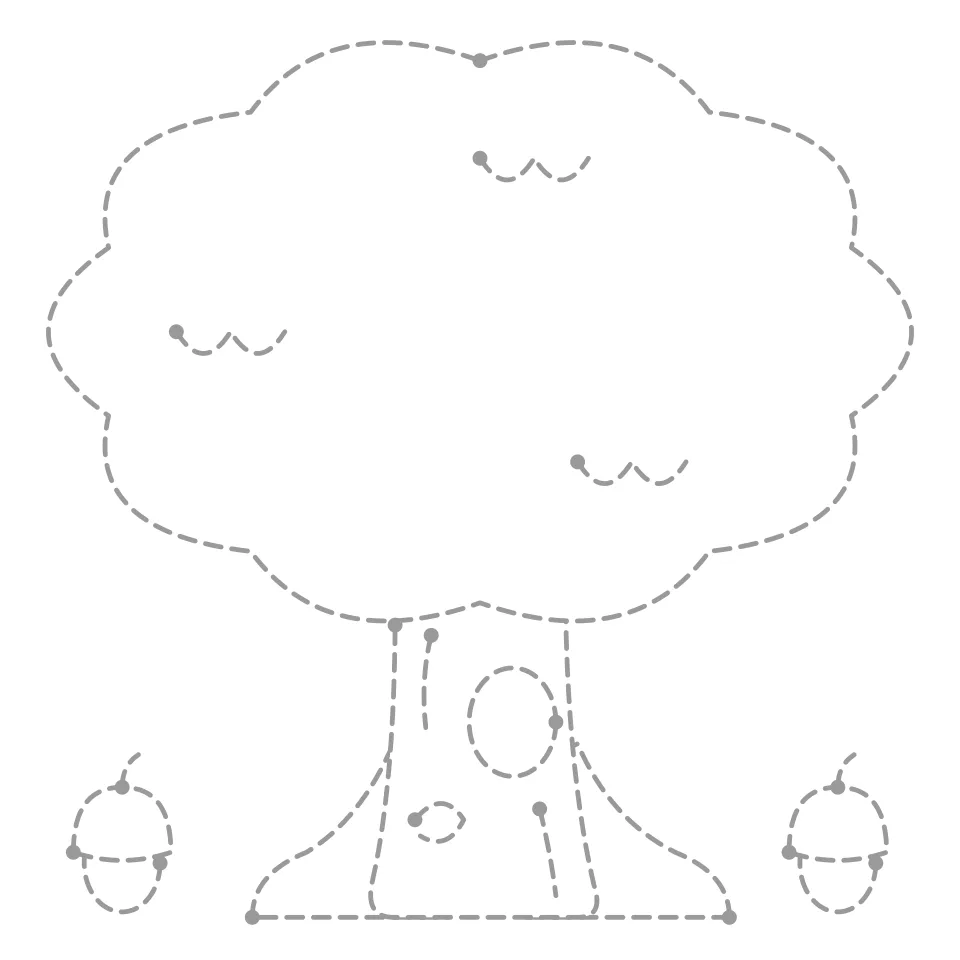
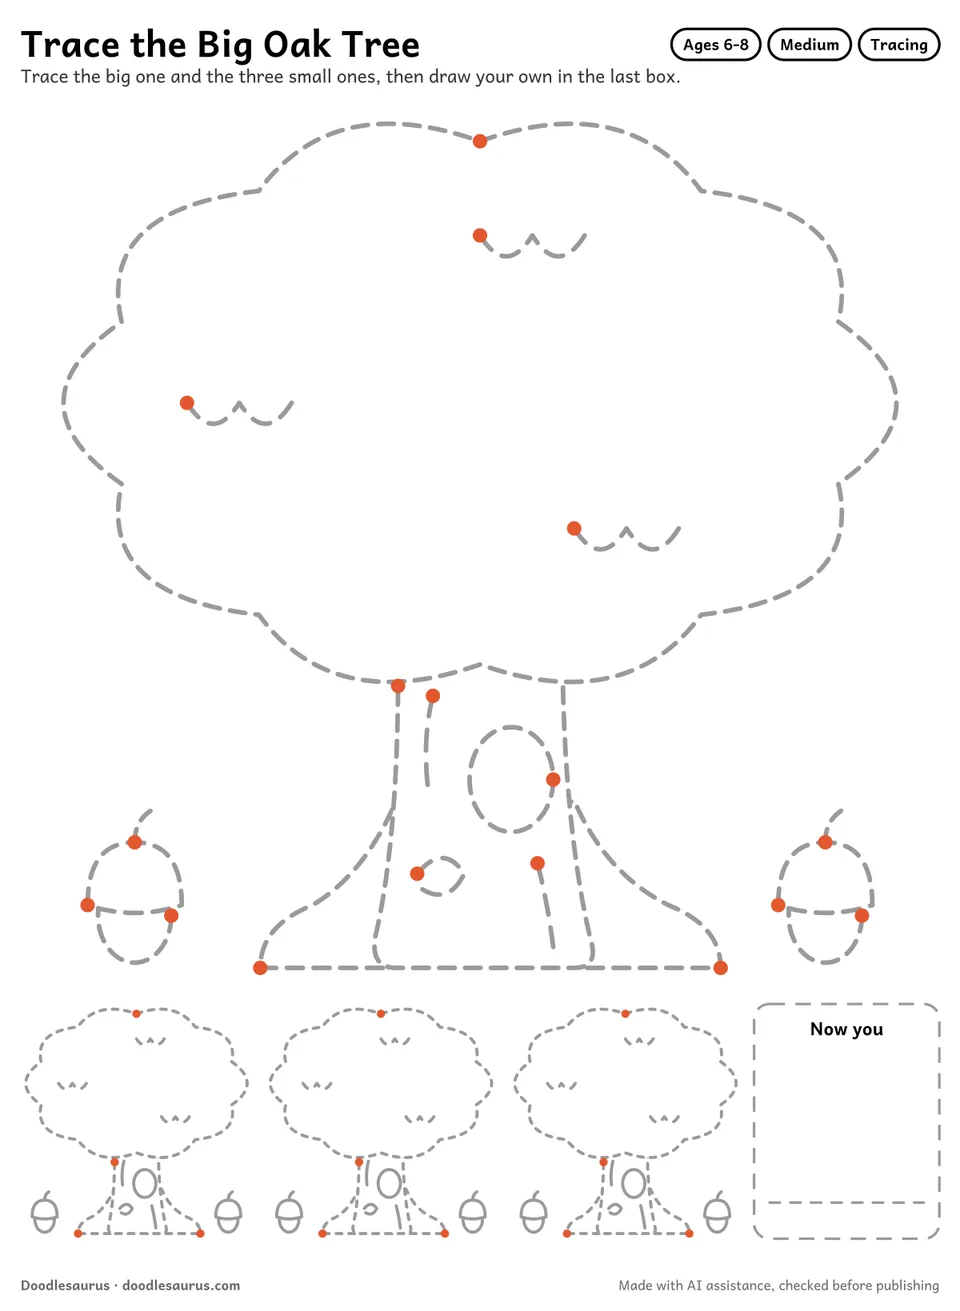
Print the finished outline on its own: trace over it with a pencil to learn the shapes, or use the dashed tracing sheet for younger kids who are still building pencil control. Both fit A4 and US Letter.
Color your tree
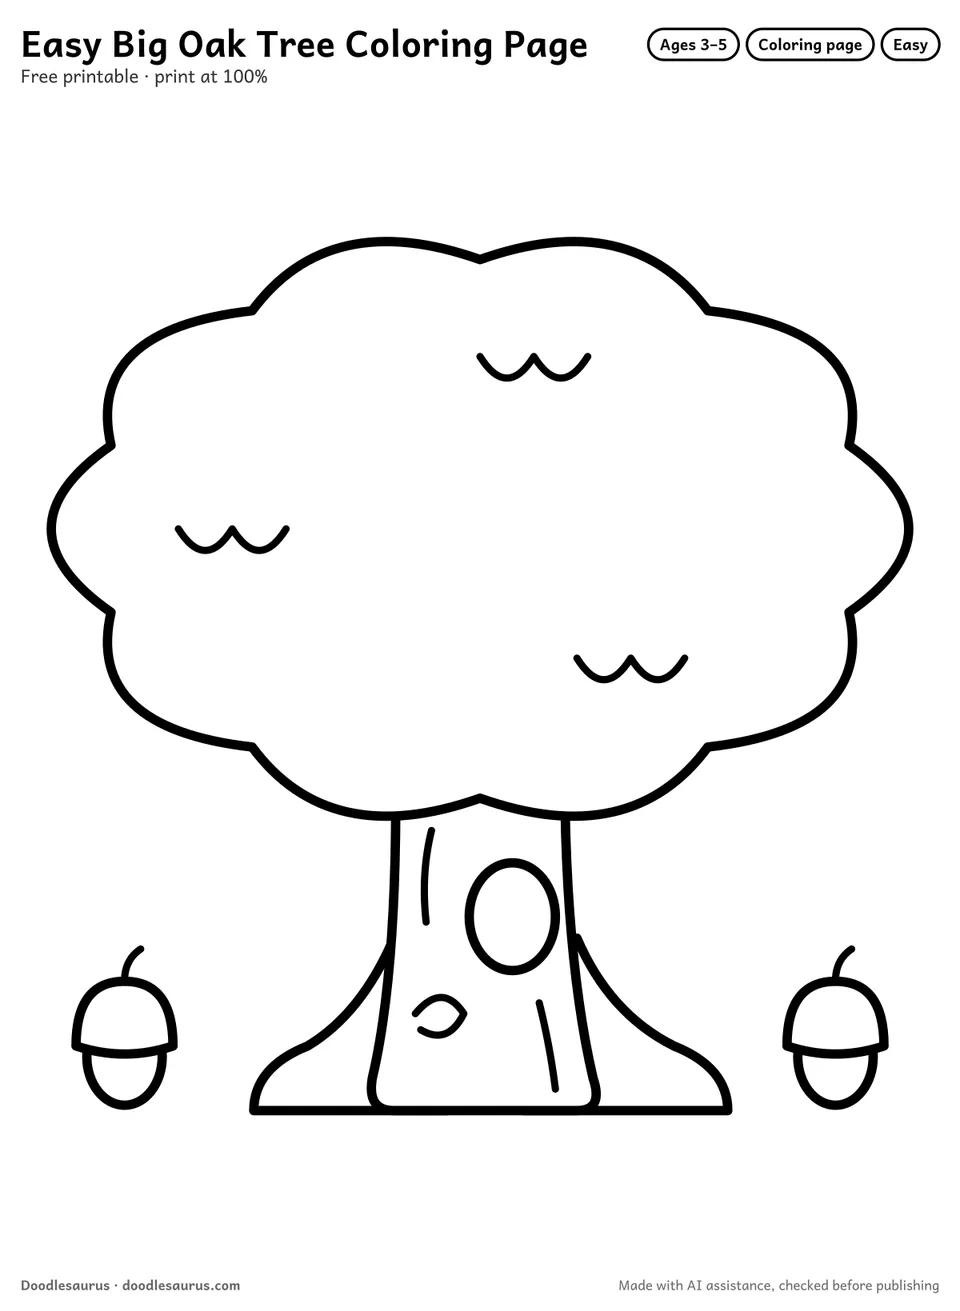
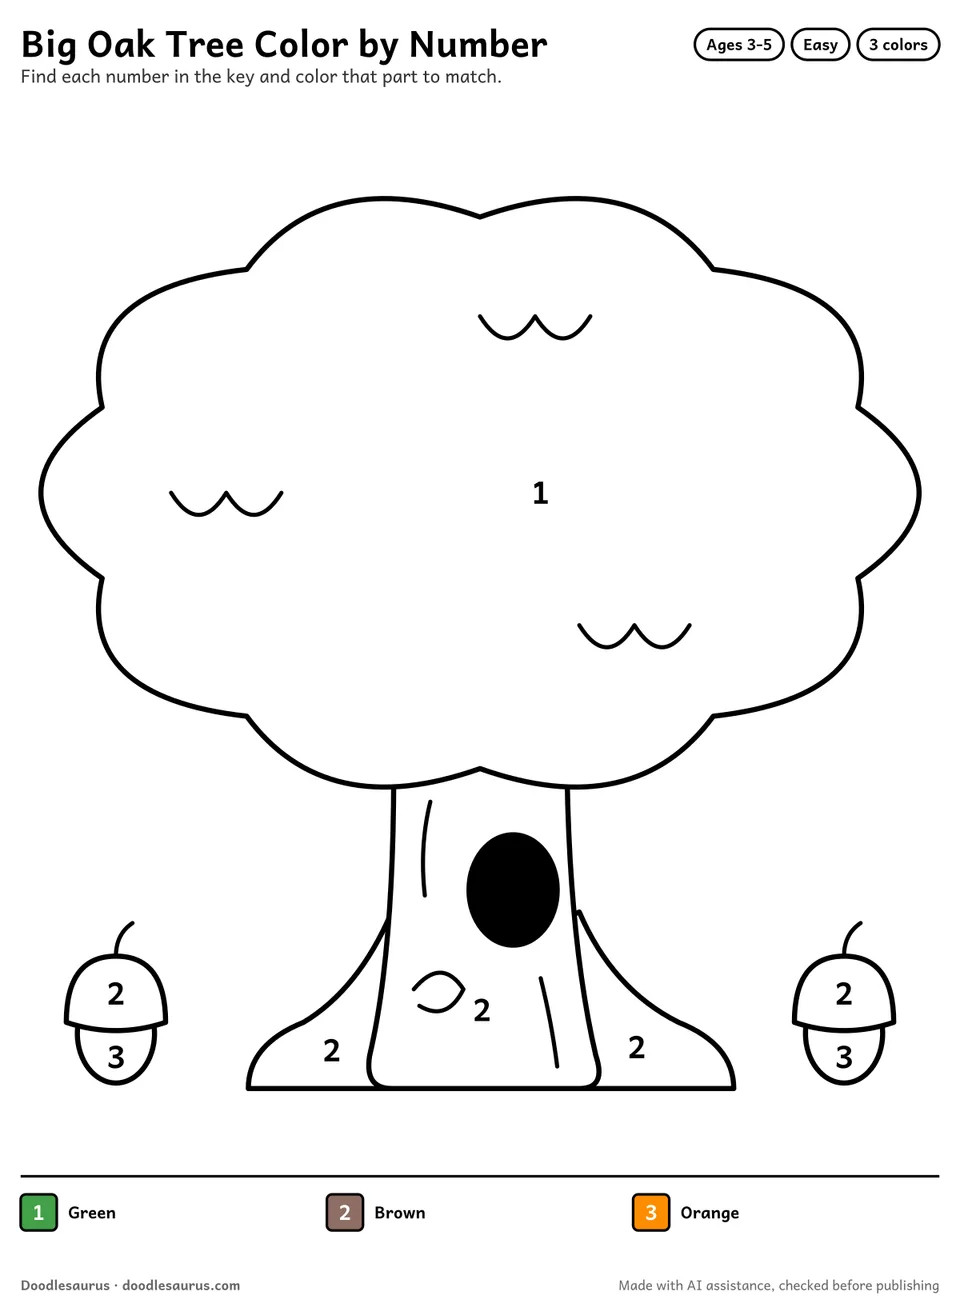
Finished drawing? Print one of our 2 tree coloring pages to color the same character in 2 difficulty levels, or color your own drawing with the step sheet beside you.
More tree activities
Frequently asked questions
What is the hole in the trunk for?
It is a round hole with a little knot, drawn in box 4. Once the six steps are done, a child can add an animal peeking out of it.
What age is the sheet for?
It is labeled for ages 3 to 5. The shapes are simple bumps, ovals and short lines, so older beginners can use it too.
What is on page two?
A practice page with a small finished oak, the six steps written out and a big box labeled Draw yours here.
How do I draw the bumpy treetop?
Go all the way around with small round bumps, like the edge of a cloud. Tracing the bumps in the air with a finger first is a good warm-up for the youngest children.
About this printable
- Made with AI assistance (vector drawing authored by a language model) and checked by automated tests and an AI reviewer.
- Checked by automated tests and an AI reviewer on 22 Oct 2026.
- Free for personal and single-classroom use. See the license. Read the license · How these are made · Report a problem.
- Vector PDF, 2 pages, 186×254 mm art box — prints edge-safe on A4 and US Letter.
New printables, twice a month
Our newsletter starts soon, with new sheets twice a month and a free 10-page starter pack for every new reader.