
Oak Tree Dot to Dot with Roots and Acorns
Tree connect the dots around a big oak with a bumpy treetop, trunk and roots: 30, 42 or 64 dots, with acorns and bark in gray. On A4 or US Letter.
Choose a level
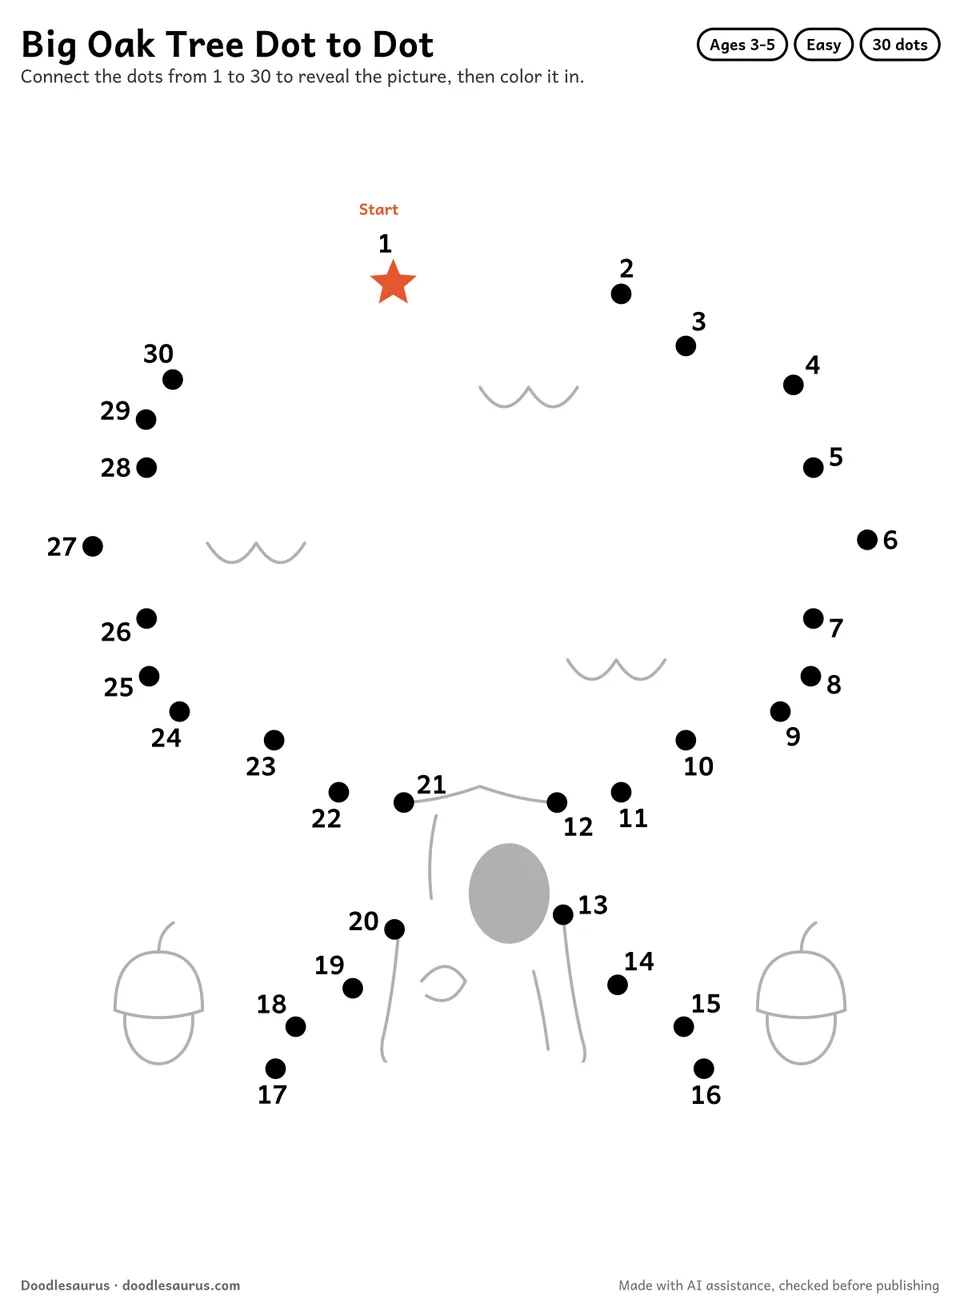
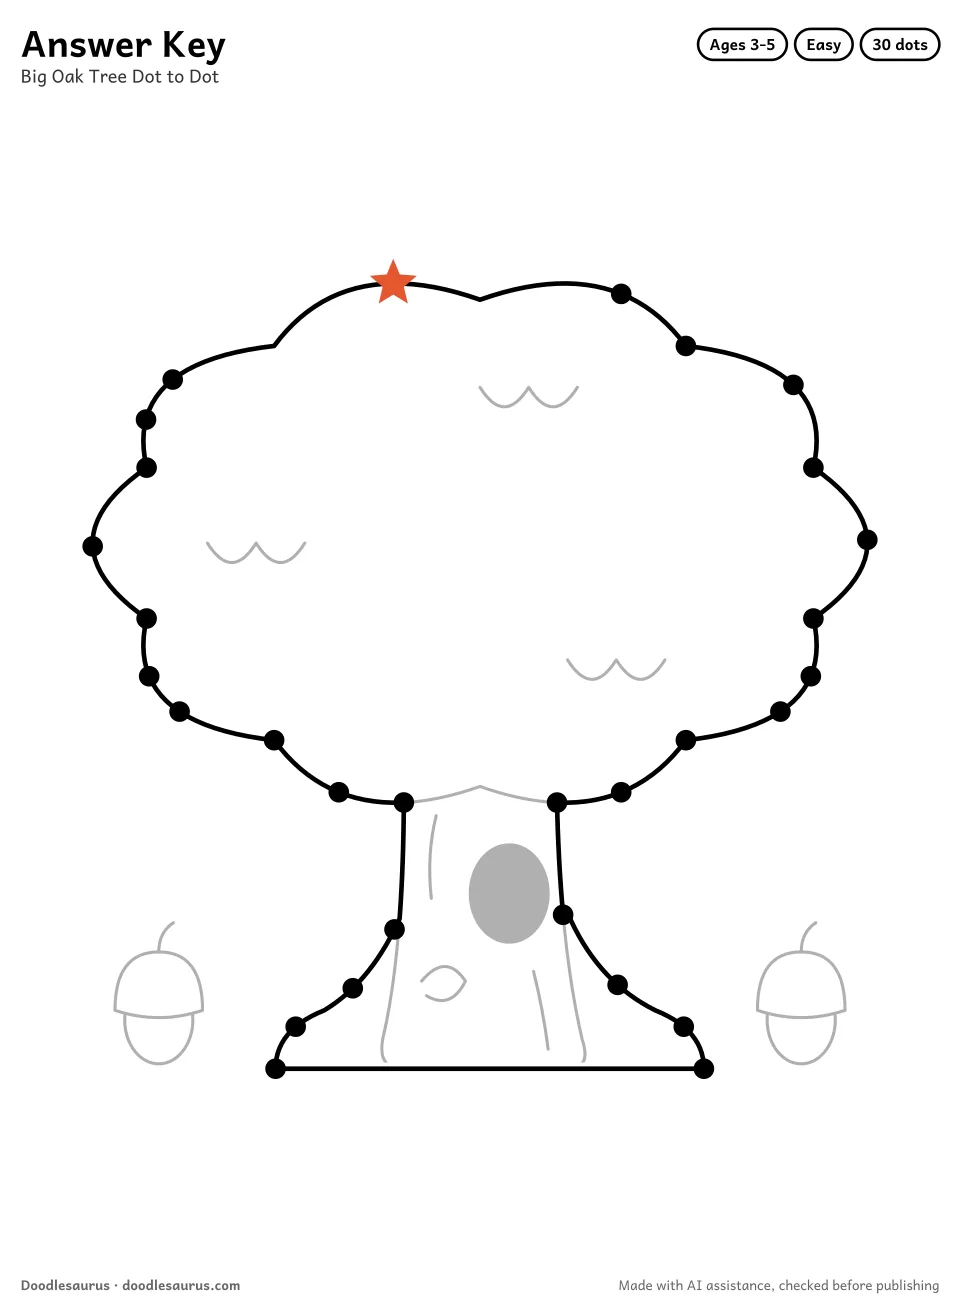
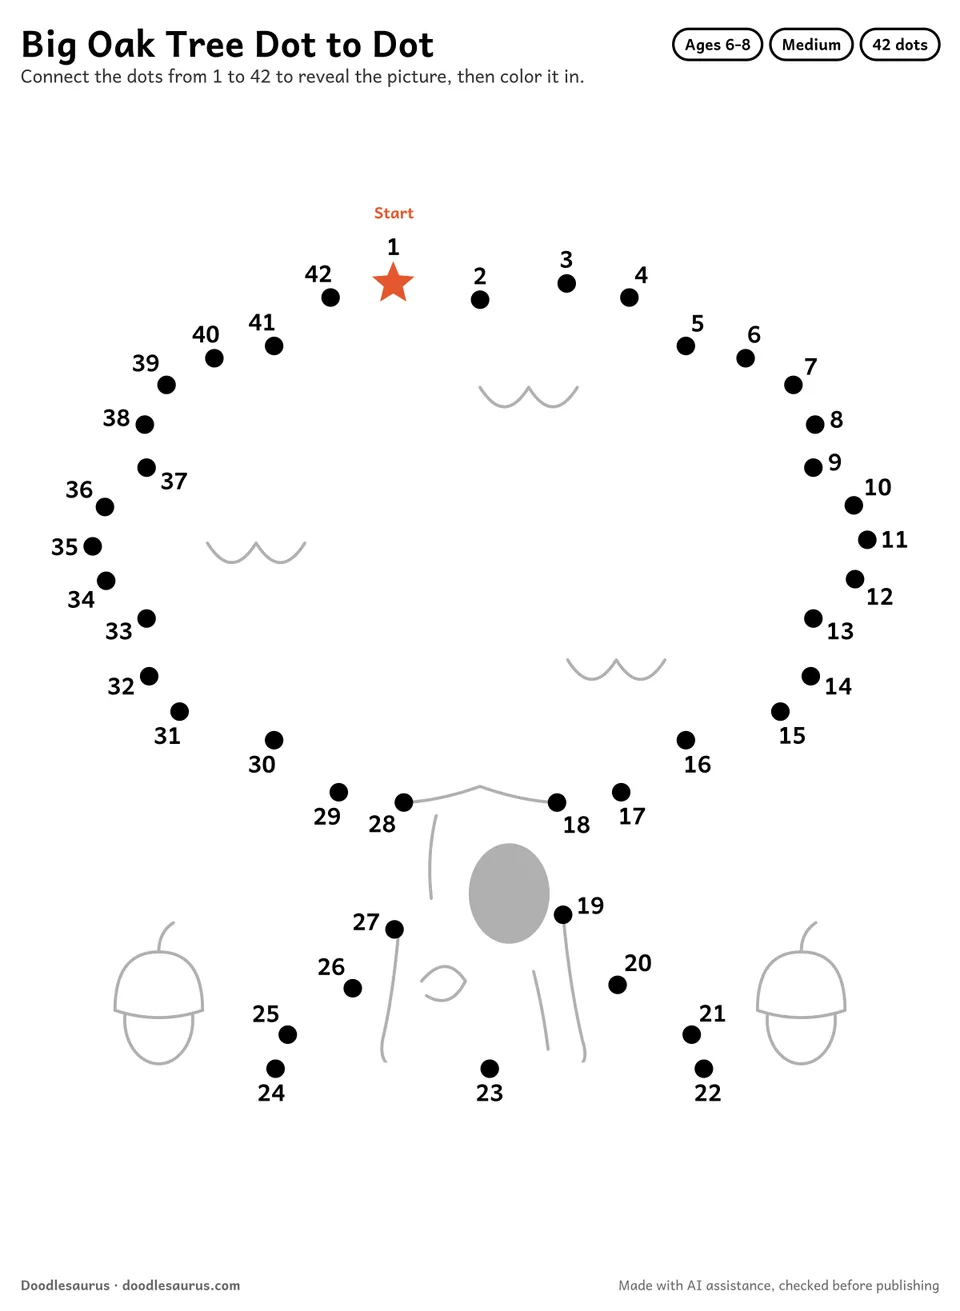
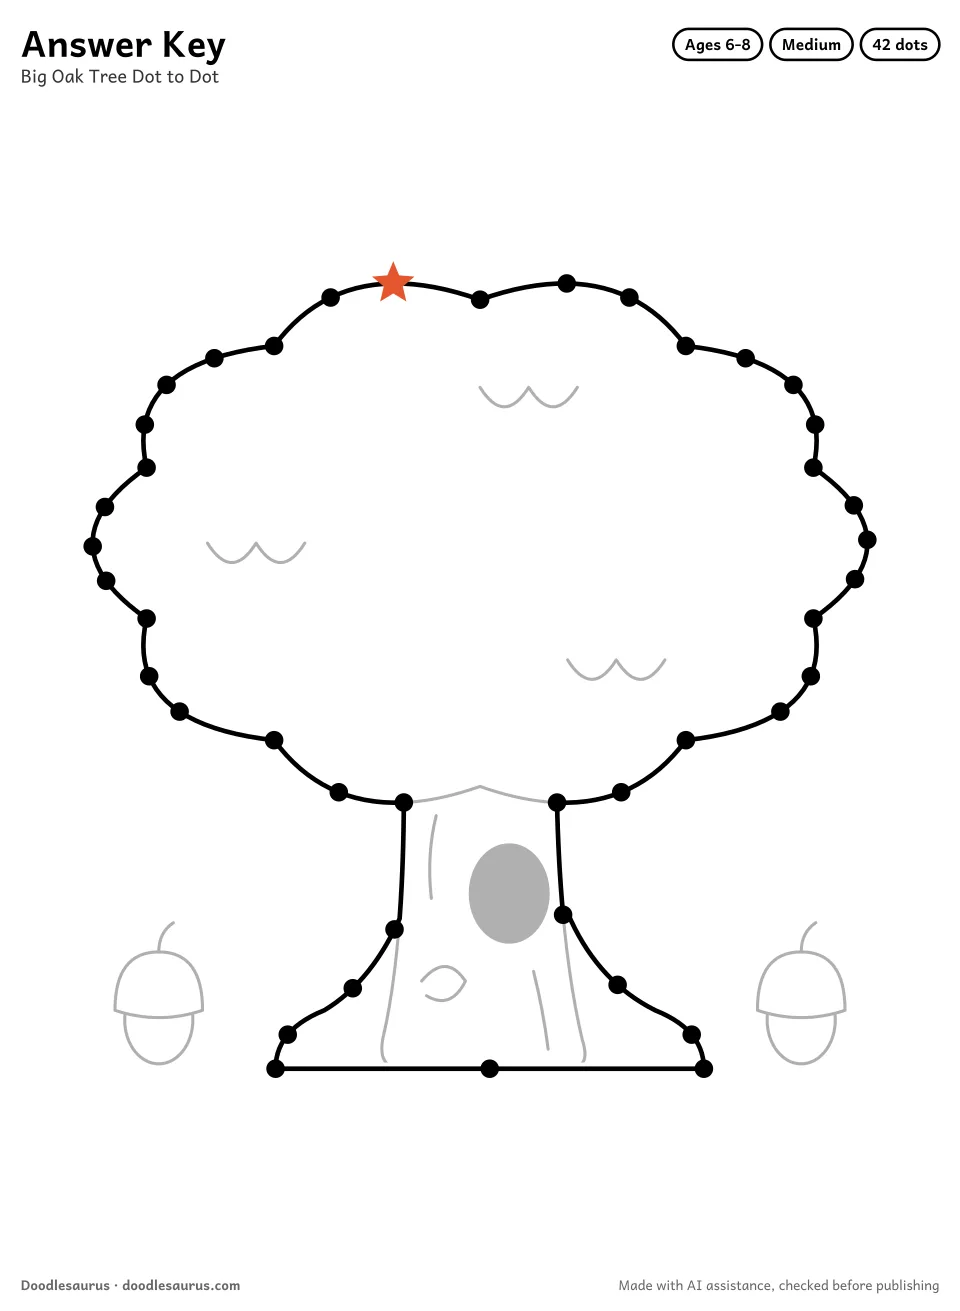
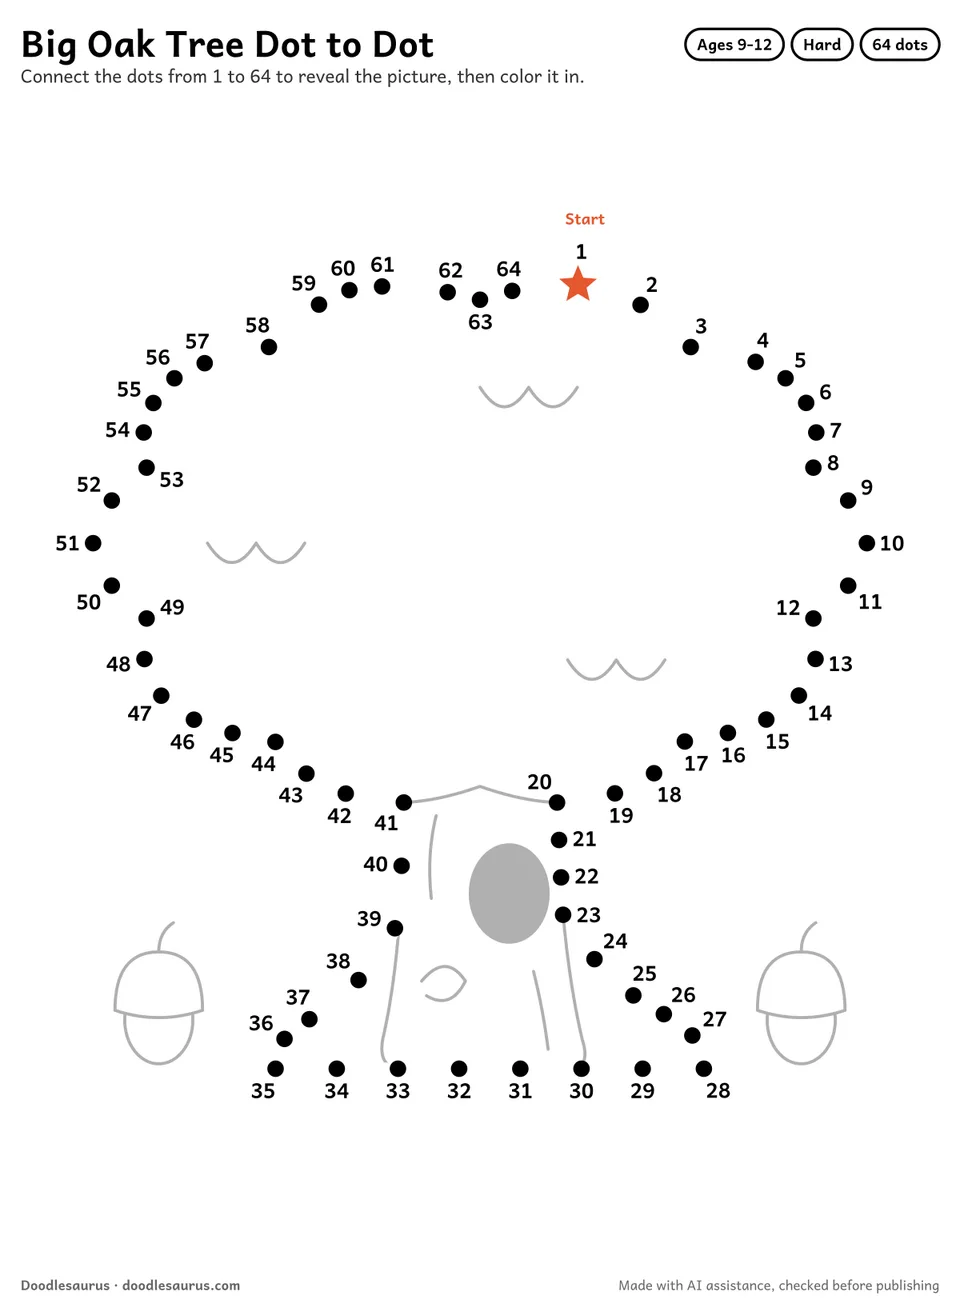
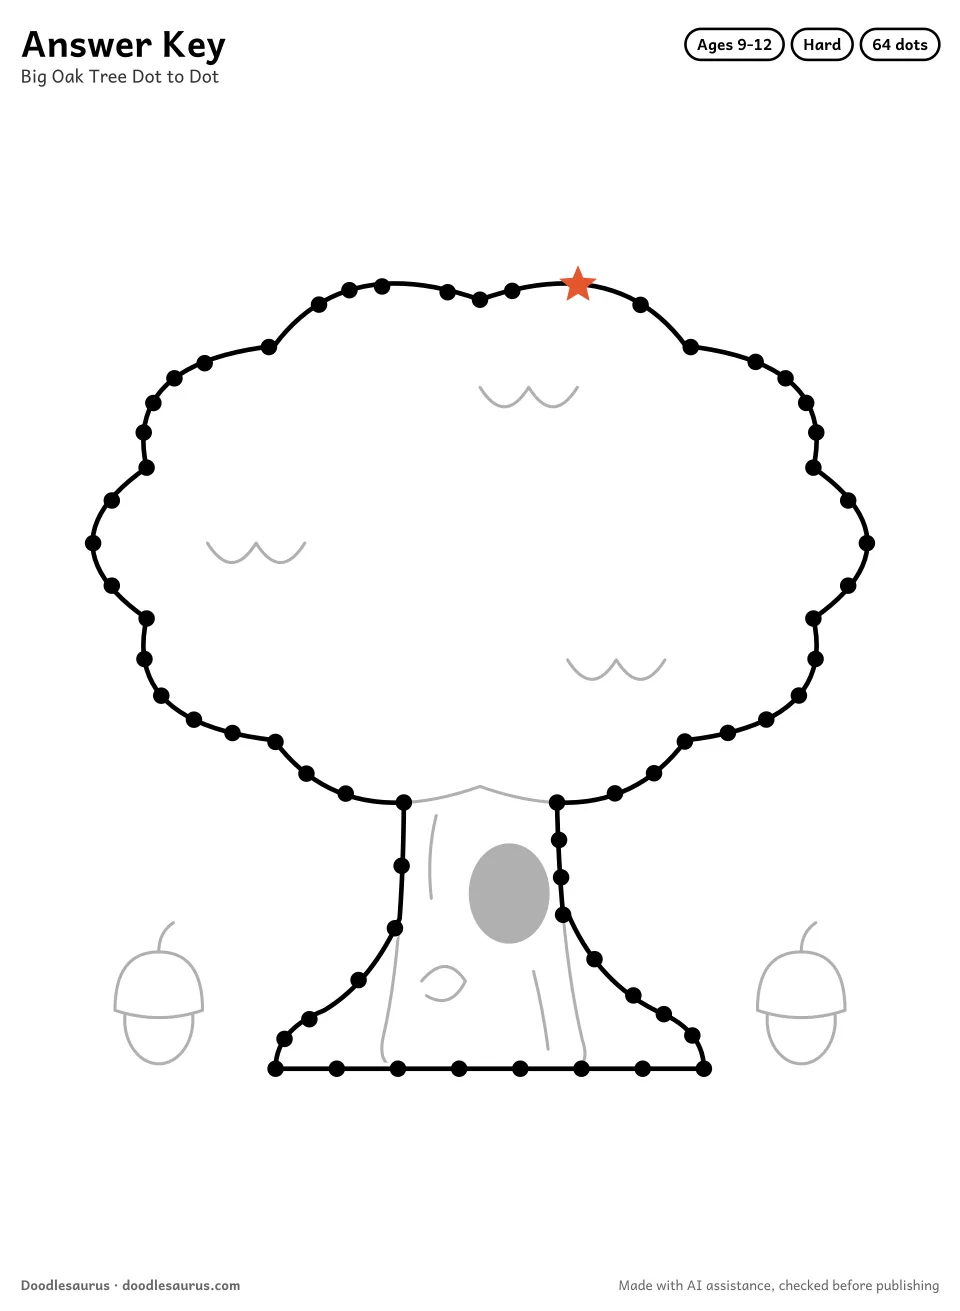
The treetop on this oak is a ring of rounded scallops. The line keeps that bumpy edge best if it bows outward a little between dots. Below it, a straight trunk widens into two roots that flare out onto a flat ground line.
Around the treetop and back
On the two easier pages the orange star for number 1 sits on the top left bump of the treetop. The 64-dot page puts it a little to the right of the middle. From the star the numbers travel clockwise around the scalloped edge, down the right side of the trunk and over the right root to the ground. A straight run along the bottom leads to the left root. Then the line climbs the trunk and the left side of the treetop back to the start.
Three levels, same oak
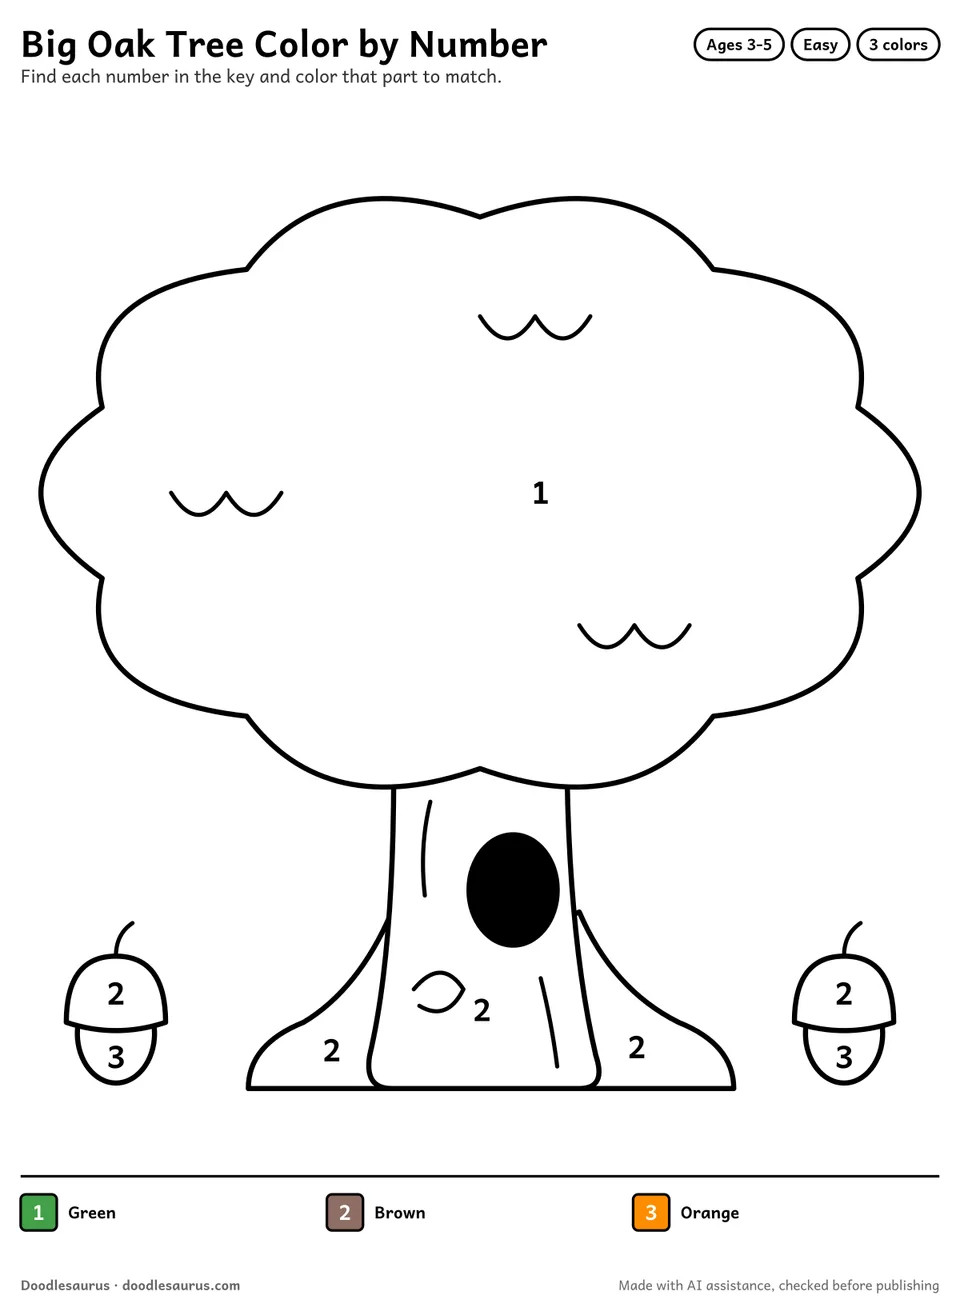
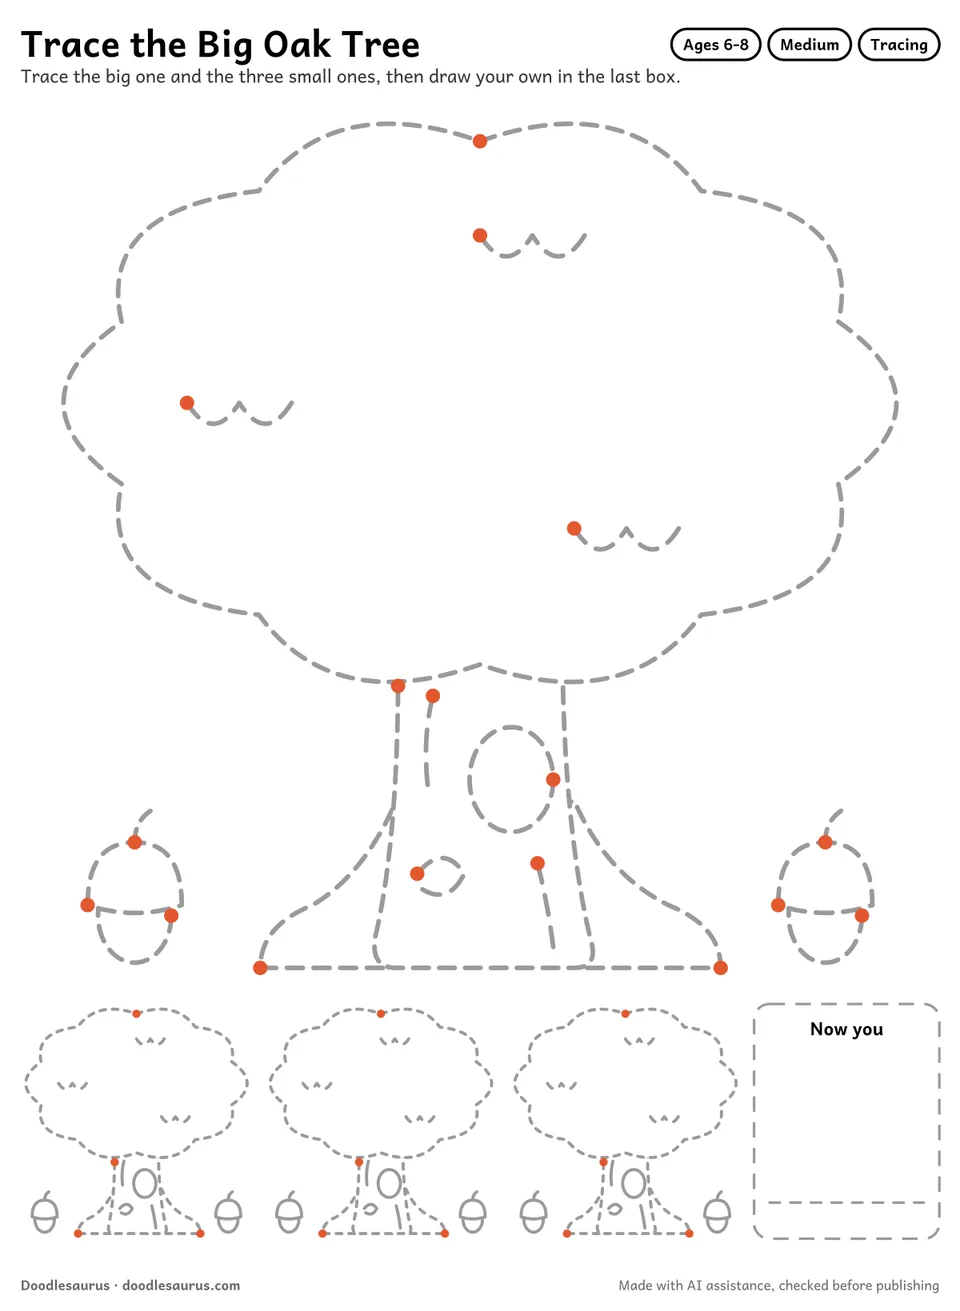
Leafy curls, the bottom edge of the treetop, the bark lines, a knot, a round hole in the trunk and two acorns beside the roots are printed in pale gray at every level. That gives the tree some texture. Pick the 30-dot page for ages 3 to 5, the 42-dot page for ages 6 to 8 or the 64-dot page for ages 9 to 12. The answer page shows the joined oak. Along the ground on the 64-dot page eight dots sit in a row, and they stay easy to count when the A4 or Letter file prints at 100 percent.
Skills practiced & tips
- Begin at the orange star on the top edge of the treetop.
- Let the line bow outward a little between dots on the treetop so it keeps its bumpy edge.
- The line runs down one side of the trunk, across the ground and up the other side.
- After the last dot, color the gray acorns brown and the treetop green.
- On the 64-dot page, count carefully along the ground, where eight dots sit in a row.
Tree fun facts
- A tree's age can be counted from the rings inside its trunk, with one ring added each year.
- Most of a tree's roots grow in the top layer of soil, spreading wide rather than deep.
Classroom ideas
- Pre-K (ages 4 to 5): join dots 1 to 10 together on the easy page, then let children finish alone.
- Grade 1: on the 42-dot page, children say each number aloud as the pencil reaches it.
- Grades 4 and 5: finish the 64-dot oak, then add an animal from imagination, such as an owl in the trunk hole.
More tree activities
More dot to dot
Frequently asked questions
How should a child join the dots on the scalloped treetop?
Let the line bow outward a little between dots, so the scallops keep their bumpy edge. All three levels draw the same oak: 30 dots for ages 3 to 5, 42 for ages 6 to 8 and 64 for ages 9 to 12.
What is drawn in gray on the oak's trunk?
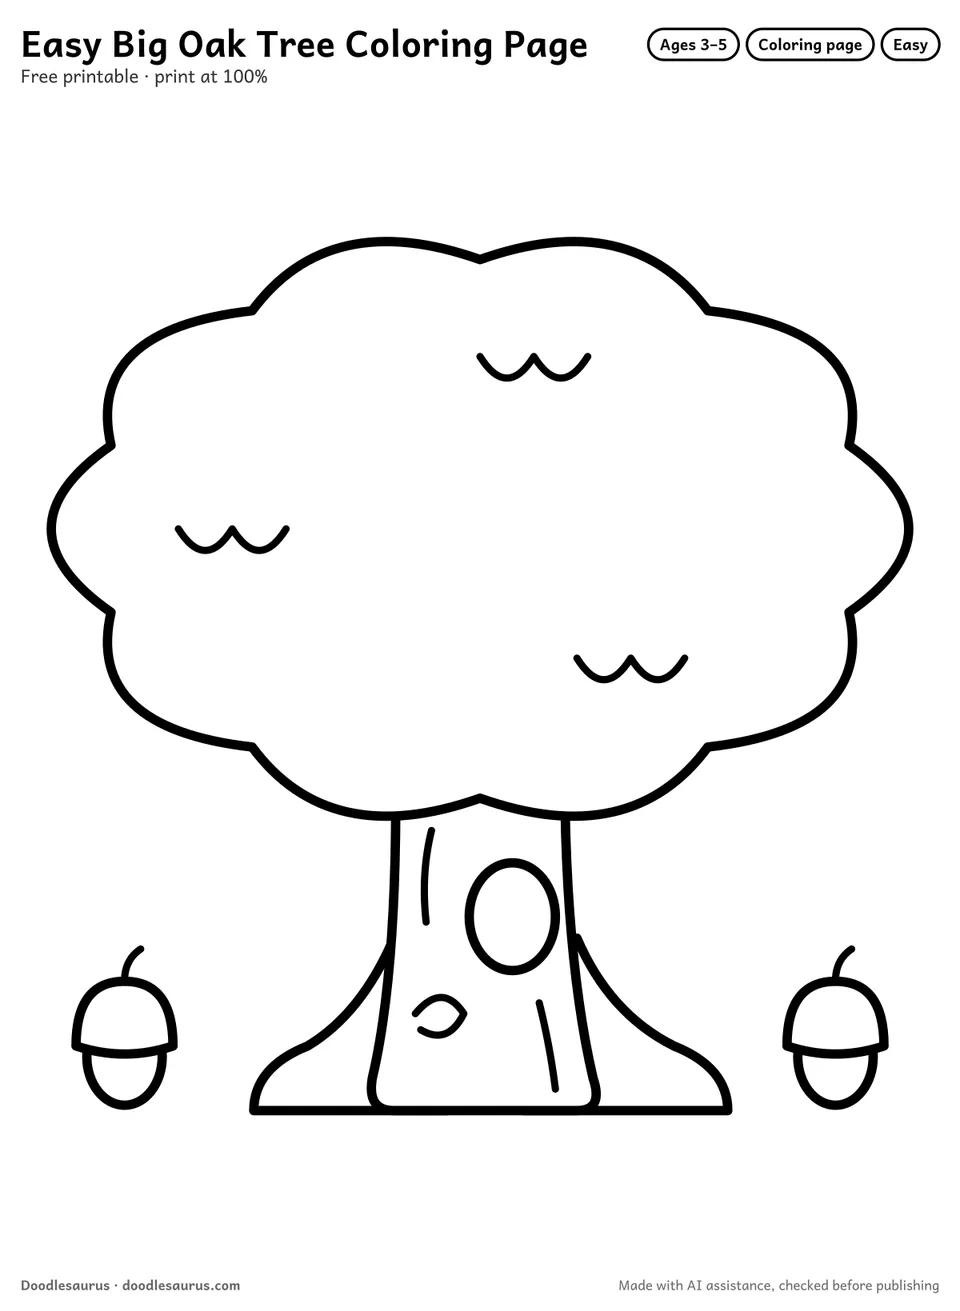
The bark lines, a knot and a round hole in the trunk are printed in pale gray at every level. So are the leafy curls, the line where the treetop meets the trunk and two acorns.
Where are the acorns?
The dots draw only the outline of the treetop, trunk and roots. On every page two gray acorns sit beside the roots.
Why does the hard page start in a different spot?
On the 30-dot and 42-dot pages the star sits on the top left bump of the treetop. On the 64-dot page it sits a little to the right of the middle, and the numbers still travel clockwise from there.
About this printable
- Made with AI assistance (vector drawing authored by a language model) and checked by automated tests and an AI reviewer.
- Checked by automated tests and an AI reviewer on 22 Oct 2026.
- Free for personal and single-classroom use. See the license. Read the license · How these are made · Report a problem.
- Vector PDF, 2 pages, 186×254 mm art box — prints edge-safe on A4 and US Letter.
New printables, twice a month
Our newsletter starts soon, with new sheets twice a month and a free 10-page starter pack for every new reader.