
Shark Tracing Worksheets with Fins, Teeth and Gills
Shark tracing worksheets: a swimming shark with straight-edged fins, zigzag teeth and three gills, in easy and medium levels as A4 or US Letter PDFs.
Choose a level
Swimming Shark Tracing Worksheet
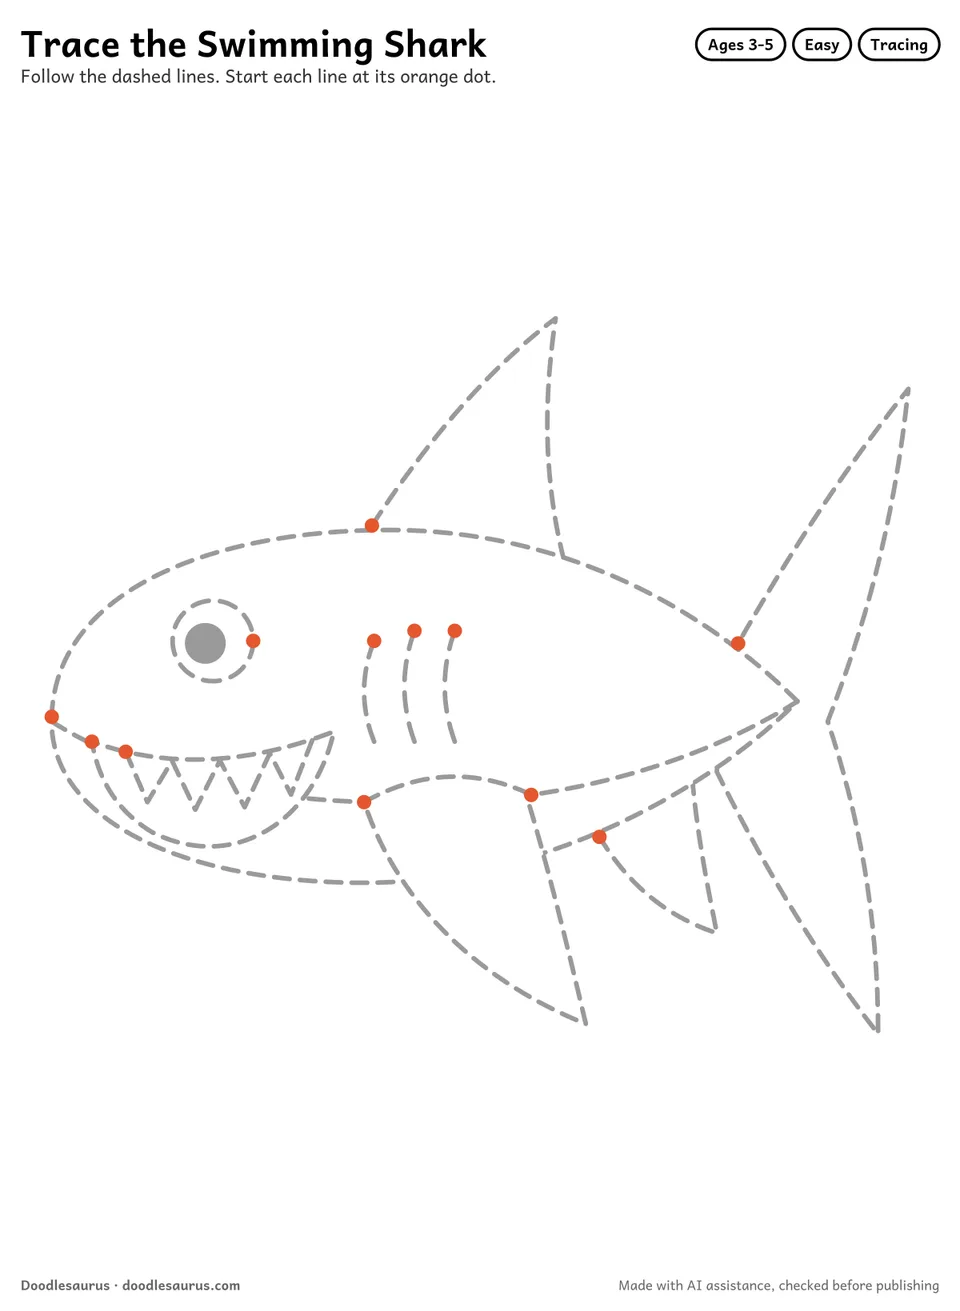
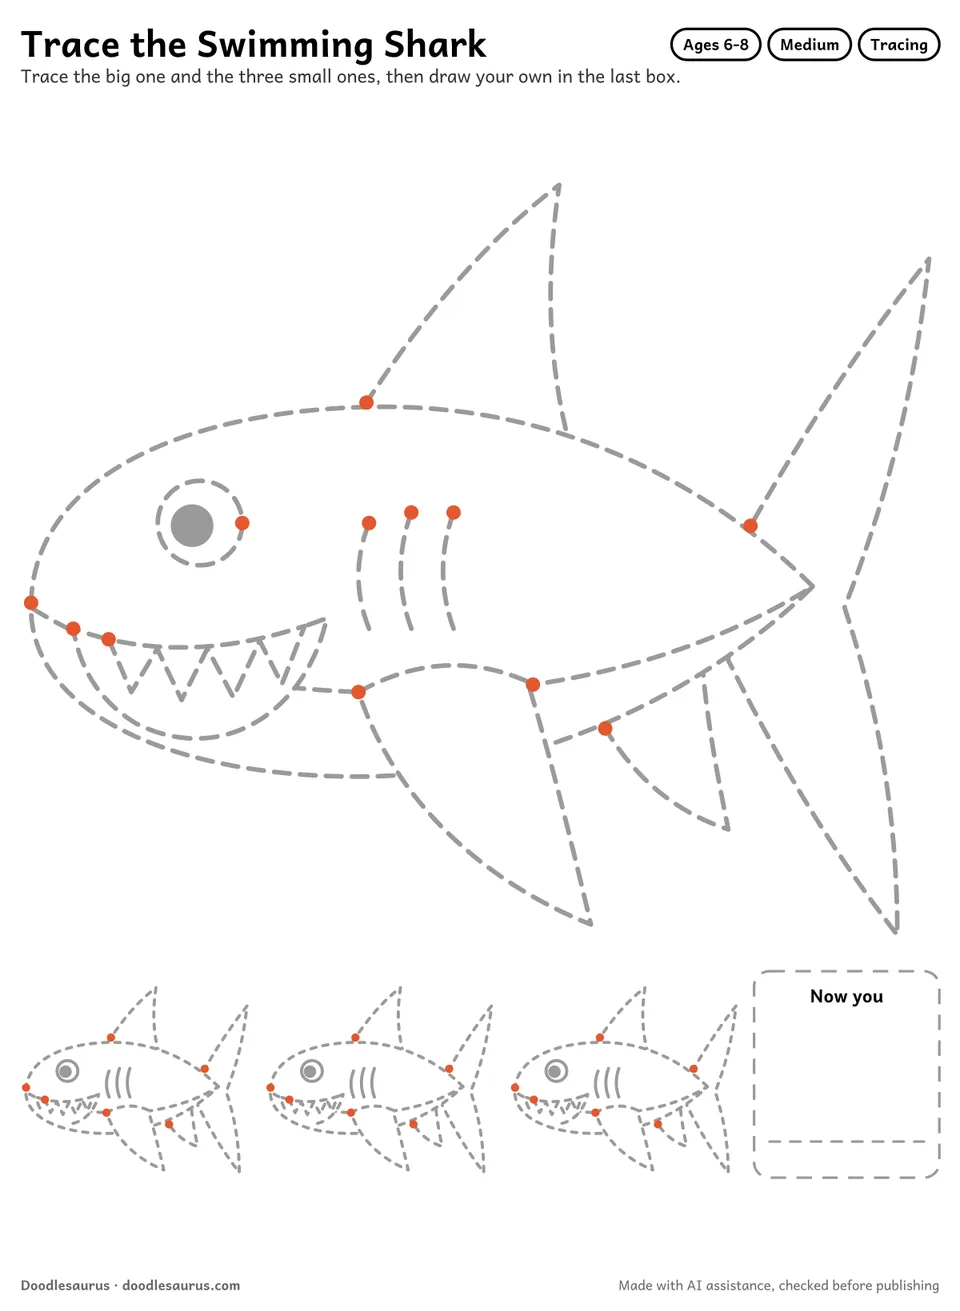
A swimming shark is a good page for learning to change direction. Its back and belly are long smooth curves, but the tall back fin and the crescent tail are straight lines that meet at sharp points, and the mouth is a zigzag of teeth. Each stroke starts at a small orange dot. The pupil is filled in gray, so the face is easy to read from the start.
Easy: a single big shark
One large shark gets the whole easy page, sized for ages 3 to 5, and the long body outline is the easiest stroke and a good place to begin. The three gill curves are small arcs.
Medium: small sharks and a free box
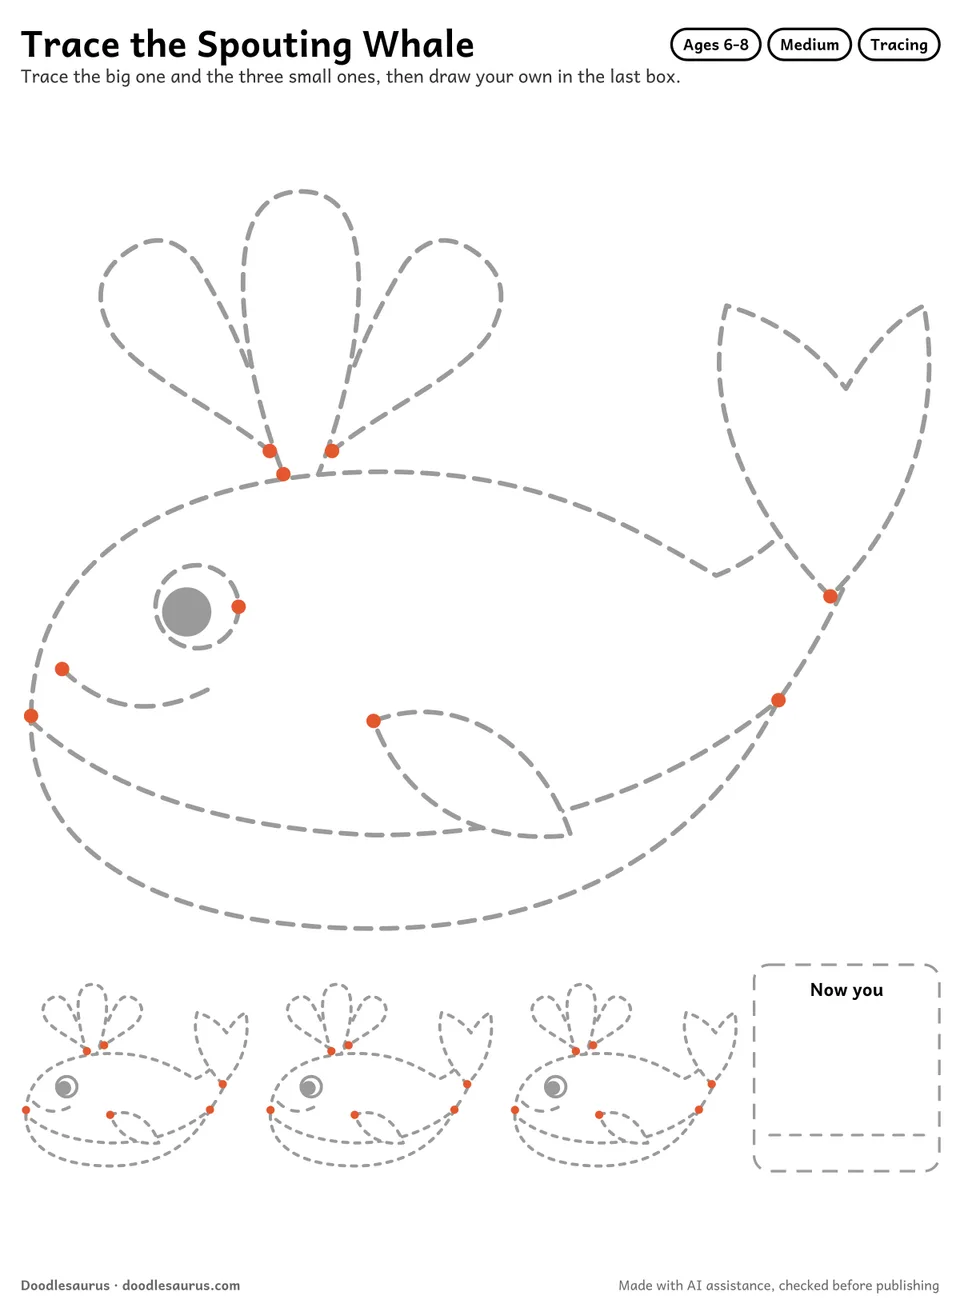
Ages 6 to 8 need more pencil control on the medium page. Under the large shark there are three small ones, and on them the zigzag of teeth shrinks to tiny marks. Their eye ring and three gills are thin solid lines with no dot. If the printer shrinks the A4 or Letter page, the small sharks get too tight to trace comfortably, so keep it at 100 percent. In the dashed Now you box at the end, a child draws a shark with no guide lines.
Skills practiced & tips
- Start with the long body outline, since it is the easiest stroke on the page.
- Show your child that the tail and the back fin are made of straight lines that meet at a point.
- Trace the zigzag teeth slowly, stopping at each point before changing direction.
- Use a thick crayon for the big shark and a sharp pencil for the three small ones.
- Let your child color the shark once every dashed line has been covered.
Shark fun facts
- Sharks can sense the tiny electric signals given off by the muscles of other animals.
- The great white shark can grow to around 6 meters long.
- Many sharks have a lighter belly and a darker back, which makes them harder to spot from above or below.
Classroom ideas
- Preschool (ages 3 to 5): slip the easy page into a plastic sleeve and trace it with a dry-wipe pen during free play.
- Kindergarten: split the medium page across two sessions, the big shark first and the small sharks and Now you box the next day.
- Grade 1: after tracing, children write a label for each fin next to the large shark.
More shark activities
More tracing
Frequently asked questions
How slowly should the shark's teeth be traced?
Slowly, with a stop at each point before the line turns. The teeth are a zigzag in the mouth, and on the three small sharks they shrink to tiny marks.
Why does each line have an orange dot?
The orange dot shows where the stroke begins. Placing the pencil on the dot first gives a clear starting point and a direction to follow along the dashes.
What can grade 1 children add after tracing?
A label for each fin, written next to the large shark.
About this printable
- Made with AI assistance (vector drawing authored by a language model) and checked by automated tests and an AI reviewer.
- Checked by automated tests and an AI reviewer on 22 Oct 2026.
- Free for personal and single-classroom use. See the license. Read the license · How these are made · Report a problem.
- Vector PDF, 1 page, 186×254 mm art box — prints edge-safe on A4 and US Letter.
New printables, twice a month
Our newsletter starts soon, with new sheets twice a month and a free 10-page starter pack for every new reader.