
Pumpkin Dot to Dot with a Jack-o'-Lantern Face
A pumpkin dot to dot with a jack-o'-lantern face: connect the dots from a star on the stem, 24, 42 or 61 of them. Free A4 and US Letter files.
Choose a level
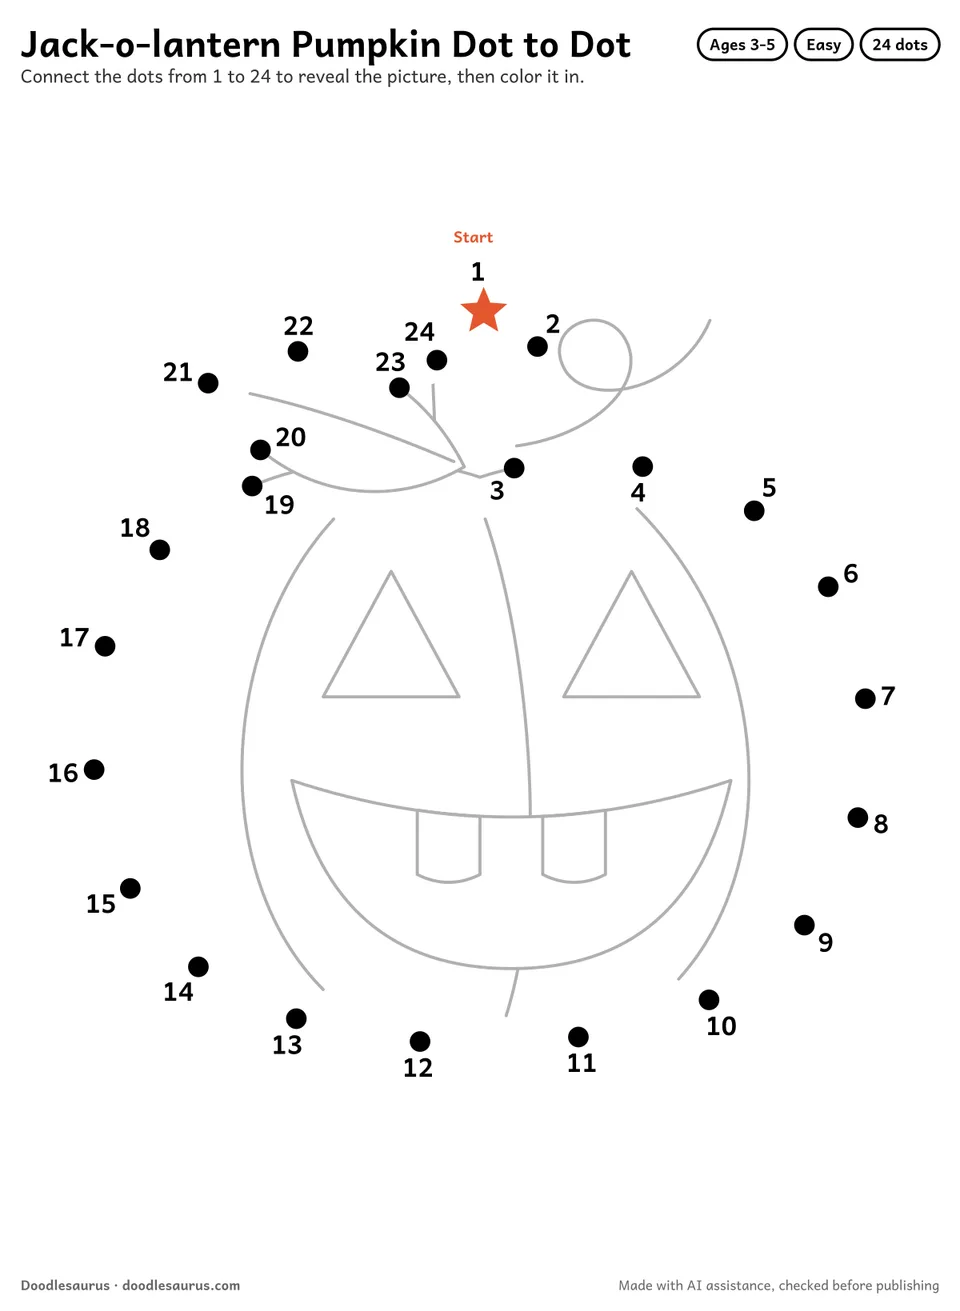
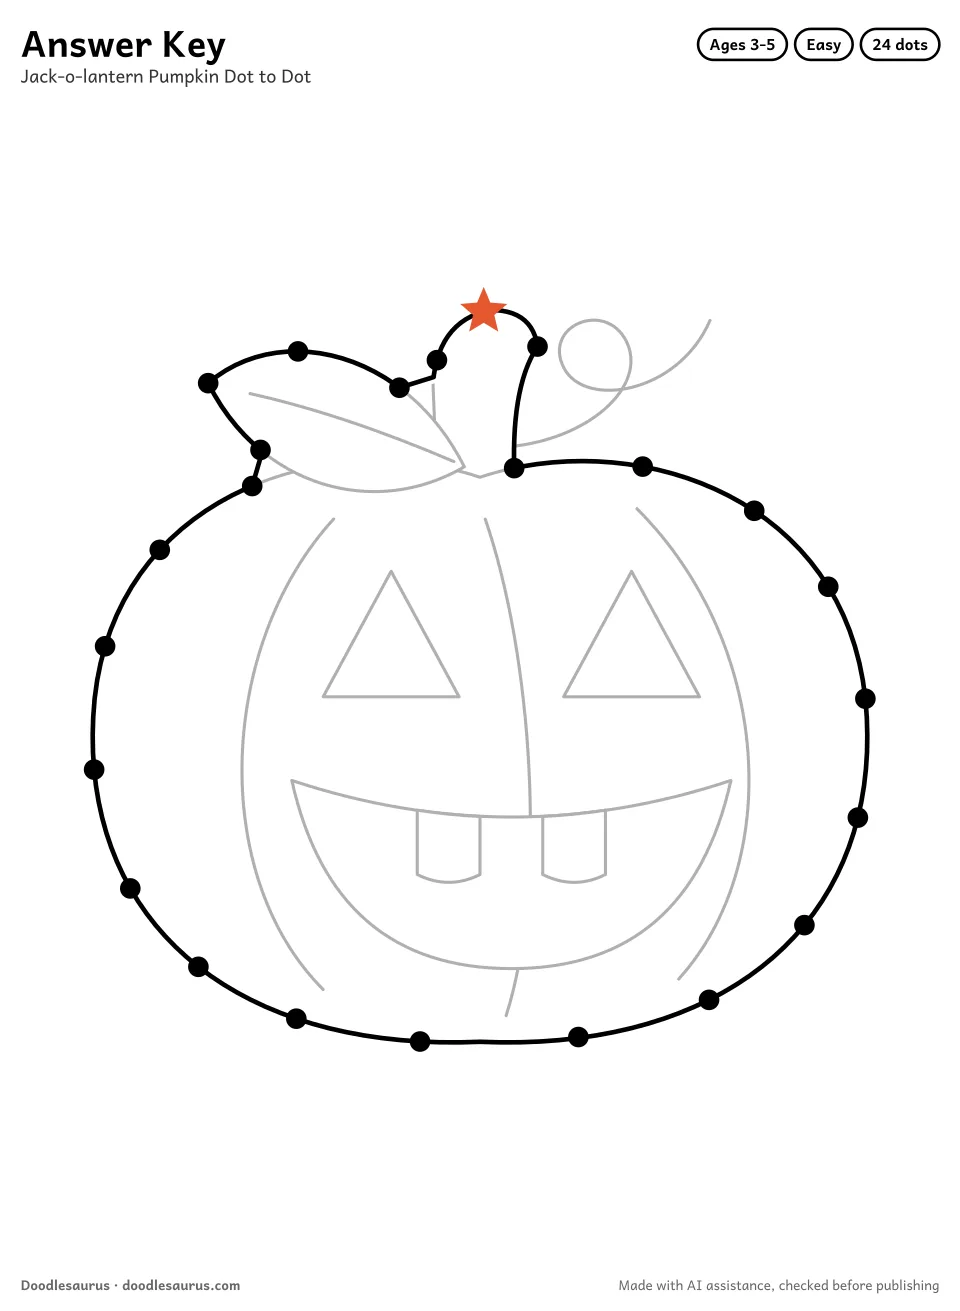
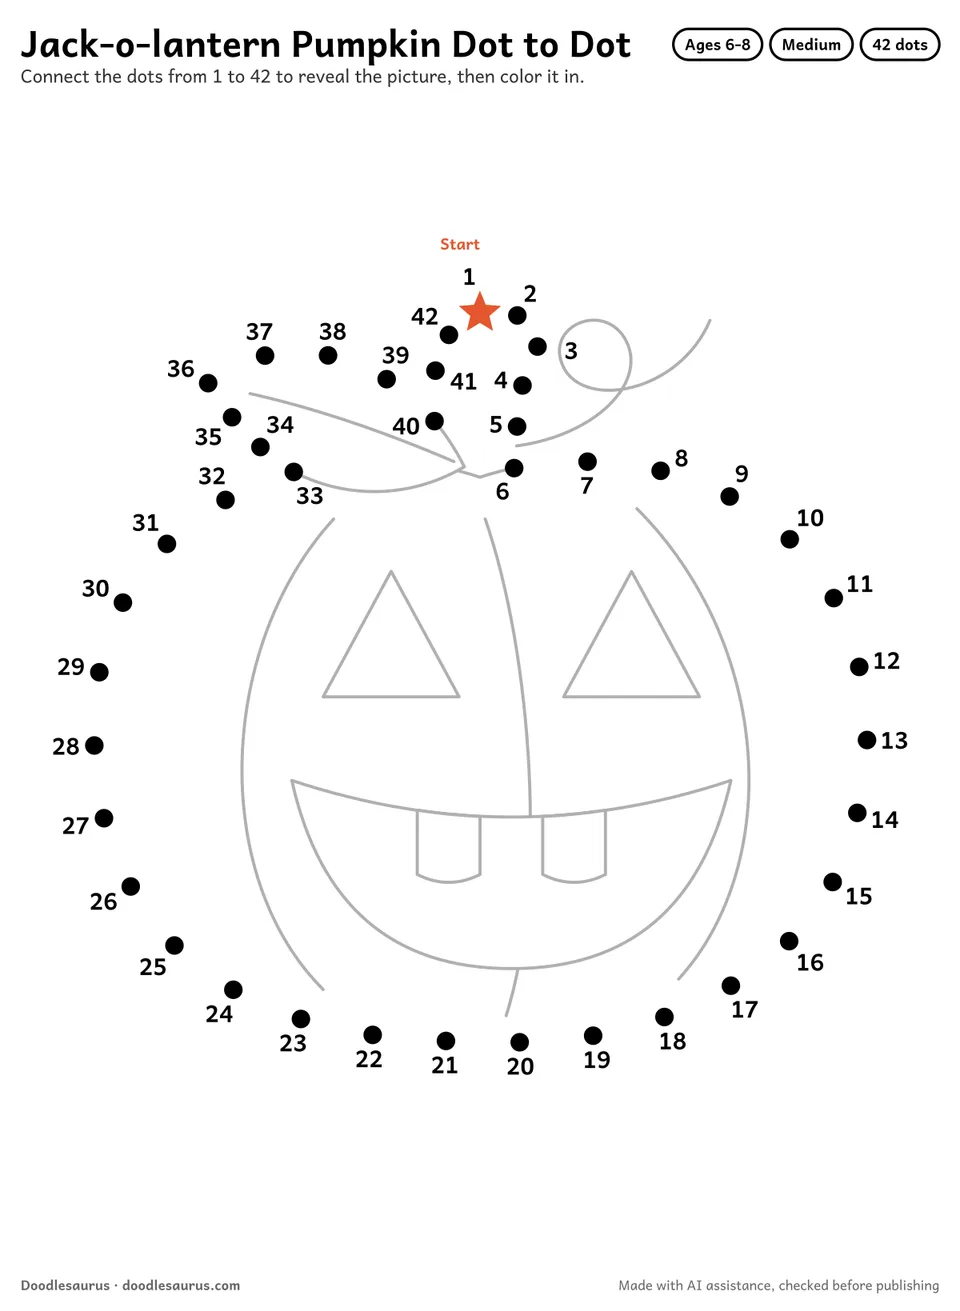
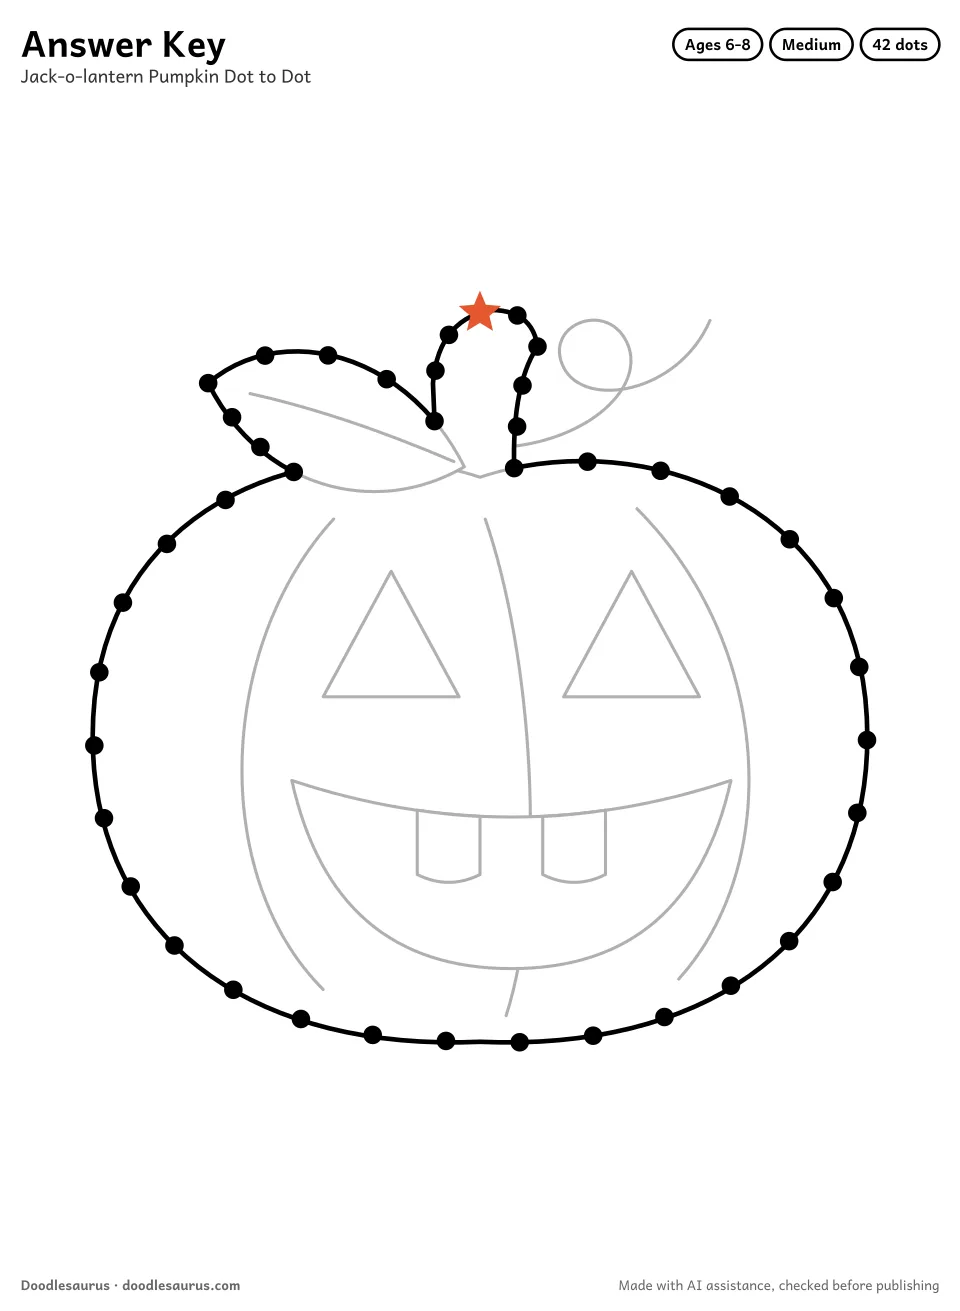
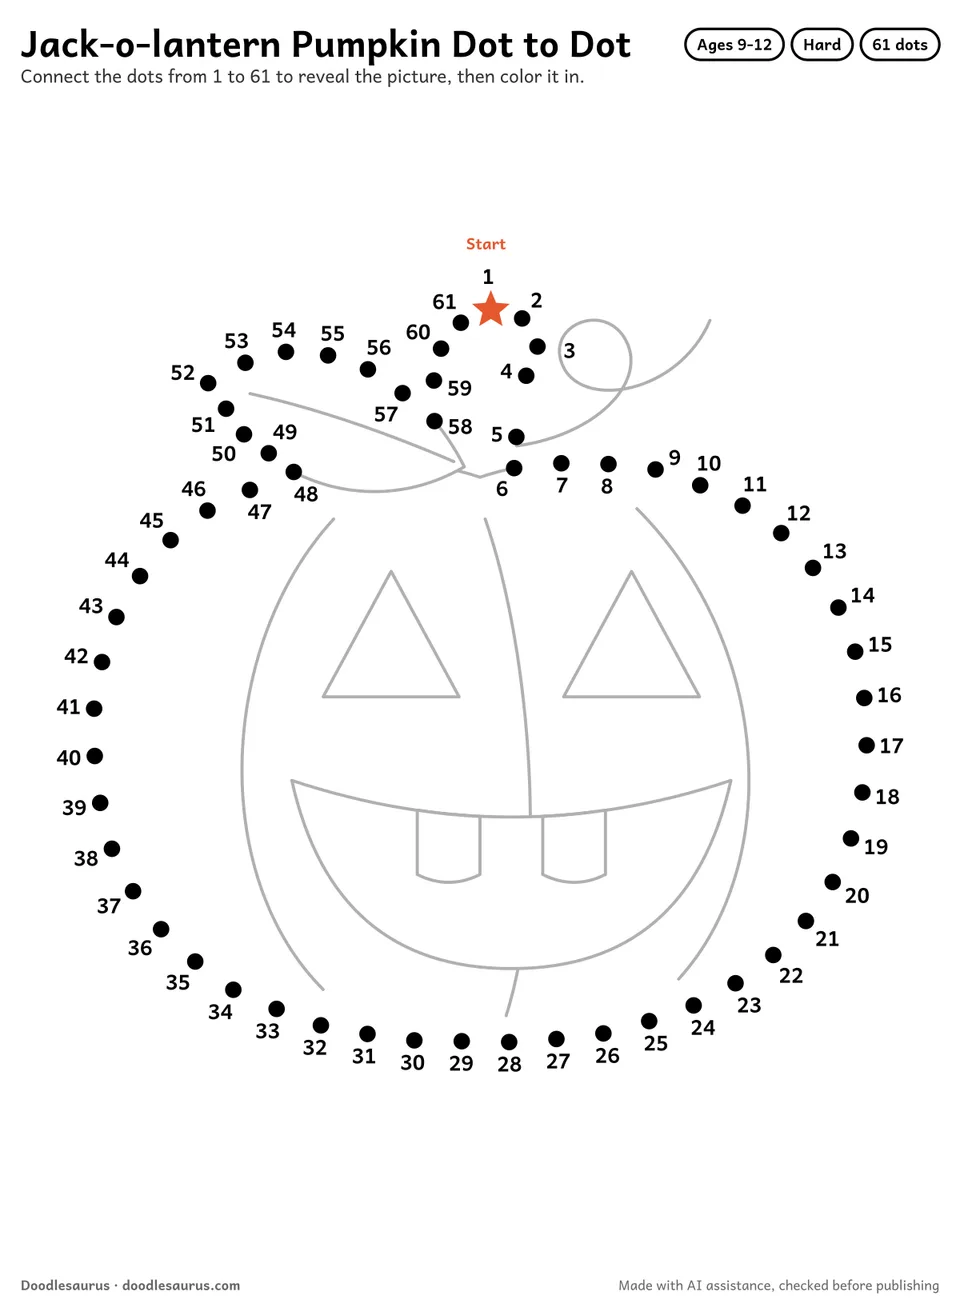
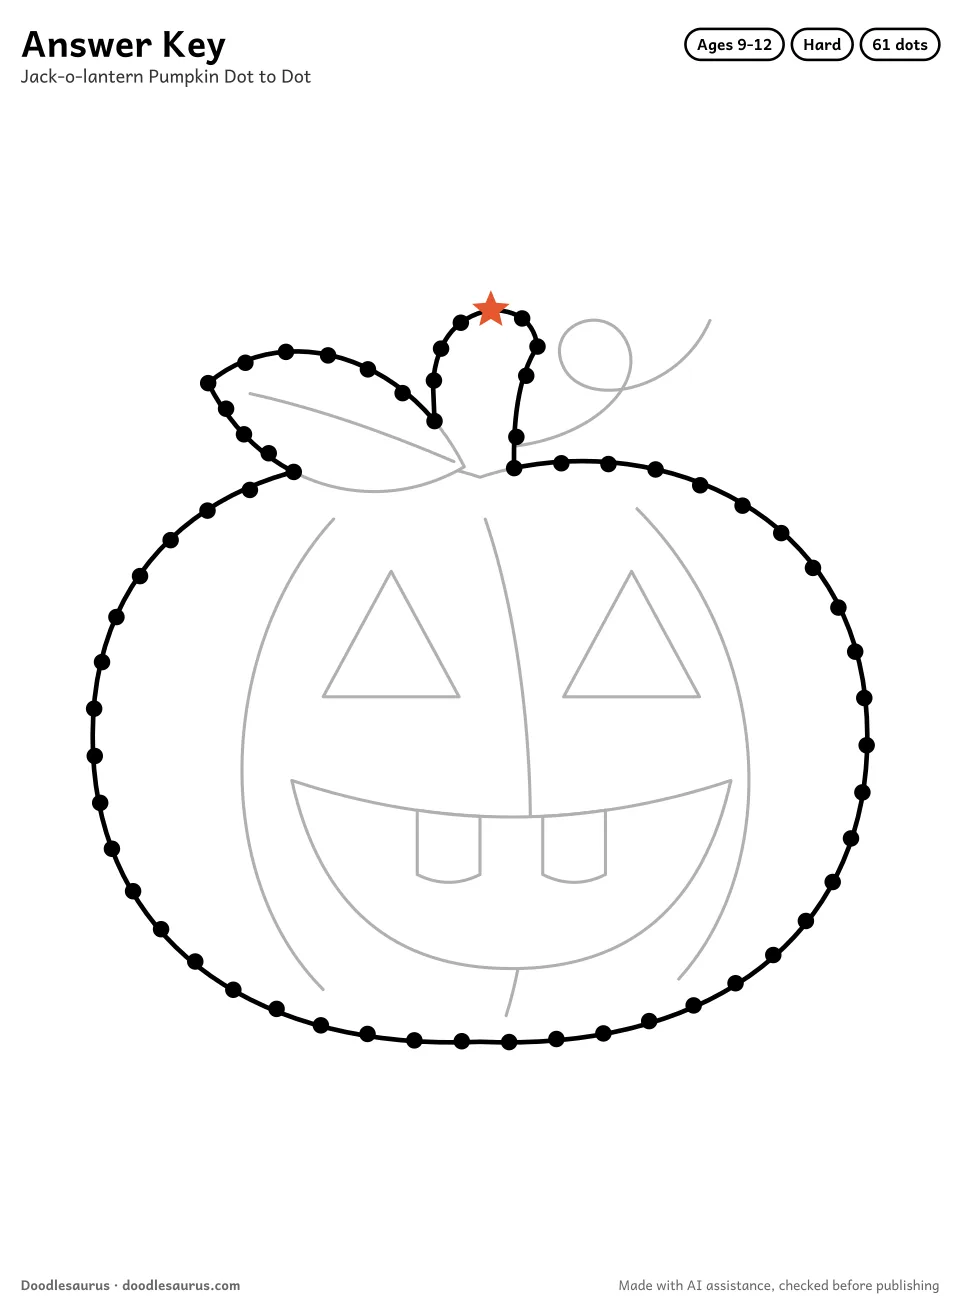
Under the gray jack-o’-lantern face there is a plain round pumpkin with a short bent stem and a pointed leaf leaning out to the left. The dots draw only that outline. Triangle eyes, a grin with two teeth, three ribs, a curly vine and the leaf vein are printed in gray on every level, so children can guess the picture early.
Stem, pumpkin, leaf
All three levels begin at the orange Start star on top of the stem. The numbers go down the right side of the stem, then sweep clockwise along the top, the right side and the wide bottom of the pumpkin. They climb the left side, loop around the leaf and finish at the stem. The bottom looks best drawn as one smooth curve. The easy line runs straight from the top of the leaf to the stem, so the notch between them prints in gray.
24, 42 or 61 dots
The easy page needs only 24 dots, for ages 3 to 5. Next come 42 dots on the medium page for ages 6 to 8 and 61 on the hard page for ages 9 to 12, with smaller dots and more of them on the leaf and stem. Around the stem and leaf those dots sit close together, and they only stay readable at 100 percent on A4 or Letter. Every level has an answer page where the body, stem and leaf are joined with smooth curves.
Skills practiced & tips
- Start at the orange star on top of the stem and count each dot aloud.
- Draw the bottom of the pumpkin as a smooth curve rather than a row of sharp corners.
- Watch for the turn where the numbers leave the pumpkin and go around the leaf.
- When the outline is done, color the gray eyes and grin yellow so the pumpkin looks lit from inside.
- Color the pumpkin orange, the leaf green and the stem brown.
Pumpkin fun facts
- Pumpkin vines can stretch 20 feet or more across a field.
- Illinois grows more pumpkins than any other US state.
Classroom ideas
- Pre-K (ages 3 to 5): count to 24 together on the easy page, then talk about what fruit appeared.
- Grade 1: on the 42-dot page, students say the number before and after each dot as they join it.
- Grades 3 to 5: give the 61-dot pumpkin as a quiet task, then ask students to design a different carved face on the back of the sheet.
More pumpkin activities
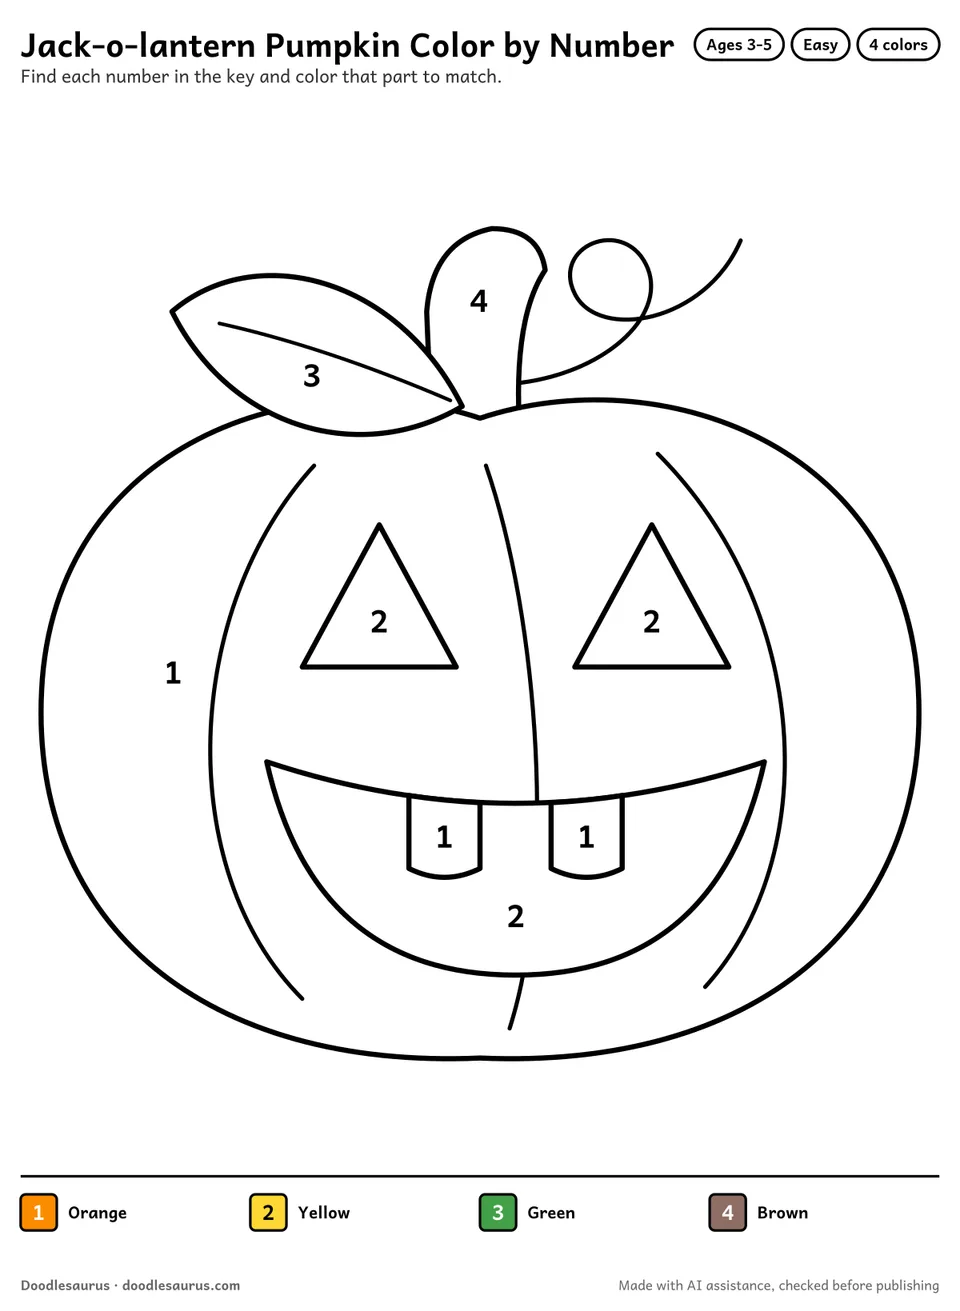
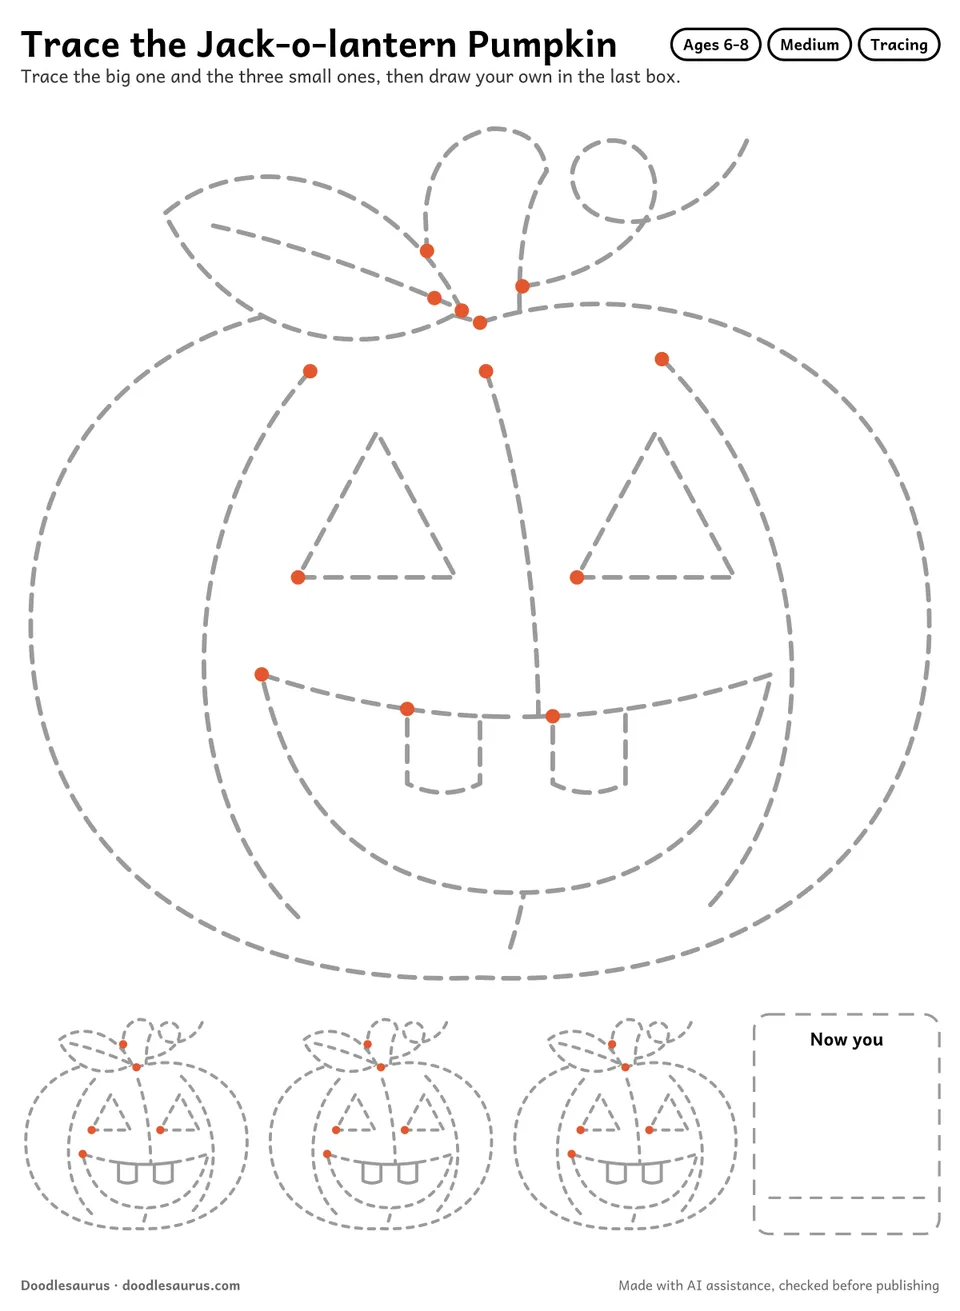
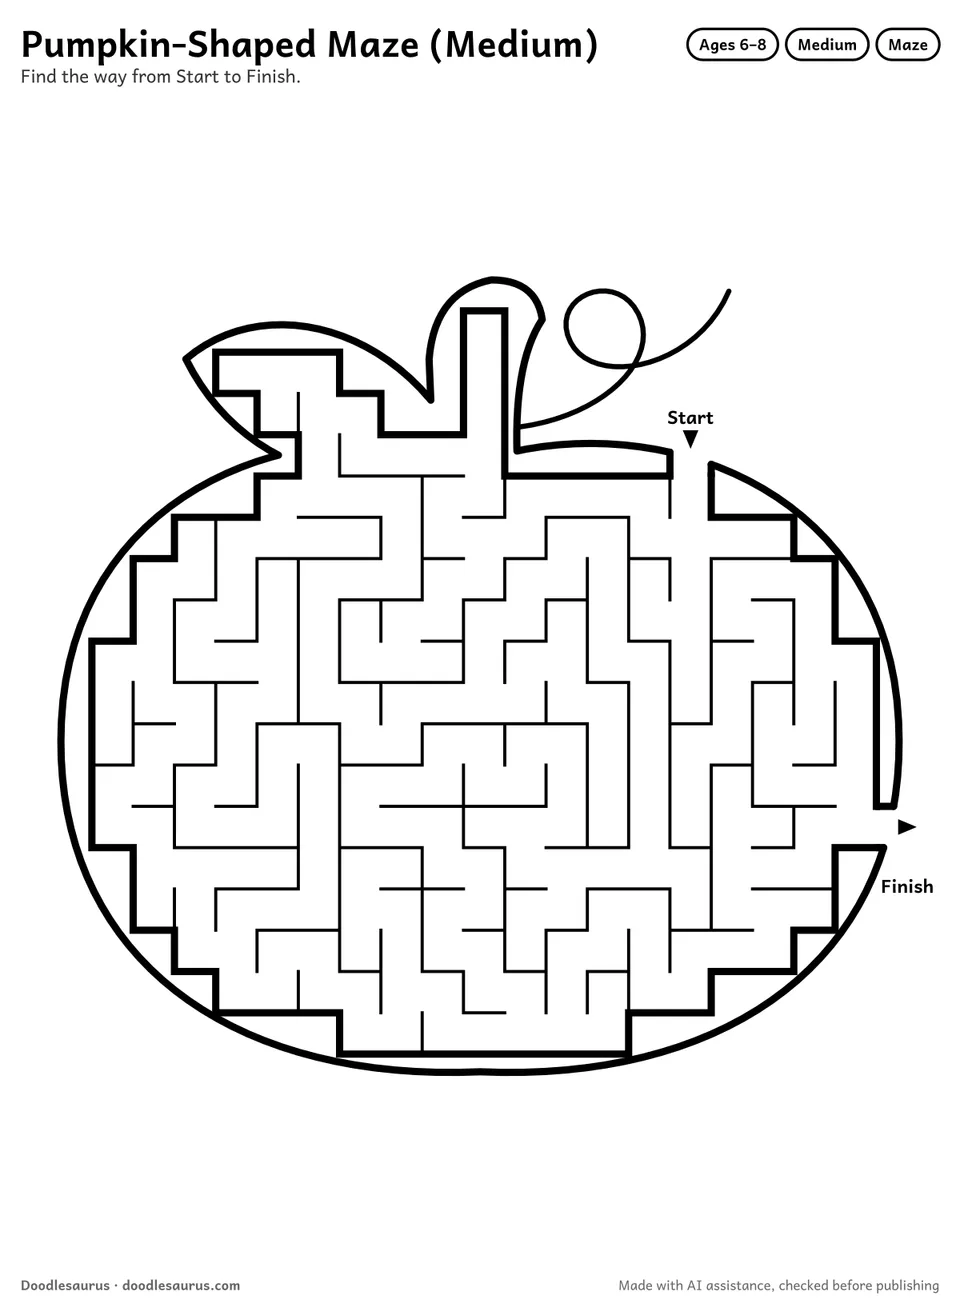
More dot to dot
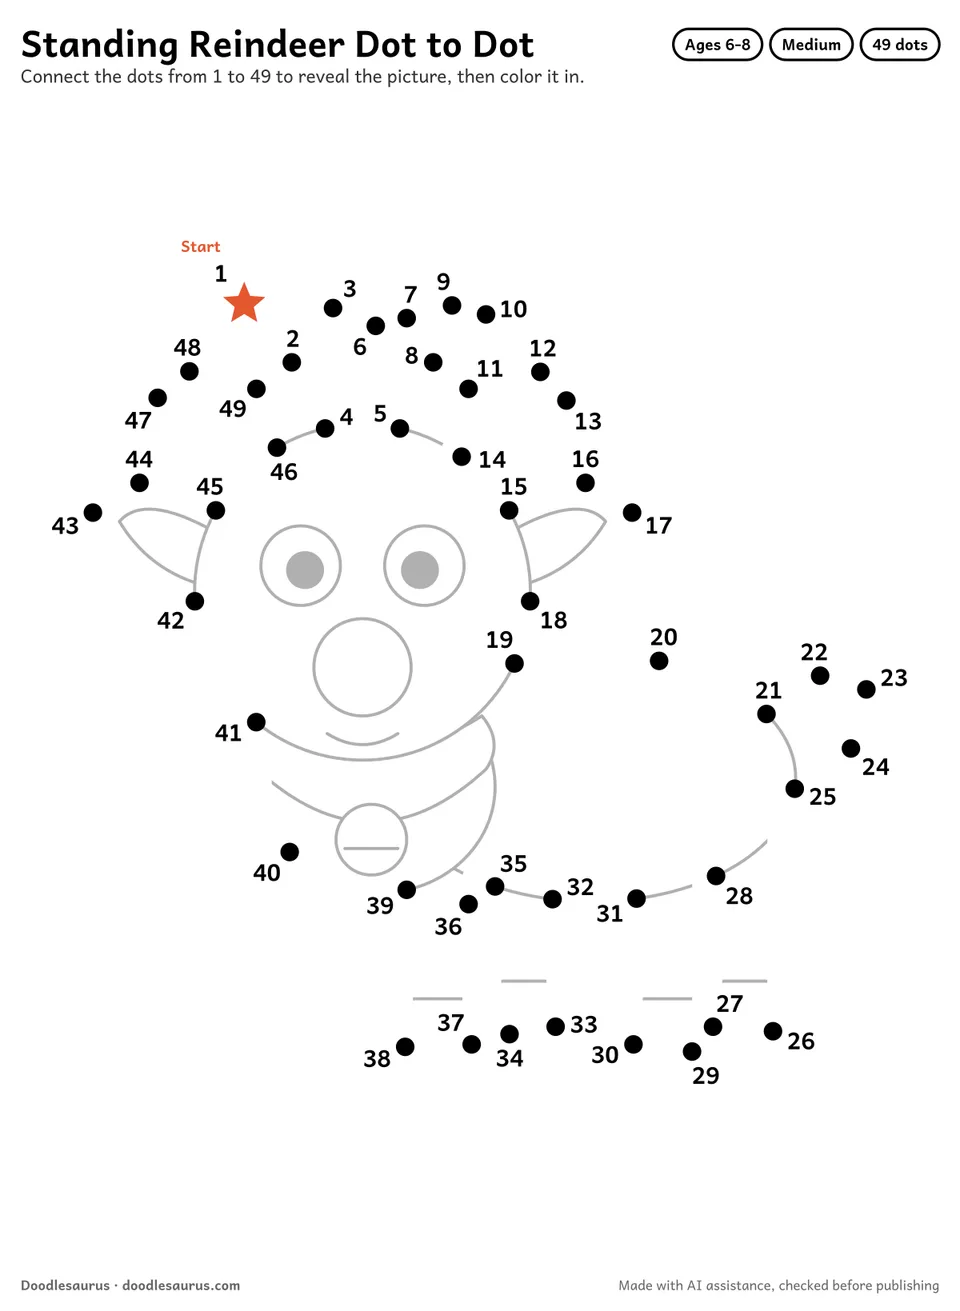
Frequently asked questions
Why can the easy pumpkin get by on 24 dots?
Its line runs straight from the top of the leaf to the stem, and the notch between them is printed in gray. The medium page has 42 dots for ages 6 to 8 and the hard page 61 for ages 9 to 12, while the easy page is for ages 3 to 5.
Where is the jack-o'-lantern face?
The dots draw the outline of the pumpkin, its stem and its leaf. On every page the triangle eyes and toothy smile are printed in light gray inside it.
What do the gray lines mean?
On every page, the triangle eyes, the toothy smile, the three ribs, the curly vine and the vein of the leaf are printed in light gray. They hint at the picture. The 61-dot page adds more, smaller dots.
Can my child give the pumpkin a different face?
Yes. The face is only printed in gray, so it can be colored as it is, and older children can design a different carved face on the back of the sheet once the outline is joined.
About this printable
- Made with AI assistance (vector drawing authored by a language model) and checked by automated tests and an AI reviewer.
- Checked by automated tests and an AI reviewer on 22 Oct 2026.
- Free for personal and single-classroom use. See the license. Read the license · How these are made · Report a problem.
- Vector PDF, 2 pages, 186×254 mm art box — prints edge-safe on A4 and US Letter.
New printables, twice a month
Our newsletter starts soon, with new sheets twice a month and a free 10-page starter pack for every new reader.