How to Draw a Bunny
Get the ears right. Short ones can turn a bunny into a bear, so they should stand straight up from the big round head and be longer than the head is tall. Keep the head oval light and loose, since both the ears and the body attach to it.
A face with front teeth
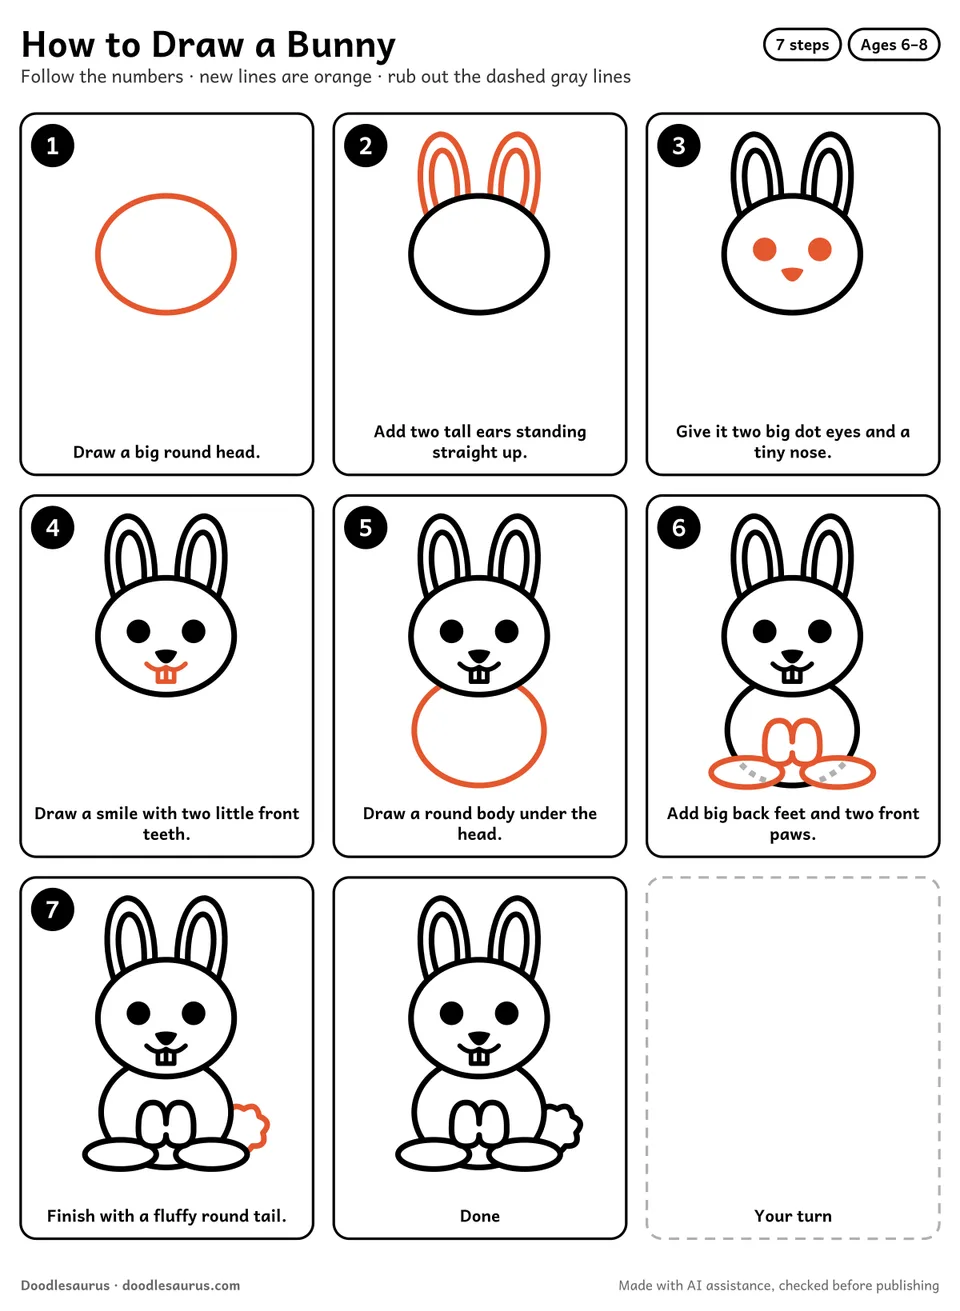
Two big dot eyes and a tiny nose come next, then a smile with two little front teeth. The body in step 5 is a round shape tucked just under the chin, not floating below it. Step 6 adds two front paws and the big back feet, drawn as flat ovals that overlap the bottom of the body. A fluffy round tail ends it in step 7.
Grid, practice page and outline
Page 1 is a three-by-three grid: seven steps with new lines in orange over black ones, box eight for the finished bunny and box nine as a dashed space for your child. The second page has a small bunny, the seven written instructions and a large blank area to draw in. Everything is ovals and curves. That makes it a gentle first animal for ages 6 to 8. A dashed gray outline of the whole bunny is there to trace, along with a drawing animation of roughly 15 seconds. Turn fit to page off and print the A4 or Letter file at 100 percent, so the nine boxes stay evenly sized.
Draw a bunny in 7 steps
New lines in each step are orange. Where a new part covers an earlier line, that bit turns dashed gray: rub it out.

Draw a big round head.
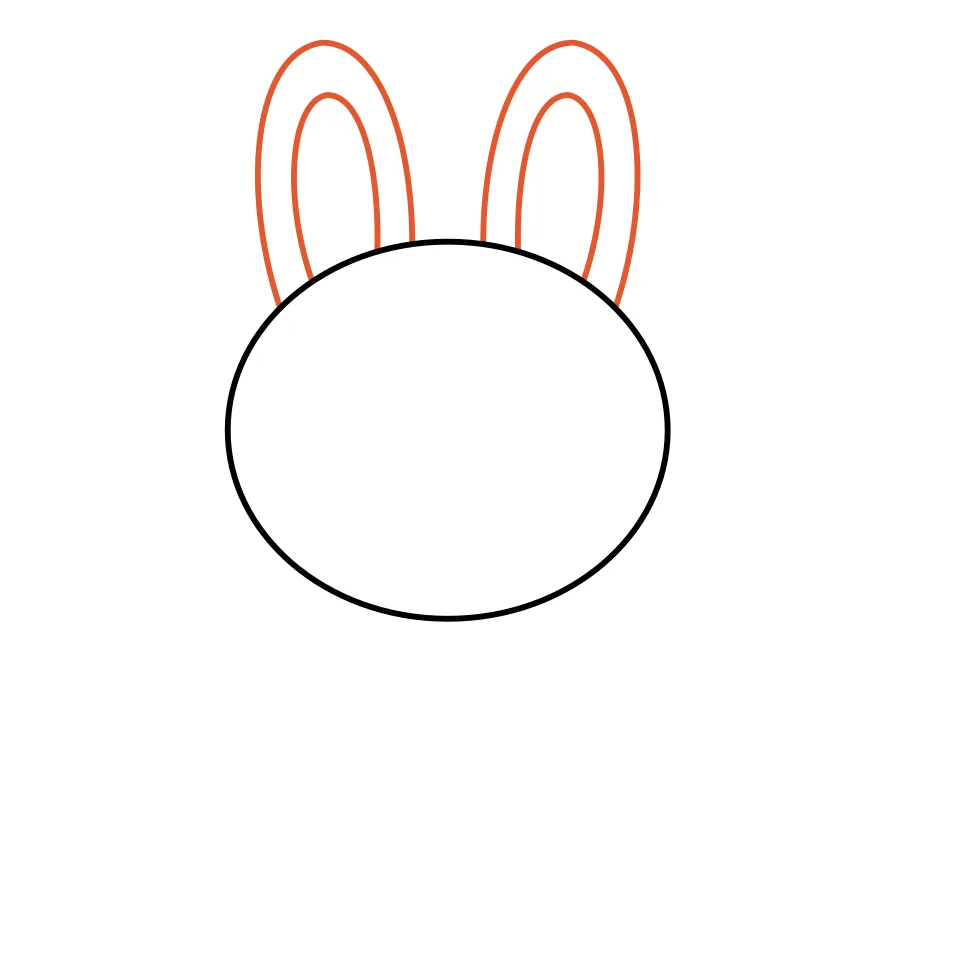
Add two tall ears standing straight up.
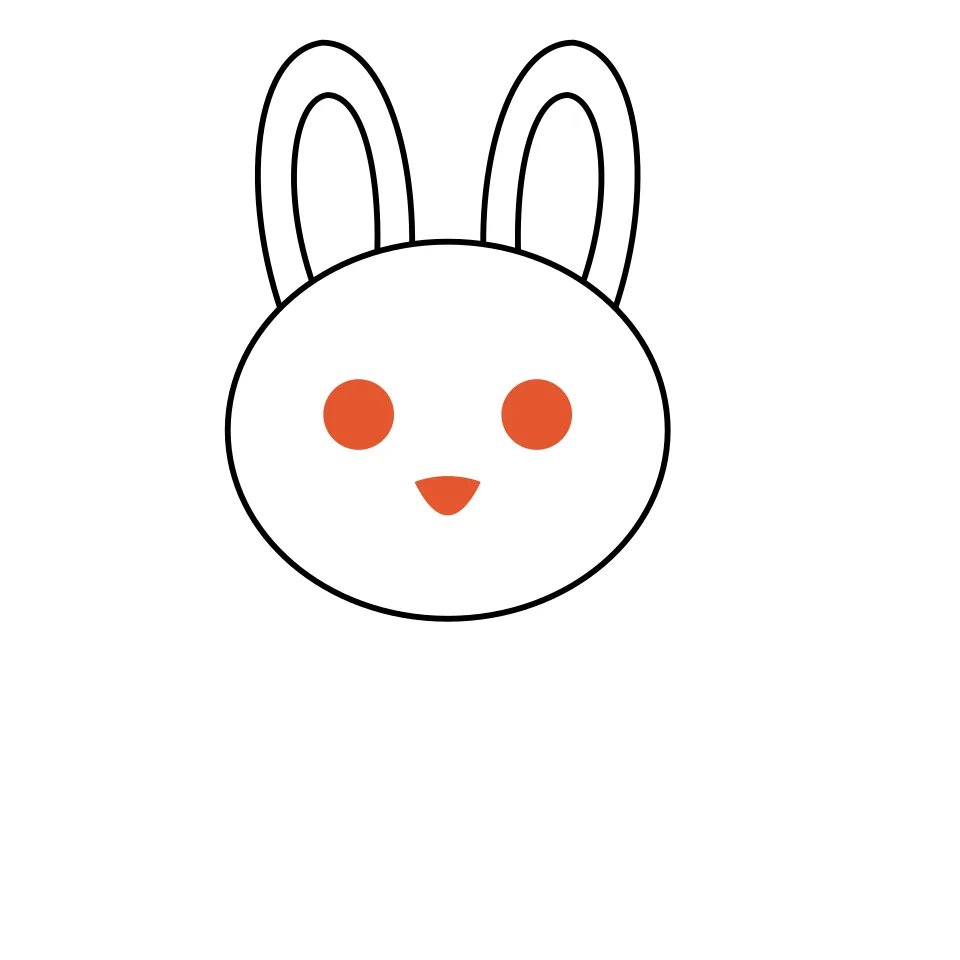
Give it two big dot eyes and a tiny nose.
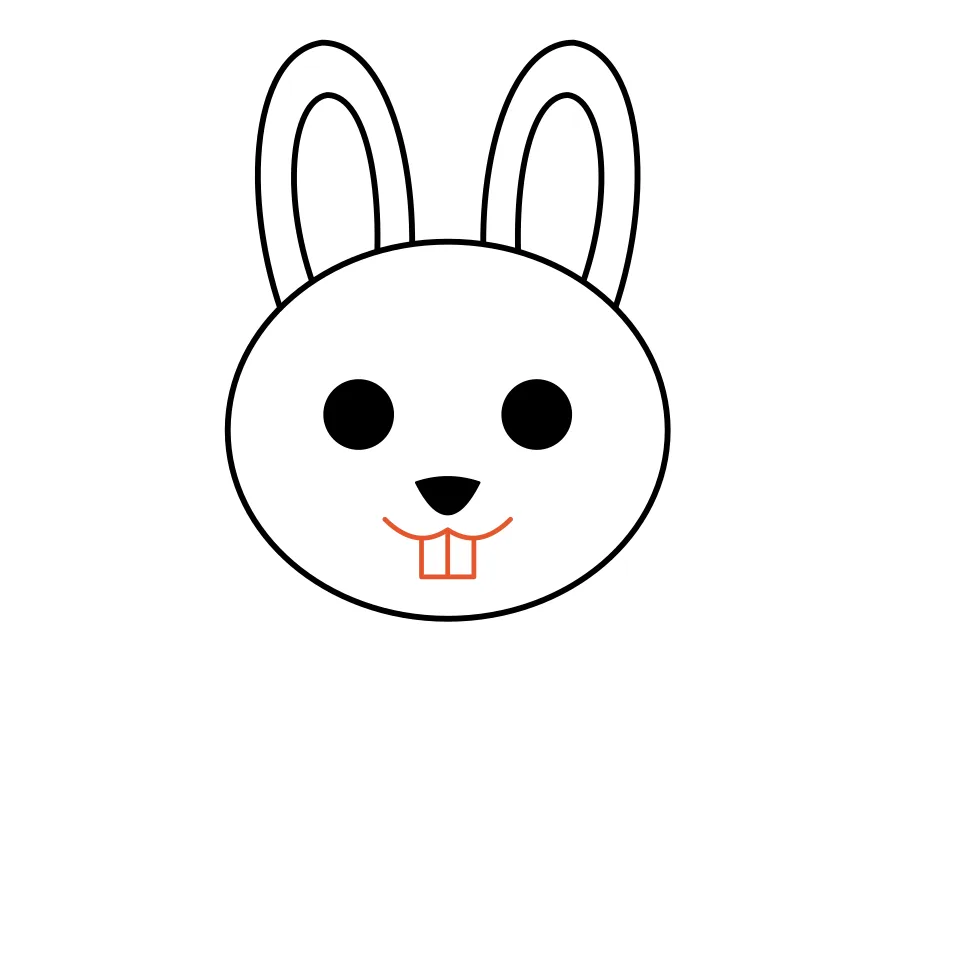
Draw a smile with two little front teeth.
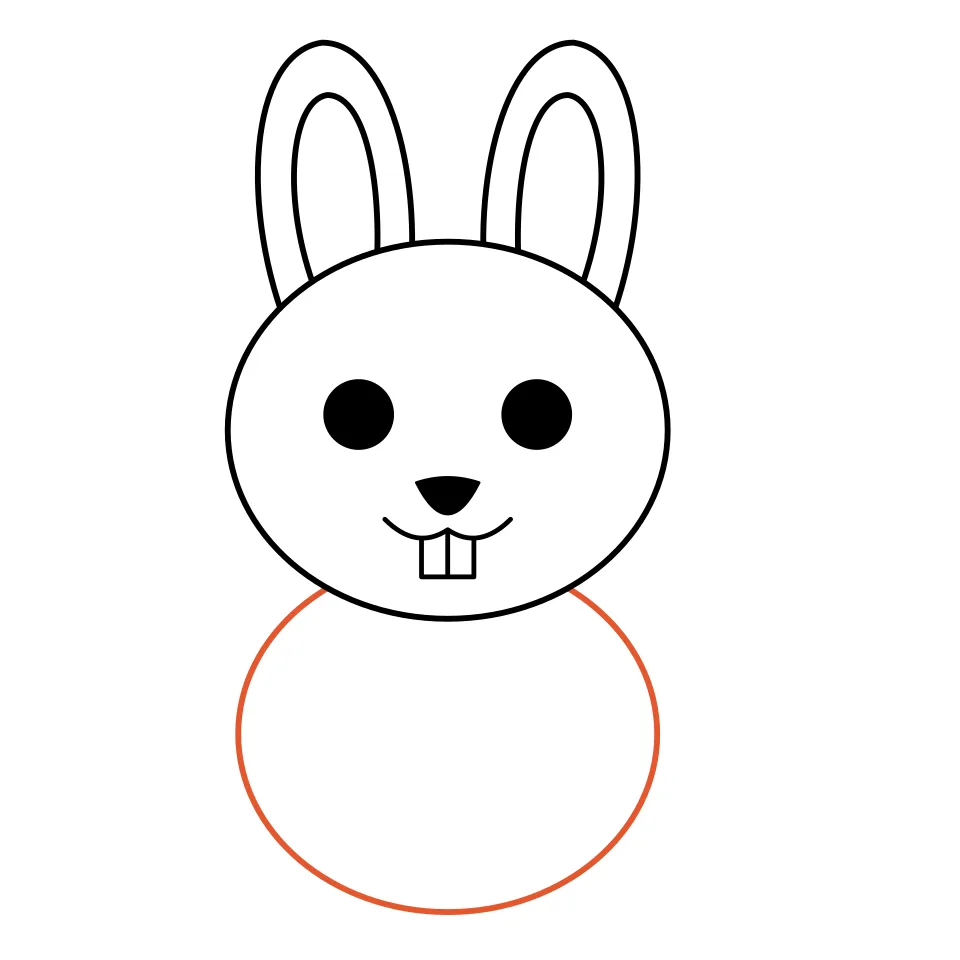
Draw a round body under the head.
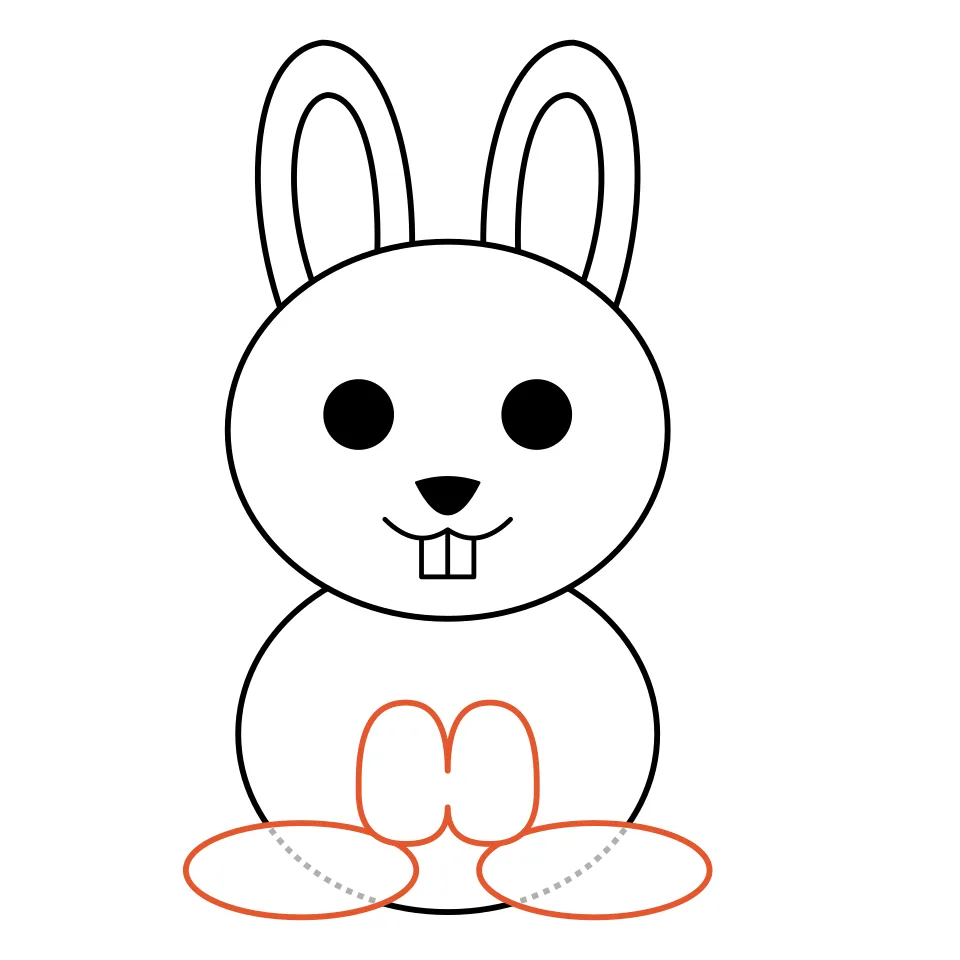
Add big back feet and two front paws.
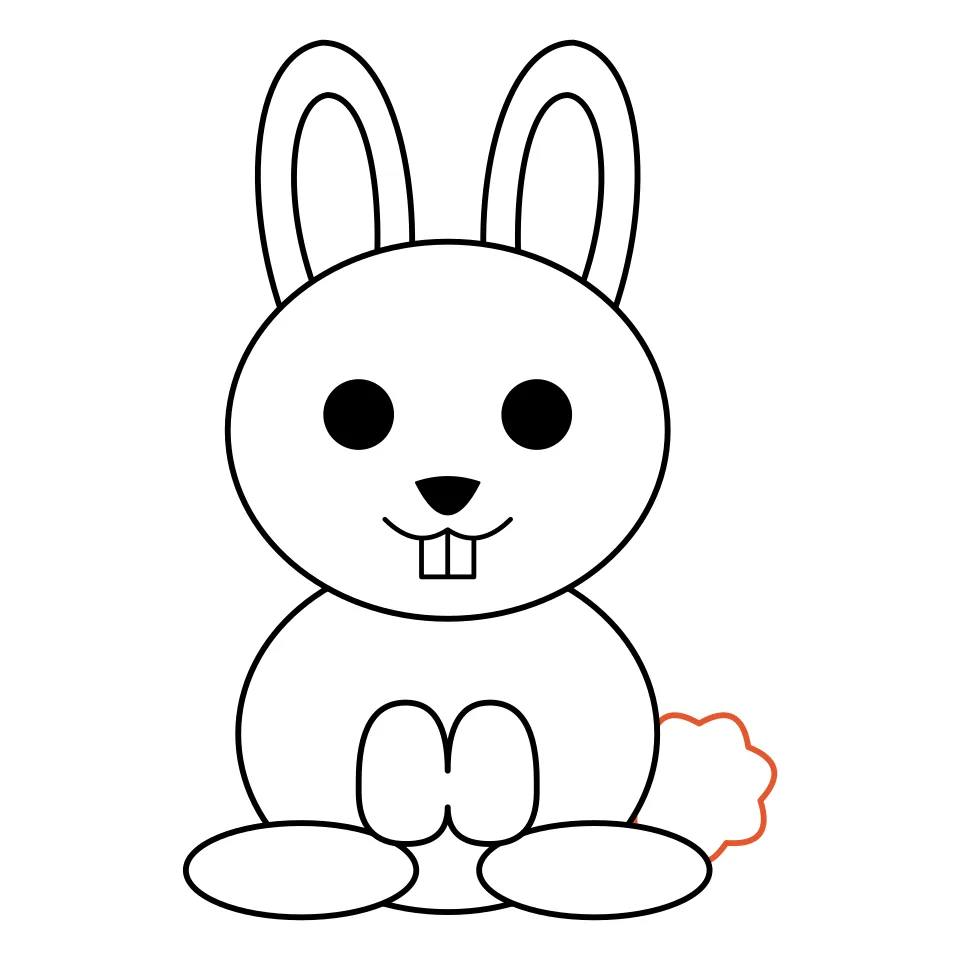
Finish with a fluffy round tail.
Tips to make your bunny drawing easy
- Keep the head oval light and loose, since the ears and body both attach to it.
- Make the ears longer than the head is tall; short ears can turn a bunny into a bear.
- Draw the body circle so it tucks just under the chin rather than floating below it.
- Sketch the two back feet as flat ovals that overlap the bottom of the body.
- Let your child color the finished bunny once the pencil lines are inked.
Bunny outline to print and trace
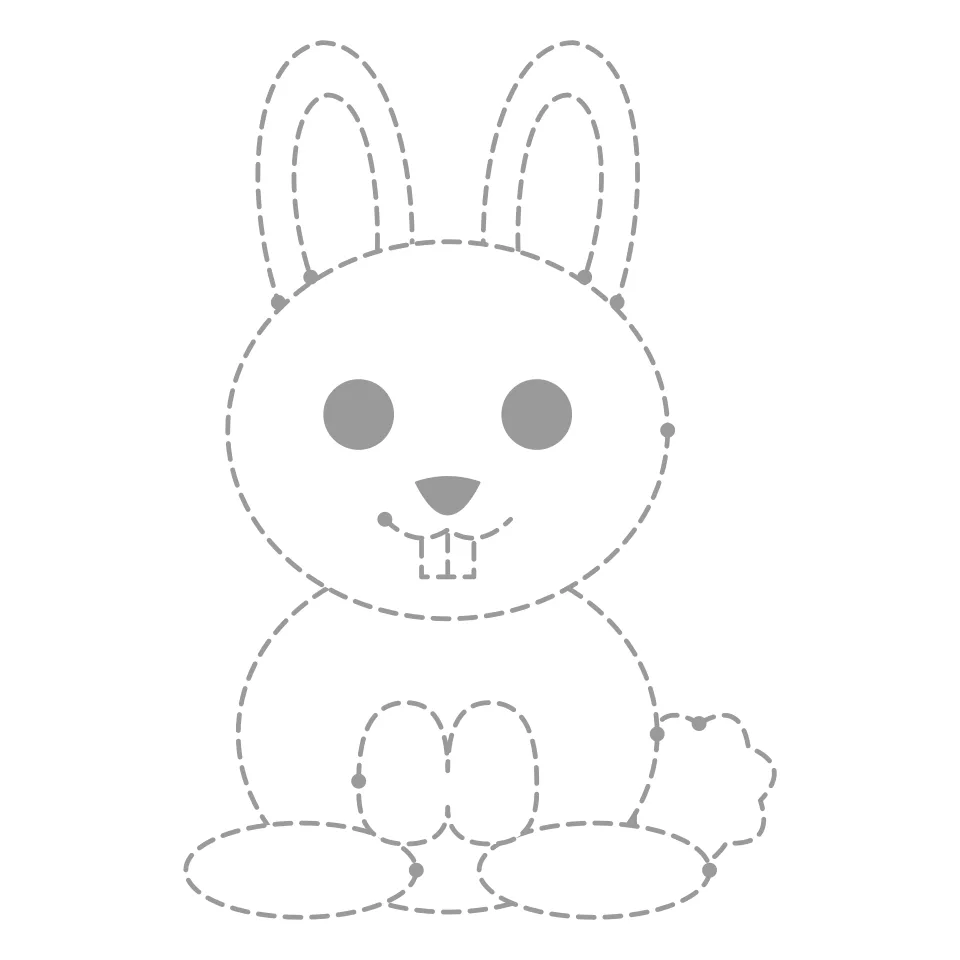
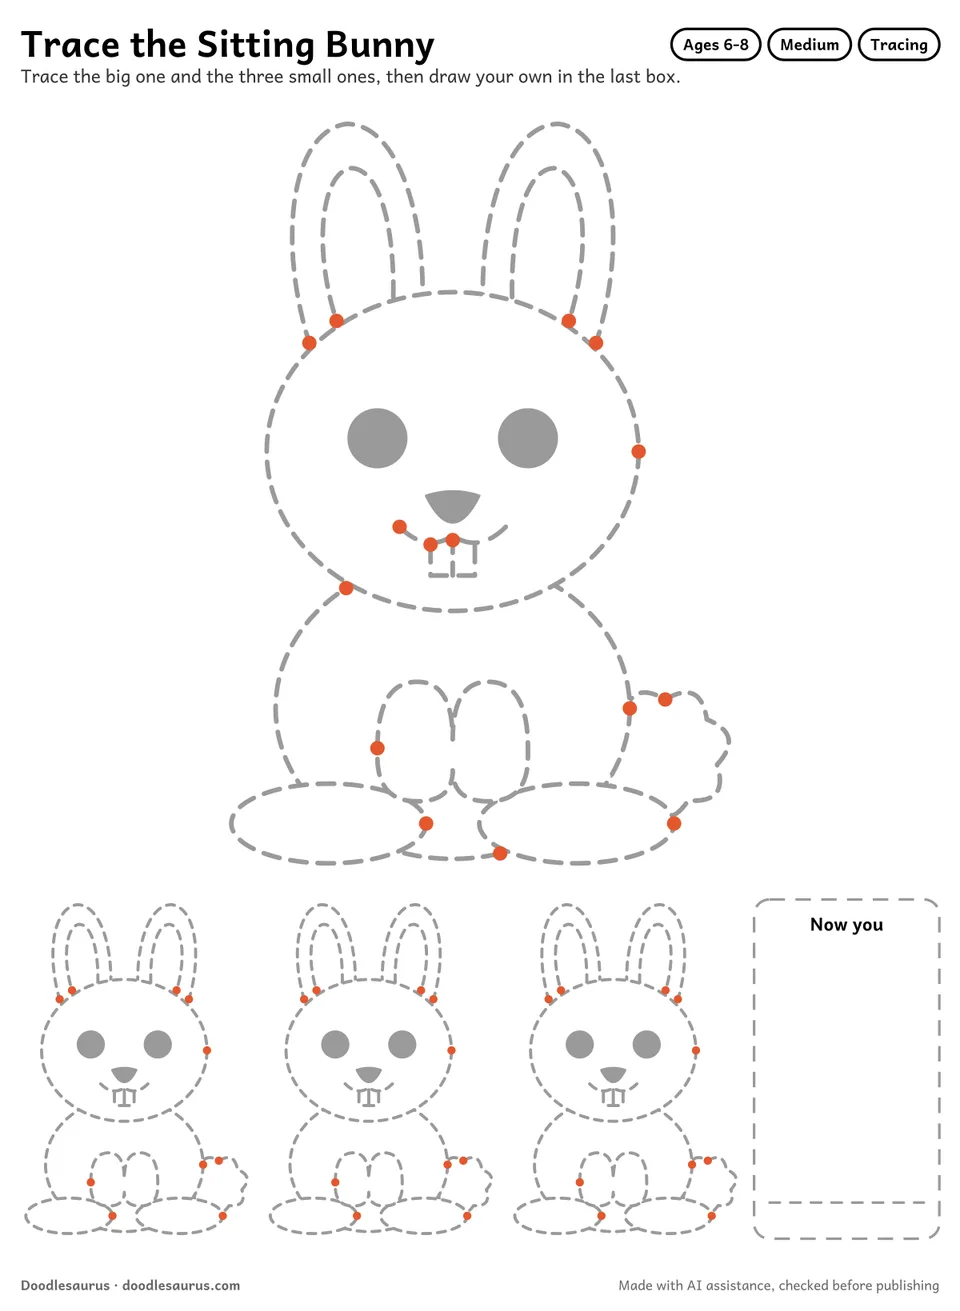
Print the finished outline on its own: trace over it with a pencil to learn the shapes, or use the dashed tracing sheet for younger kids who are still building pencil control. Both fit A4 and US Letter.
Color your bunny
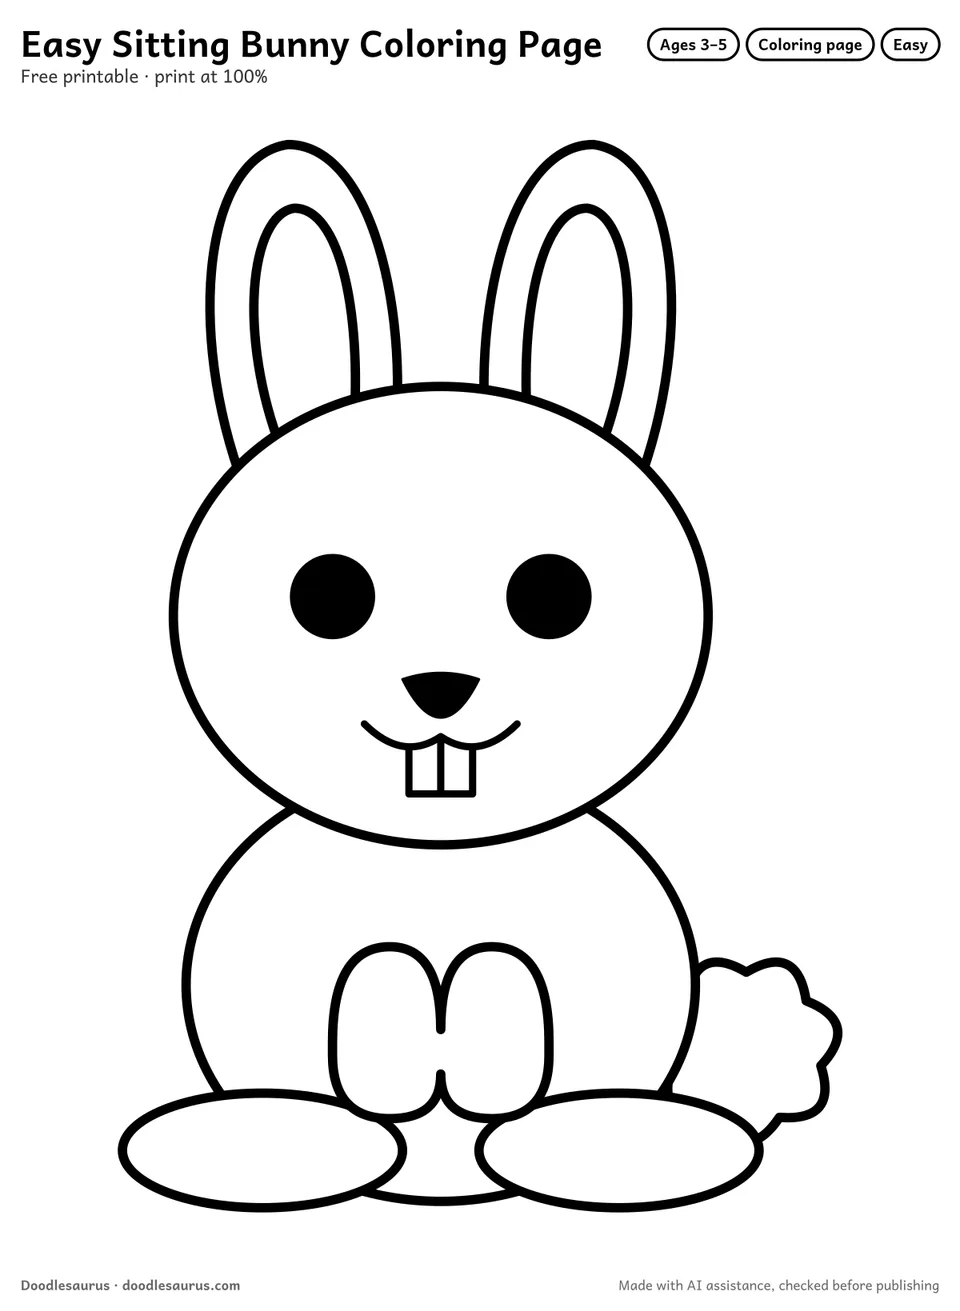
Finished drawing? Print one of our 2 bunny coloring pages to color the same character in 2 difficulty levels, or color your own drawing with the step sheet beside you.
More bunny activities
Frequently asked questions
How many steps are in the bunny drawing?
Seven. Step 1 is a big round head, step 2 adds two tall upright ears, steps 3 and 4 build the face with dot eyes, a tiny nose and a toothy smile, and steps 5 to 7 add the body, the paws and feet, and the fluffy tail.
What age is this tutorial meant for?
The sheet is tagged for ages 6 to 8. Younger children can follow along if a grown-up draws each step next to them, and older children usually finish it in one sitting.
Why are the ears so long?
The ears are what make it a bunny. They should be longer than the head is tall, because short ears can turn a bunny into a bear.
Is there something to trace first?
Yes. This page includes the whole bunny as a dashed gray outline, so a child can go over the shapes once before drawing them freehand.
About this printable
- Made with AI assistance (vector drawing authored by a language model) and checked by automated tests and an AI reviewer.
- Checked by automated tests and an AI reviewer on 22 Oct 2026.
- Free for personal and single-classroom use. See the license. Read the license · How these are made · Report a problem.
- Vector PDF, 2 pages, 186×254 mm art box — prints edge-safe on A4 and US Letter.
New printables, twice a month
Our newsletter starts soon, with new sheets twice a month and a free 10-page starter pack for every new reader.